
I was away on business for 10 days, and when I got back the Captain had re-discovered butteries. They weren’t quite as he remembered them, not as flaky. Or buttery I suspect. But then they had been bought from one of the cheaper supermarkets, you know one of the ones with an i, an l and a d in its name.
We pondered how they might be made, and I thought it would probably involve a yeast dough, and some butter and/or lard and a lot of folding and rolling. And it turns out I was right. So, making butteries is the perfect Sunday activity. There’s not much to do, but you have to do it in short bursts of activity over a long period of time. To put it another way, you can read your Sunday papers, and every three quarters of an hour or so you have to go into the kitchen for 5 minutes. Easy peasy.
But not really a recommended activity if you are trying to stick to a low carb diet.
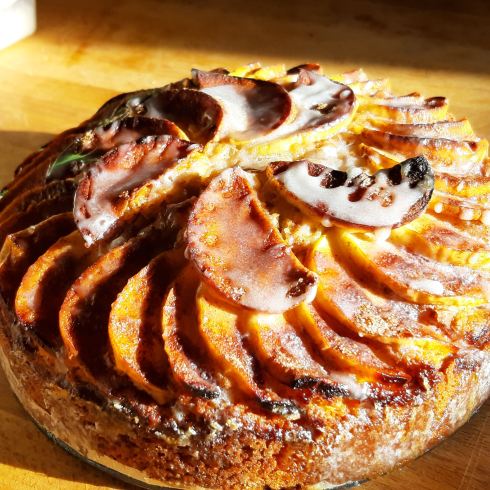
Butteries
- 500g strong white flour
- 1Tbsp sugar (I used golden caster, because it’s what’s in the cupboard)
- 1 TBsp salt
- 1 1/2 tsp dried yeast
- 400ml tepid water
- 250g butter, at room temperature
- 125g lard, at room temperature
Yup, you read that right, there is 375g of fat to the 500g of flour. This is NOT a healthy product.
- First of all, make the yeasted dough, by mixing the first 5 ingredients in a bowl, and then kneading the soft dough for about 10 minutes. It’s a squishy, wet dough, so I kneaded it with both hands, pulling the dough upwards from the work surface and then slapping it back down again. You’re aiming to stretch the dough, helping the gluten do its funky thing.
- Once you’ve done your 10 minute dough-y workout, pop the dough into a lightly greased bowl, cover it with some clingfilm, or a hotel showercap if you have one, and leave it in a warm place to prove for about an hour – you want it to double in size.
- While the dough is doing its doubling thing, you need to get back into the kitchen and pop the lard and butter into a bowl. If your kitchen is freezy cold, then chuck it into the microwave for a minute or two at 30% power to soften it, otherwise the next stage will be nearly impossible.
- Using electric beaters, beat the butter and lard together till it’s combined and soft and feels a bit like Mr Whippy ice cream.
- The next stage is to combine the buttery mixture and the dough – but you want to create layers, so you’re not going to just whack it all in together, you need to roll and spread and fold and chill. And repeat. But let me explain in better detail.
- Take the dough out of the bowl and give it a very quick knead, just to bring it all together in a soft doughy ball. Place it on a floured surface and roll it, as best you can, into a rectangle. You’ll find it keeps springing back and it’s tricky to get a rectangle of much size, but try as best you can. Then spread about a third of the buttery mix onto two thirds of the rectangle
- Fold the unbutterd third of the dough over onto the middle third, and then fold the buttered third over on top. Press the short edges together lightly, wrap the dough in greaseproof paper and pop it into the fridge.
- Go read the papers for about 45 minutes
- Take the dough out of the fridge, and pop it back on a floured surface. Use a rolling pin and press it sequentially along the block of dough, in one direction and then the other. (this is so that you don’t end up smooshing all the butter towards one end of the block) Then roll it lightly in the traditional manner to create a rectangle again. Spread it with the second third of the buttery mix again; again just covering two thirds of the rectangle. Fold in the same way as before. Squish the edges together again and, yes, you guessed it, wrap it in greaseproof and pop it in the fridge.
- Read more of the paper.
- Do more of the pressing, rolling, spreading, folding routine.
- There, have you done with all the butter?
- Feel free to cool in the fridge again, especially if your kitchen is toasty warm.
- Roll out the dough, and cut into 16 pieces. Roll each individual piece out a wee bit
- Leave the uncooked butteries in a warm place for about 45 minutes, and read the paper again
- Turn your oven on to 200C or GM6
- Put your butteries in the oven for around 15 – 20 minutes, until they are golden brown and cooked through
- Cool on a wire rack, with some kitchen paper on it, to absorb some of the excessive buttery goodness.
If you’re lucky, your butteries won’t be sitting in a pool of fat when you take them out of the oven. I wasn’t so lucky, but that’s why I’m telling you to pinch the edges after each fold. I didn’t do that. Also, I hadn’t spread the first layer thinly enough. But anyway, despite not having brilliant lamination and having lots of butter melting out of the butteries, they are quite scrumptious. And very easy, just time consuming, to make.


I think these are known as Butter Buns in Norfolk and Suffolk. Absolutely delicious but not one of your five a day!
LikeLike
Errr, yes… very few of my recipes seem to help me reach five a day, unless of course you put strawberry jam on a scone!
LikeLike