The last project off my needles in 2019 was a Selbu hat in shades of grey. I’d ended up making more than a dozen of them through the Autumn, mostly knitted on my commute to and from work. They were super-quick to knit, and made brilliantly easy Christmas gifts for my nearest and dearest. If you want a go at making one, find the pattern here on Ravelry.
I sowed a few tomato seeds this year. And miracle, of miracle, most of them grew. They grew slowly, mostly because it’s been colder than usual all year, but they grew. And now I have a LOT of tomatoes.
I get my seeds from The Real Seed Company, which you should go visit if you have any interest in growing your own vegetables. They encourage you to save your seeds year on year, which if we all did, then they’d have no business. But mostly I don’t. And anyway, they have crazy unusual varieties of things, often from far flung parts of the world, and they have new seeds each year. I grew a Russian melon one year (I figured if it could grow in Russia it might just survive our Scottish summer) and this year I chose Grushovka and Urbikany bush tomatoes. The Urbikany comes from Siberia, and the Grushovka sounds like it’s of Russian extraction too. Anyway, so far I’ve picked 7.4kg of tomatoes, so I’ve been eating quite a lot of my favourite tomato salad: panzanella. It’s got that perfect balance of flavours and textures, and also uses up 2 or 3 day old sourdough bread (if any ever gets to be that age in our house!).
I’ve been making my super tasty tomato sauce (to use on pasta) which I’ll share with you later.
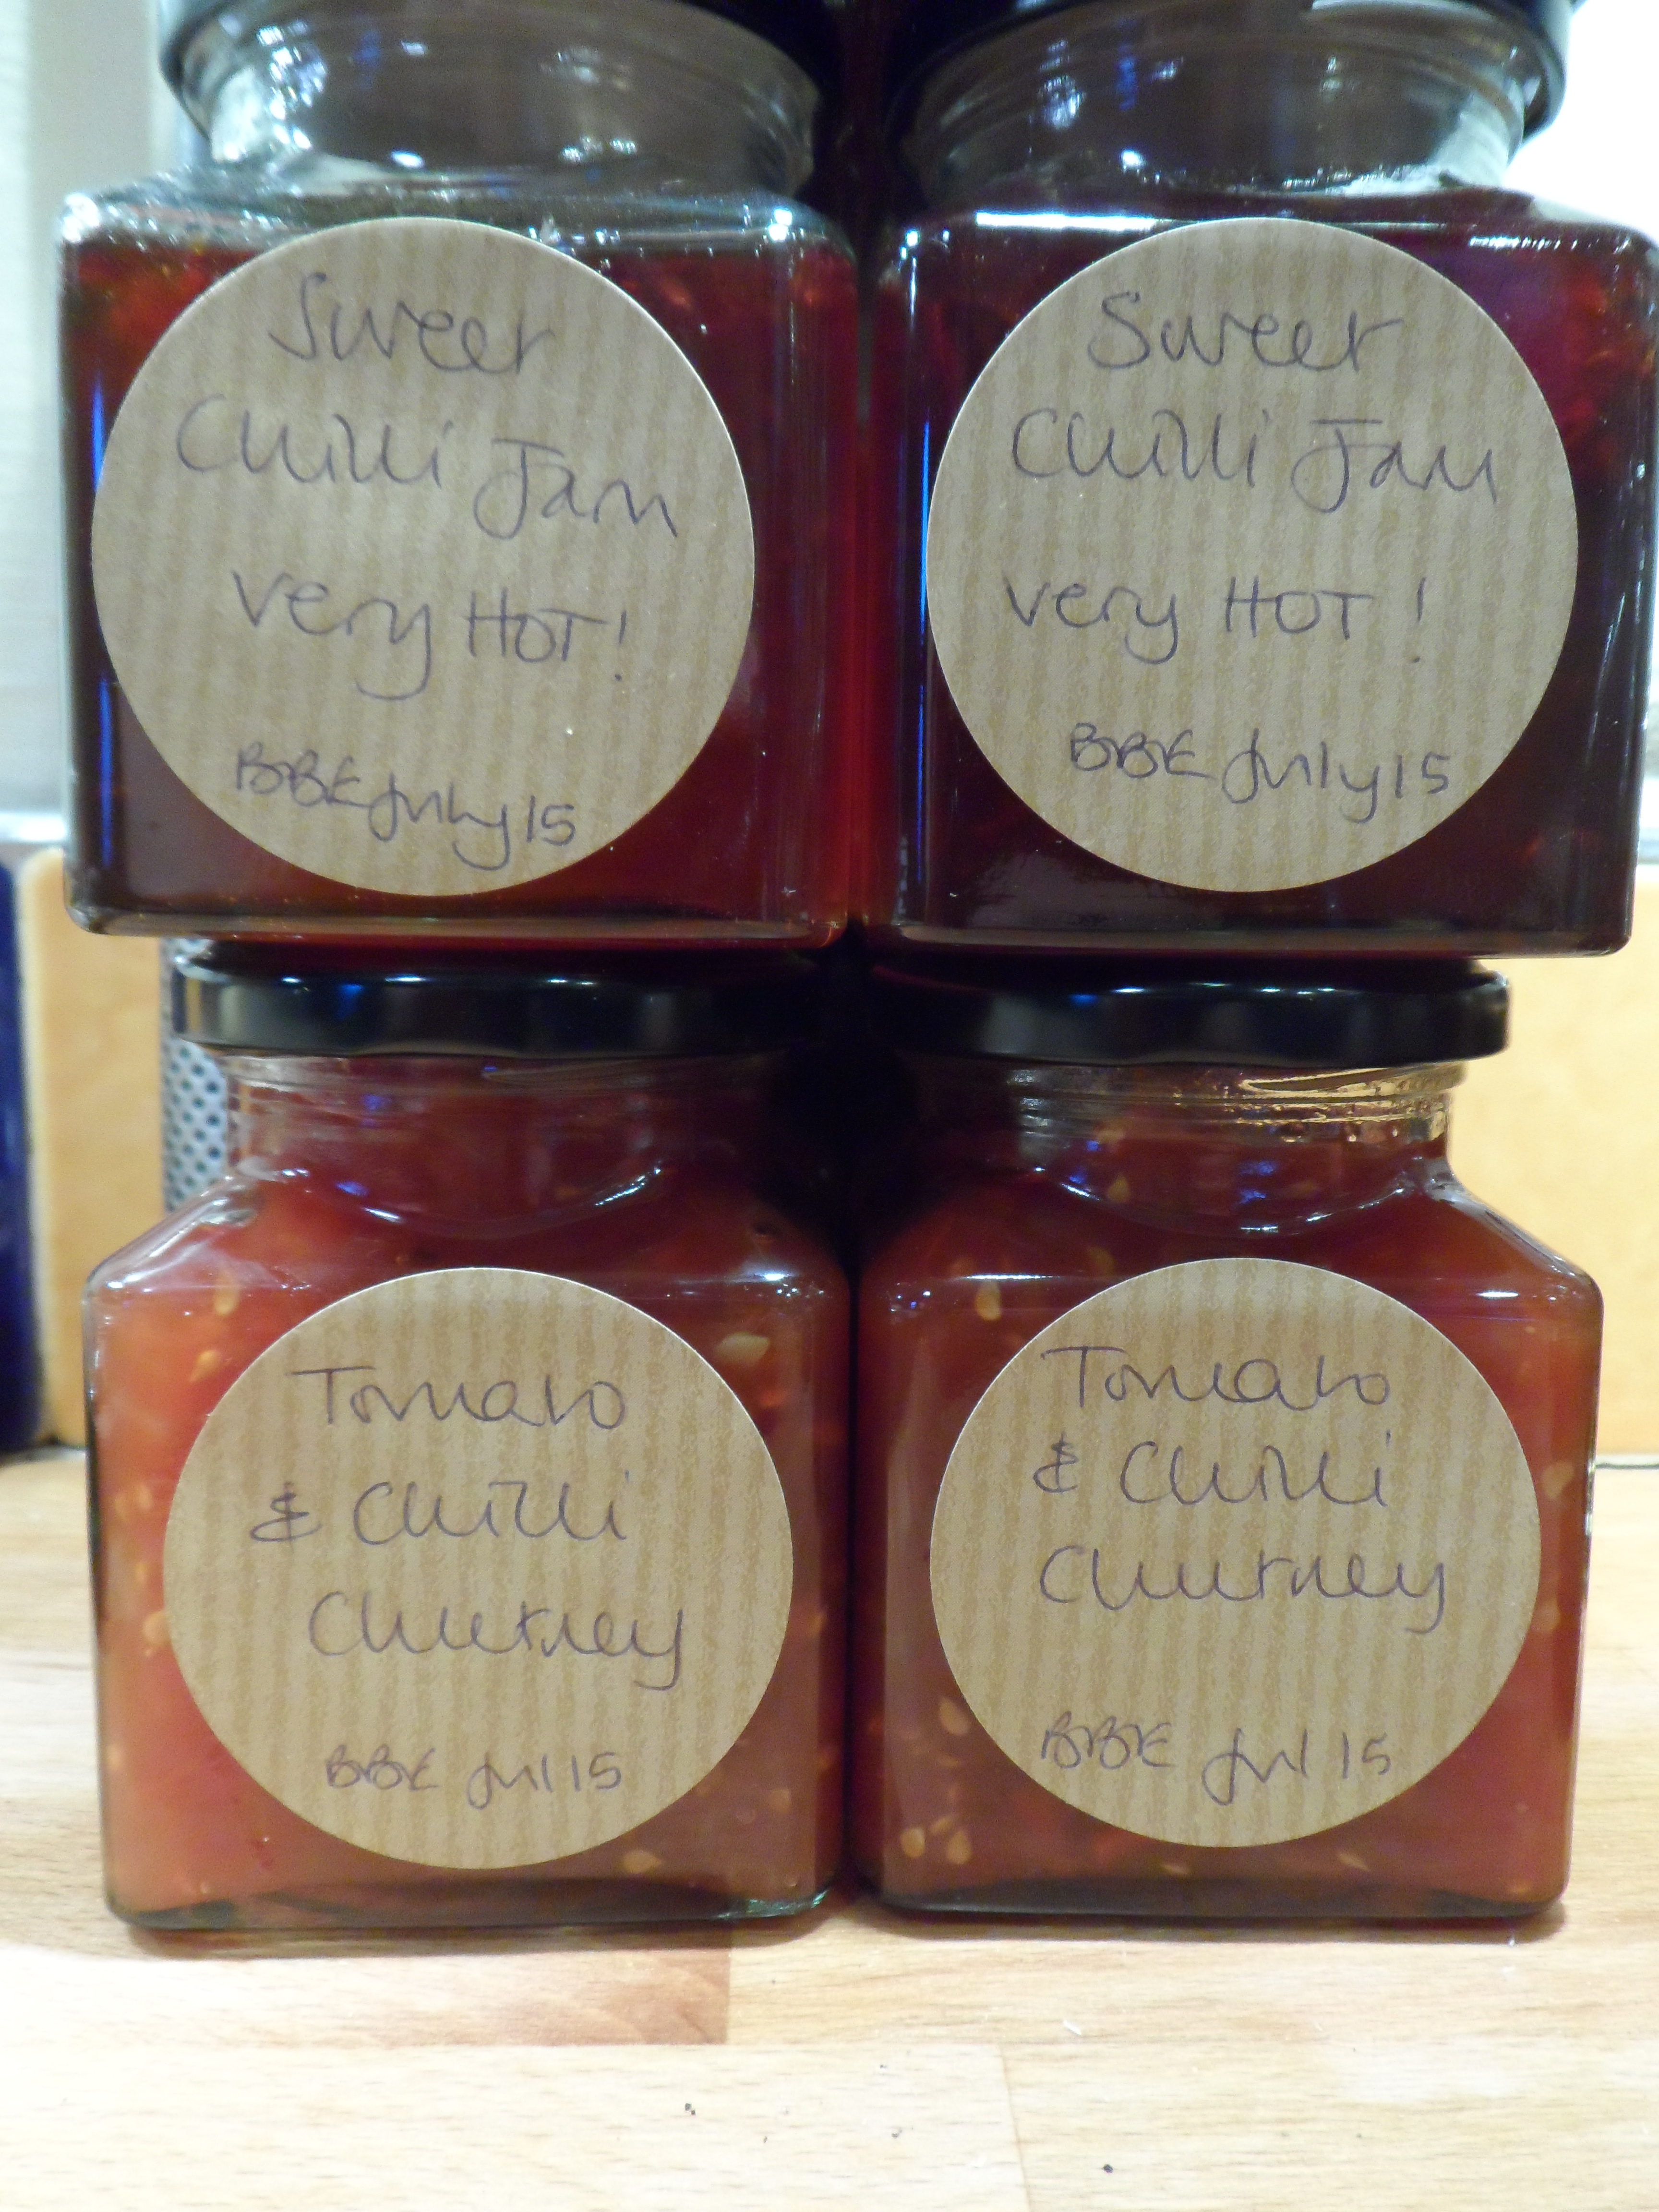
But for now… Another of my favourite tomato recipes is my hot tomato chutney. It’s super-easy to make and is the perfect accompaniment to cold meats or cheese. In fact when I’ve got a jar of it in the cupboard, it gets added to almost every sandwich, or salad platter. It’s just sweet enough, and just hot enough, with that lovely tang of sharpness too.
I’ve been making it for years, so don’t really know why it’s taken so long to add the recipe here. Anyway, here we go:
Hot tomato chutney
1.8kg tomatoes
1 large onion
6 red chillies
450g caster sugar
1TBsp salt
300ml vinegar (malt, or it works well with a mix of red wine and cider vinegar)
Peel the tomatoes. You know how to do this, right? OK, here’s how I do it. With a wee sharp knife, just nick the skin of each tomato, you don’t need to go through all the flesh, just break the skin. Now put a full kettle on to boil, and pop some of the tomatoes into a big heatproof bowl. Pour the boiling water over the tomatoes. Leave them for a wee minute, and then, using a holy willie spoon (that’s a slotted spoon), take a tomato out, and using your fingers, peel/slip the skin off the tomato. Repeat. And repeat and repeat again until all the tomatoes are peeled.
After you peel each tomato, roughly chop it straight into a large pan. It’s easiest just to do this while holding the tomato in your hand, over the pan, so you catch all the juice into the pot. Or chop them on a plate, so you catch all the juice and then just sloop the whole lot into the pan.
Now, chop your onion, into small and even sized pieces and add this to the pot.
Chop the chillies into teeny wee bits, and add them to the pan. If you only want a gentle heat, leave out the membrane and seeds, which are the super hot bits.
Add the caster sugar and salt to the pot.
Bring slowly to the boil, stirring as you go.
Now simmer it for an hour and a half. Yes, an hour and a half. You should stir it occasionally, so it doesn’t stick to the bottom of the pan, but you don’t need to hover over it all the time. Go read a book. Or water your tomato plants. Or whatever.
Now add the vinegar to the pan, and stir again
Bring it back to the boil and boil it, stirring occasionally, for 10 – 15 minutes. You’ll know it’s ready when you pull the spoon across the bottom of the pan, and it does a sort of “Moses Parting the Red Sea” thing, with the chutney ‘holding back’ and not immediately all slooping back into the base of the pan. You might not understand what I mean until you see your chutney doing it. But really, this is the best test I know for readiness of this chutney. If you weren’t simmering it on a hot enough heat earlier, this stage will take way longer than 15 minutes, which is fine. Just make sure it boils down enough to get that glossy look, and to ‘part the Red Sea’ or it will end up too runny and a bit rubbish.
And that’s it. It’s ready to pop into sterilised jars. You’ll probably fill about four 350ml jars, and it will keep for around 4 months. It might keep for longer, but I’ve never had any last that long.
And, if like me, you have a glut of tomatoes, make lots of this. And tie pretty fabric squares to the pot lids, with a ribbon, and there you have your first homemade Christmas presents of the season.
Mini oatcakes with cheese & chutney or ham & chutney. You choose.
If you ‘re interested in more of my recipes, have a wee look here, and see if anything else inspires you. There’s all sorts from how to poach the perfect egg (spoiler: start with a perfect egg) to Christmas Cake for people who don’t really like Christmas cake. Go have a mooch.
Is salted caramel still on trend? A couple of years ago it seemed to be everywhere. And I was happy. I love that combination of sweetness and saltiness. I adore peanut butter, adore it even more on hot buttered toast with marmite. Or incorporated into a sweet with chocolate and a biscuit base.
So, a simple salty, nutty caramel brittle is pretty much the perfect sweet to make. And it turns out it was pretty much the perfect home-made Christmas present to give to nephews too! (Although obviously not for you, if your nephews have nut allergies).
Salty nut brittle
340g mixed nuts, preferably not salted. The type of nuts doesn’t really matter, but why not buy a bag of peanuts, of brazil nuts and pecans. Or hazelnuts, and macadamia and almonds. Whatever you prefer.
400g sugar. Ordinary granulated sugar is fine, or you could use caster, or golden caster
120mls water
100g unsalted butter
100g golden syrup
1/2 tsp bicarbonate of soda
Maldon sea salt (there are other brands, but please use a good quality salt in flakes, not ordinary table salt)
Preheat oven to 350F / 180C / GM 4
Spread the nuts onto a big baking tray, as big as you’ve got – you’re aiming to get them into a single layer, if possible
Roast the nuts in the oven for about 8 minutes, give or take. You’re looking for a golden browniness, not burnt.. and there’s a relatively short window of opportunity between the two. To make it easier in a minute or two, pour the nuts onto a large sheet of greaseproof paper or kitchen foil, or a bowl (this is so that you can QUICKLY pour them from whatever receptacle they are in, into a pan of hot hot hot caramel later on). While you’re at it, get another sheet of greaseproof paper, and line the baking tray with it, and leave to one side. You’ll need it soon.
Now put the sugar, water, butter and golden syrup into a heavy based saucepan, and gently heat, stirring till the butter is melted and the sugar has all dissolved.
Pop a sugar thermometer into the pan, and leave it in there while the mixture heats up to the boil. Keep it boiling, and stir occasionally if you can’t stop yourself
Keep an eye on that sugar thermometer, and as soon as it reaches 150C (which incidentally is between ‘soft crack’ and ‘crack’ on my thermometer) take it off the heat, and quickly stir in the bicarbonate of soda.
It should all swoosh up a wee bit which is exactly what you want it to do. Work quickly – pour in the nuts and stir them in. And then pour the whole lot out onto a baking sheet, with a piece of greaseproof paper on it
Use the back of a spoon to spread the mixture nice and thinly … but not TOO thin
Sprinkle generously with sea salt flakes
And now walk away for a while. Leave it be. Come back when it’s cool
Break it up with your hands and store in an airtight container. Then hide it somewhere you can’t reach, just to save yourself from eating more than you really should
I popped great big shards of this into kilner jars as Christmas present this year, and they went down a treat. If the shards had been smaller, I might have considered dipping them in chocolate to add to the sugar-salt-nut treatiness. It wasn’t required, but just imagine it enrobed with lush dark chocolate. Mmm.
I love Radio 4. I can’t remember what age I was when I first realised that it was what I wanted as the soundtrack to my life, but now it’s on whenever I’m cooking. And I cook a lot.
Weekends nearly always include Desert Island Discs, while I’m baking or making soup, or stew or something that’s caught my eye in a cookbook. I’ve never quite worked out what my eight discs would be, but it would probably include more 80s hits than I’d like to admit. And maybe some early Genesis. Years ago I decided my luxury would be a pack of cards, and my book would be a compendium of games of solitaire. But I think I’ve grown up since then, and doubt that I would want to while away my hours (days? weeks? months?) on my desert island perfecting game after game of solitaire. Or not. Because how many of the games would actually be all about chance and not about my skill level? How frustrating would that be?
Anyway, I’m no longer sure what my luxury would be – perhaps some endless supplies of glorious perfumes, so I could make my own hand and body lotions, with whatever I can forage (I’m imagining coconuts here) and then I could perfume them as I wished. Or I could just spritz myself with something delicious in times of need. One of my claims is that all situations can be improved with a spritz of perfume, and an application of lipstick. Many’s the time I’ve been seen to do this ‘double’ at my desk.
There’s a chocolate bar in the UK called a Bounty Bar. It’s a lovely soft coconutty thing, smothered in chocolate, either dark or milk. In the 80s the Bounty advert was set on a desert island, with beautiful people in cropped tops (it was the 80s remember) having a hedonistic time and eating Bounty bars. Well you would, wouldn’t you?
So, here is my recipe for my version of a Bounty Bar. It’s not really the same, but it is delicious. And very easy to make. And your friends will be very impressed when you give them a wee bag of your home made desert island bites.
Desert Island Bites
3 cups desiccated coconut
1/2 cup icing sugar
1/2 cup condensed milk
1/4 cup melted coconut oil
a very large bar of good quality chocolate – milk or dark, whatever you prefer
Mix coconut and icing sugar in a large bowl
Add in the condensed milk and melted coconut oil
Mix well together (using your hands is the easiest way to do this, perhaps the stickiest as well)
Take about a teaspoon sized bit of the mixture and roll it in the palms of your hand to create a wee ball
Place the ball of coconut truffle on a baking tray lined with greaseproof paper
Do this again and again and again until all the mixture is used up
Pop the balls in the fridge or freezer for about half an hour
Meanwhile, melt your chocolate in a double boiler
Now comes the messy bit. Drop the balls, one by one, into the melted chocolate and then rescue them out again with a couple of forks. They might need a sort of a shoogle to shake of excess chocolate.
Pop the chocolate coated truffles onto another baking tray lined with greaseproof paper, and when you’ve done them all, pop them in the fridge. Unless your kitchen is as cold as mine ,in which case you won’t need to.
Serve with an espresso after you’ve had a lovely relaxing supper. Or put them in a nice wee box with some tissue paper, to make them look a bit chi-chi, and give them to a friend who needs a wee treat. Or head off to your desert island and be a hedonist.
When you have a glut of them you REALLY have a glut of them.
I have a couple of wee blackcurrant bushes which are ignored for most of the year and this year were surrounded by chest high grass, nettles and dock leaves. I was sure there would be nothing to harvest. But of course I was wrong. Deliciously wrong.
I cropped the whole branches, placed them in my wicker trug and carried them upstairs to our terrace one evening, and spent a gentle hour picking the fruit, topping and tailing it ready for cooking. The swallows were swooping and swooshing around our heads, sometimes below us, sometimes so close we could feel the rush of air as they changed course just before their wings brushed our faces. It’s a glorious way to spend a summer evening, and the memory of it keeps me warm through the winter.
The blackcurrants this year were destined to be drinks, one alcoholic and one not.
My Mum has made blackcurrant cordial for years and I feel that in my late 40s perhaps it is time for me to give it a go. I have no children to turn their noses up at it, as it isn’t their usual brand (I always wished we had REAL Ribena when I was a child, not this wannabe pretender. Little did I know how lucky I was).
So, I searched for the perfect blackcurrant cordial recipe and settled for one by Henry Dimbleby, who started the Leon chain of fabulous eateries. I have four Leon books, but of course found this recipe online on the Guardian website. You can read the original here if you want to. The recipe is pretty simple, but does include the addition of citric acid, which is a natural preservative, but also adds a zesty acidic zing to the juice. Citric acid is a natural compound, found in citrus fruit (of course!) but these days it is mass-produced as a chemical compound, and is more commonly known as E330 on food labels.
Blackcurrant cordial
500g blackcurrants, topped and tailed
275g sugar
250ml water
1/2 tsp citric acid
Put the blackcurrants, sugar and water into a heavy-based pan, and bring to a simmer. Simmer for about 5 minutes
Get your potato masher out and bash the fruity smoosh, breaking up as much of the fruit as you can
Add the citric acid and boil for another 2 minutes
Place a muslin cloth in a sieve (preferably a plastic one) and pour the fruity mixture into the sieve and leave to drip through .Don’t bother squishing it with a spoon or anything. Just leave it. Go pour yourself a gin and tonic, you probably deserve one
Once it’s stopped dripping (I left mine overnight) throw out the detritus in the muslin cloth; keep the muslin and wash it, ready for another day.
Decant the thick silky juice into a clean bottle and label it up, so you know this is the BC cordial and not the hooch. You don’t want to get that wrong, trust me!
Dilute with water or sparkling water fora refreshing summery drink. Or with prosecco if it’s cocktail hour already, which it must be somewhere.
But I also wanted to make a blackcurrant liqueur. And wouldn’t you know, there was a handy recipe in this month’s Good Food magazine. Well, the recipe was for a Bramble liqueur, but it can be adapted for blackcurrants when I have a glut of blackcurrants and the brambles aren’t ripe yet.
So here you go:
Blackcurrant hooch (or boozy ‘bena)
600g blackcurrants, topped and tailed (you could use frozen if that is all you can get hold of)
a bottle of good red wine
500g sugar
some vodka or gin (the original recipe I now notice only asked for a large glass of vodka/gin but I poured in ahem a whole bottle)
Put the currants into a large plastic or glass bowl and pour over the wine. Get that trusty potato masher out again and crush the fruit as much as you can. Cover the bowl with a tea towel (this keeps it dark-ish and keeps out all the flies we are plagued with this summer) and leave for a few days. Give it another smoosh with the potato masher every 24 hours or so.
Pour the mixture through a plastic sieve lined with a piece of muslin.
Tip the juice into a heavy-based pan and add the sugar. Actually it probably doesn’t really matter if your pan isn’t a heavy-based one – don’t avoid making this hooch just for the sake of an expensive pan.
Heat up slowly, stirring occasionally. Once the sugar has dissolved bring toa boil and simmer for 5 minutes.
Leave to cool and then pour in the vodka or gin. As much as you think is appropriate. I suspect my version with the large volume of vodka is not entirely appropriate, but we’ll see.
Use a small jug, or a funnel and pour into clean dry bottles.
Seal and label.
It’s ready for drinking straight away, or you can put a ribbon round it and feel proud that you’ve made some Christmas presents already.
My blackcurrant ripple ice-cream recipe is here if this isn’t what tickles your sweet fancy today.
You like cinnamon right? And you can imagine having hot buttered toast spread with a deliciously sweet and cinnamony apply jelly right? Well what are you waiting for? Go get some apples, preferably cooking apples, which for me means Bramleys, but any tart apple which cooks down into mush will do.
This recipe is easy peasy, and none of the stages require very much time, but overall it will take at least 24 hours from start to glorious finish.
About 3lb apples, cut into bits – no need to core or peel
thinly pared rind of 1 lemon
about 2″ fresh ginger, squished with the side of a big knife
about 8″ cinnamon stick, roughly broken up
about 1lb sugar – but see exact requirements later
Put the apples and 4 cups of water in a large saucepan. If your jeely pan has no lid, then put it to one side and find an alternative big pan, as you really need a lid for this stage.
Add the lemon rind, ginger and cinnamon and bring to the boil, then cover the pan and simmer gently for about an hour, or until the apples are broken down into a smushy pulp.
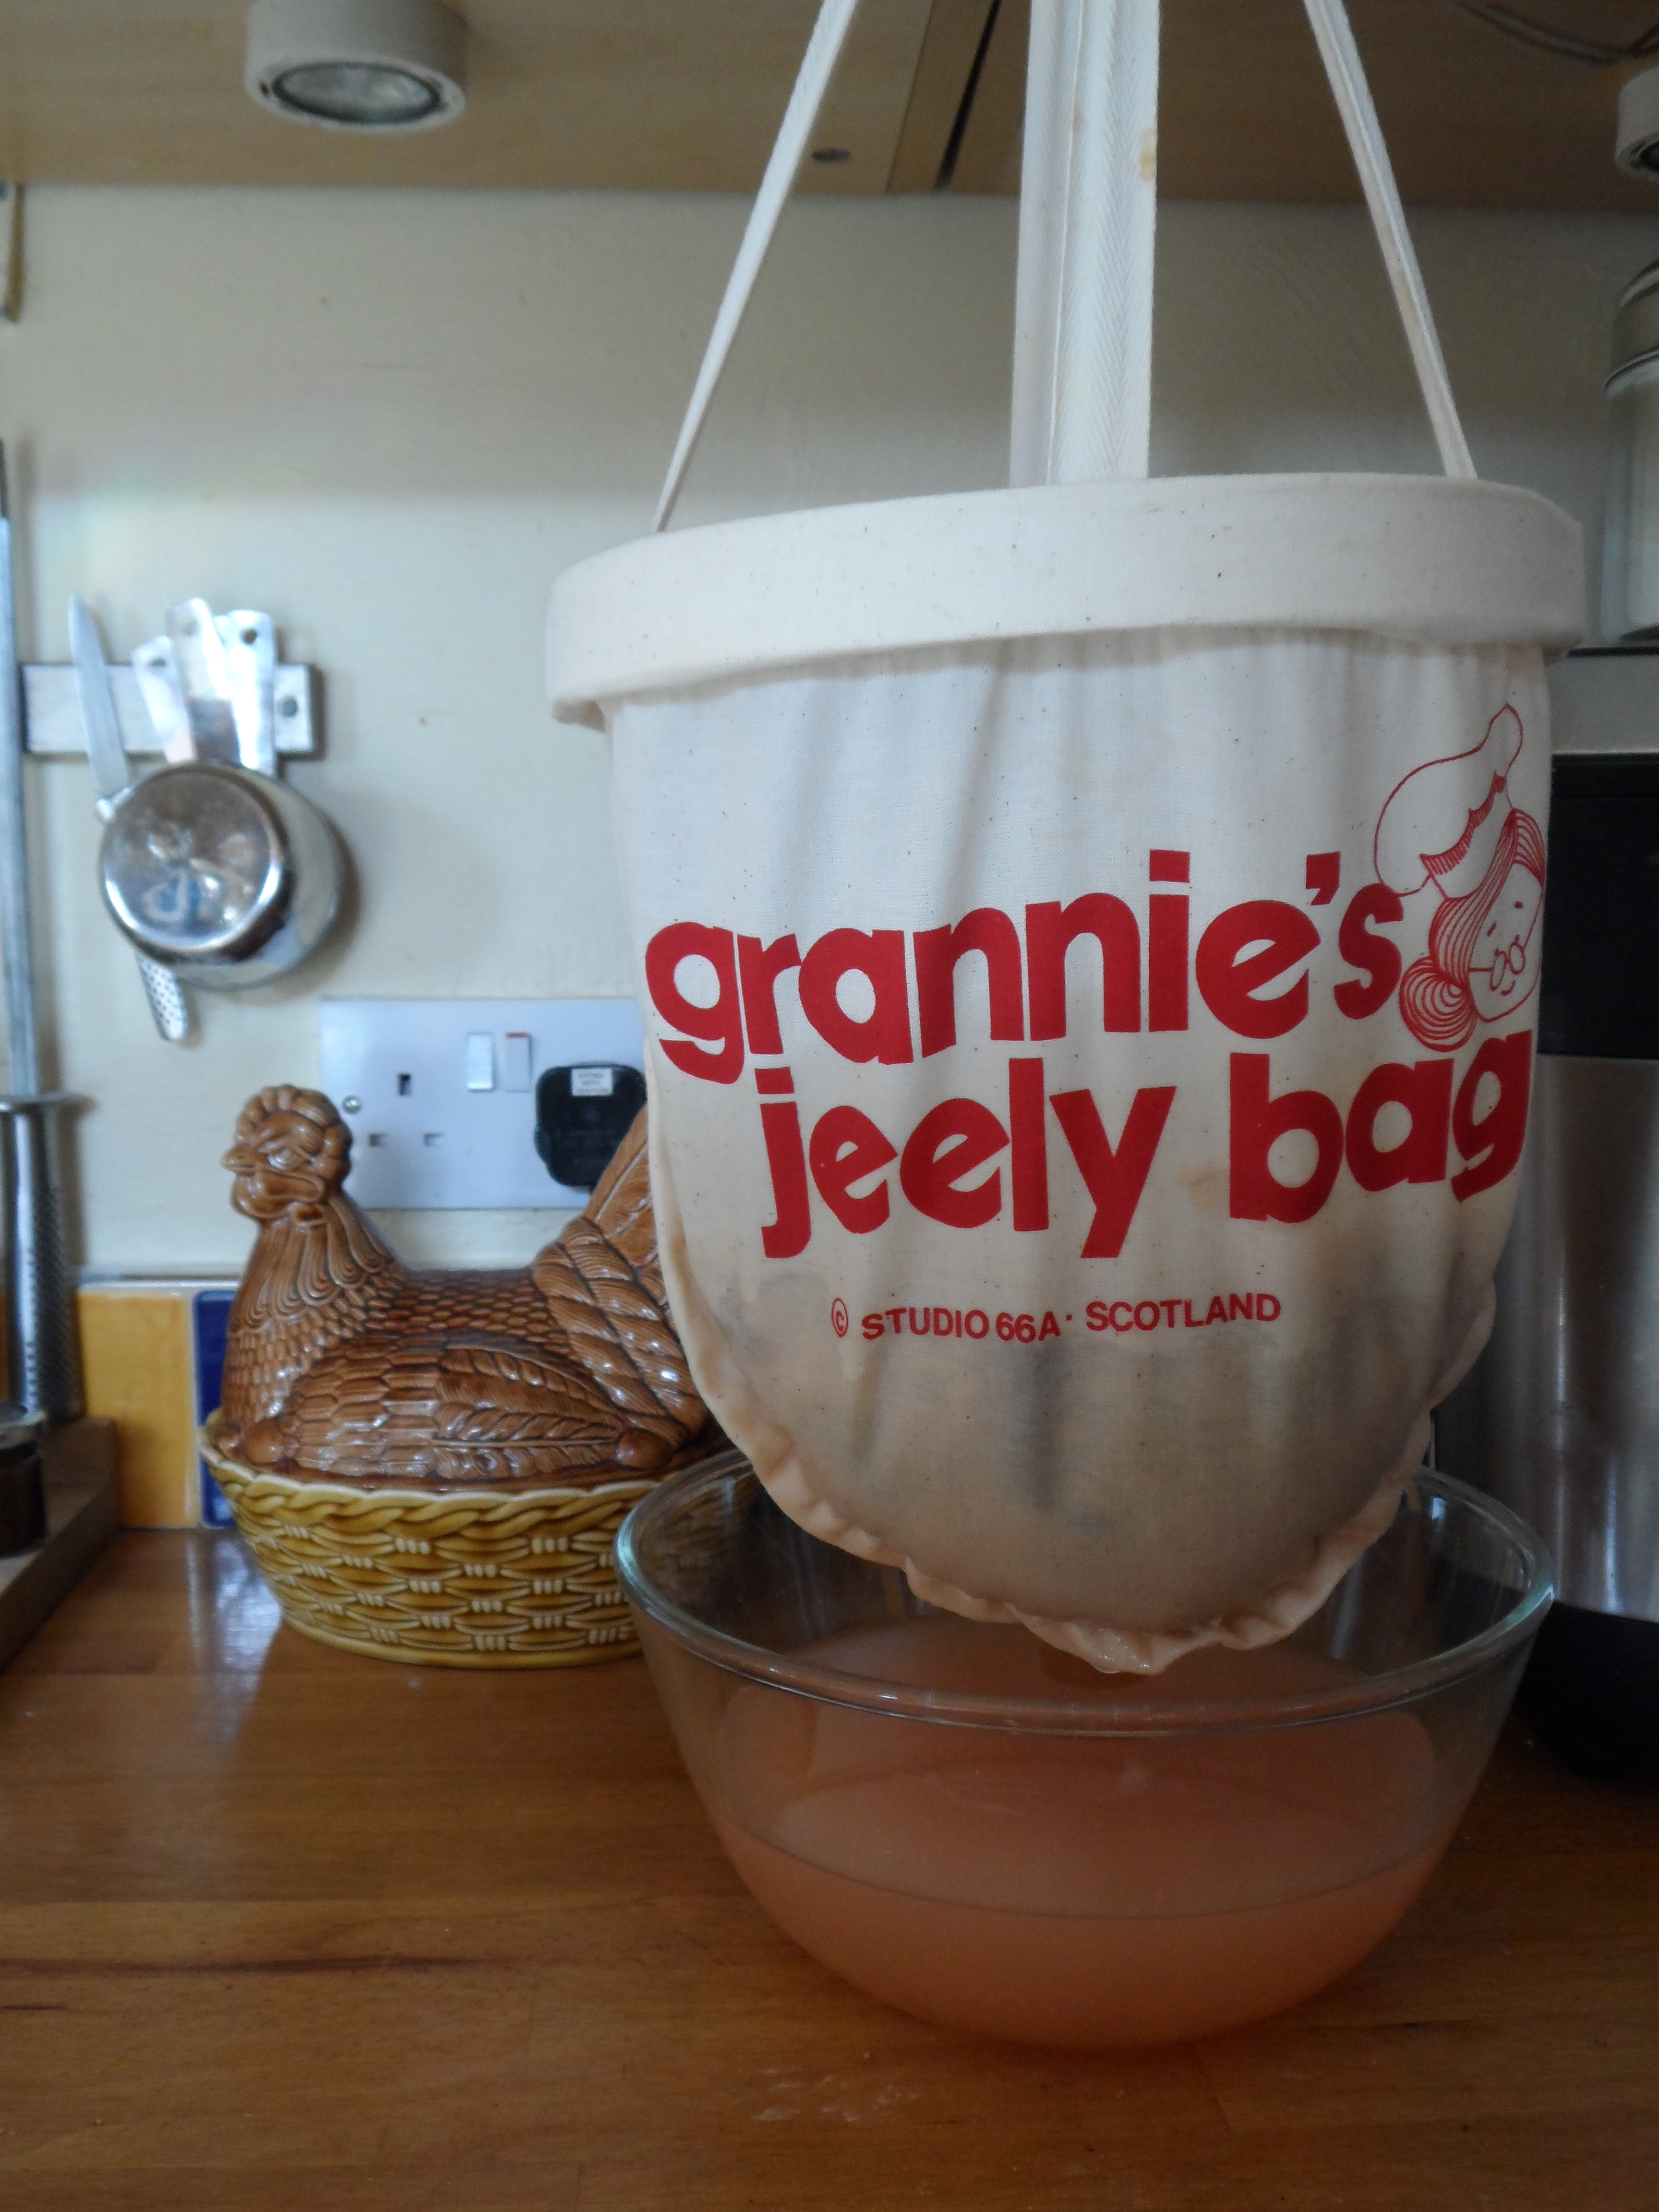
Set up your jeely bag. You do have a jeely bag don’t you? if not, off you go to your nearest jeely bag shop and get one. Or use some cheesecloth and a Heath Robinson contraption using broom handles and the backs of chairs. My nearest jeely bag shop is a wonderful old fashioned ironmongers in Lanark; it’s the sort of place where the two Ronnie’s might sell four candles.
OK, now you’ve set up your jeely bag, spoon the apple-y mixture into it. Don’t press it down, just spoon it in (over a big bowl) and let it drip. And let it drip some more. And then just leave it for at least 8 hours, but preferably longer. Overnight is good.
Making apple jelly
Measure how much apple-y juice you have made and then pour it into another large saucepan. In fact it may be the same large saucepan which you have washed while the bag was drip drip dripping.
For every cup of juice, you need to add almost 8oz granulated sugar. I know this isn’t very scientific, but there you go, it’s the recipe I have and it works for me. And you know what? I suspect you’ll be ok with a teeny wee bit extra sugar, or a wee bit too little.
Put a side plate in the fridge, or freezer now. It’ll become clear later why you’ve done this.
Anyway, add the sugar into the pot, and slowly heat it up, stirring occasionally.
Increase the heat and cook at a full pelt of a boil for about 10 minutes. Watch it ALL THE TIME. Don’t be persuaded to go and see if you can get that blasted printer to work. Your apple jelly will boil over as soon as you have distracted yourself with something else. Trust me, I know this to be a fact.
After 10-ish minutes test for a set – I do this by dripping a small amount of jelly onto that cold plate, and then waiting 20 seconds. Then I push the jelly with my finger and see if it has wrinkles at the edges, or if it is still just liquid-y. You want the wrinkles. If there are no wrinkles keep boiling and test again in a wee minute. Keep boiling and testing till you have wrinkles. Well, not you, your jelly…
Remove the scum from the surface with a holy willie. I’ve been through this before in a previous recipe. A holy willie is what you might call a slotted spoon. Anyway, use an implement to remove the fluffy scum – pop it in a wee bowl and use it on the next piece of toast you make. You’ll thank me for that tip.
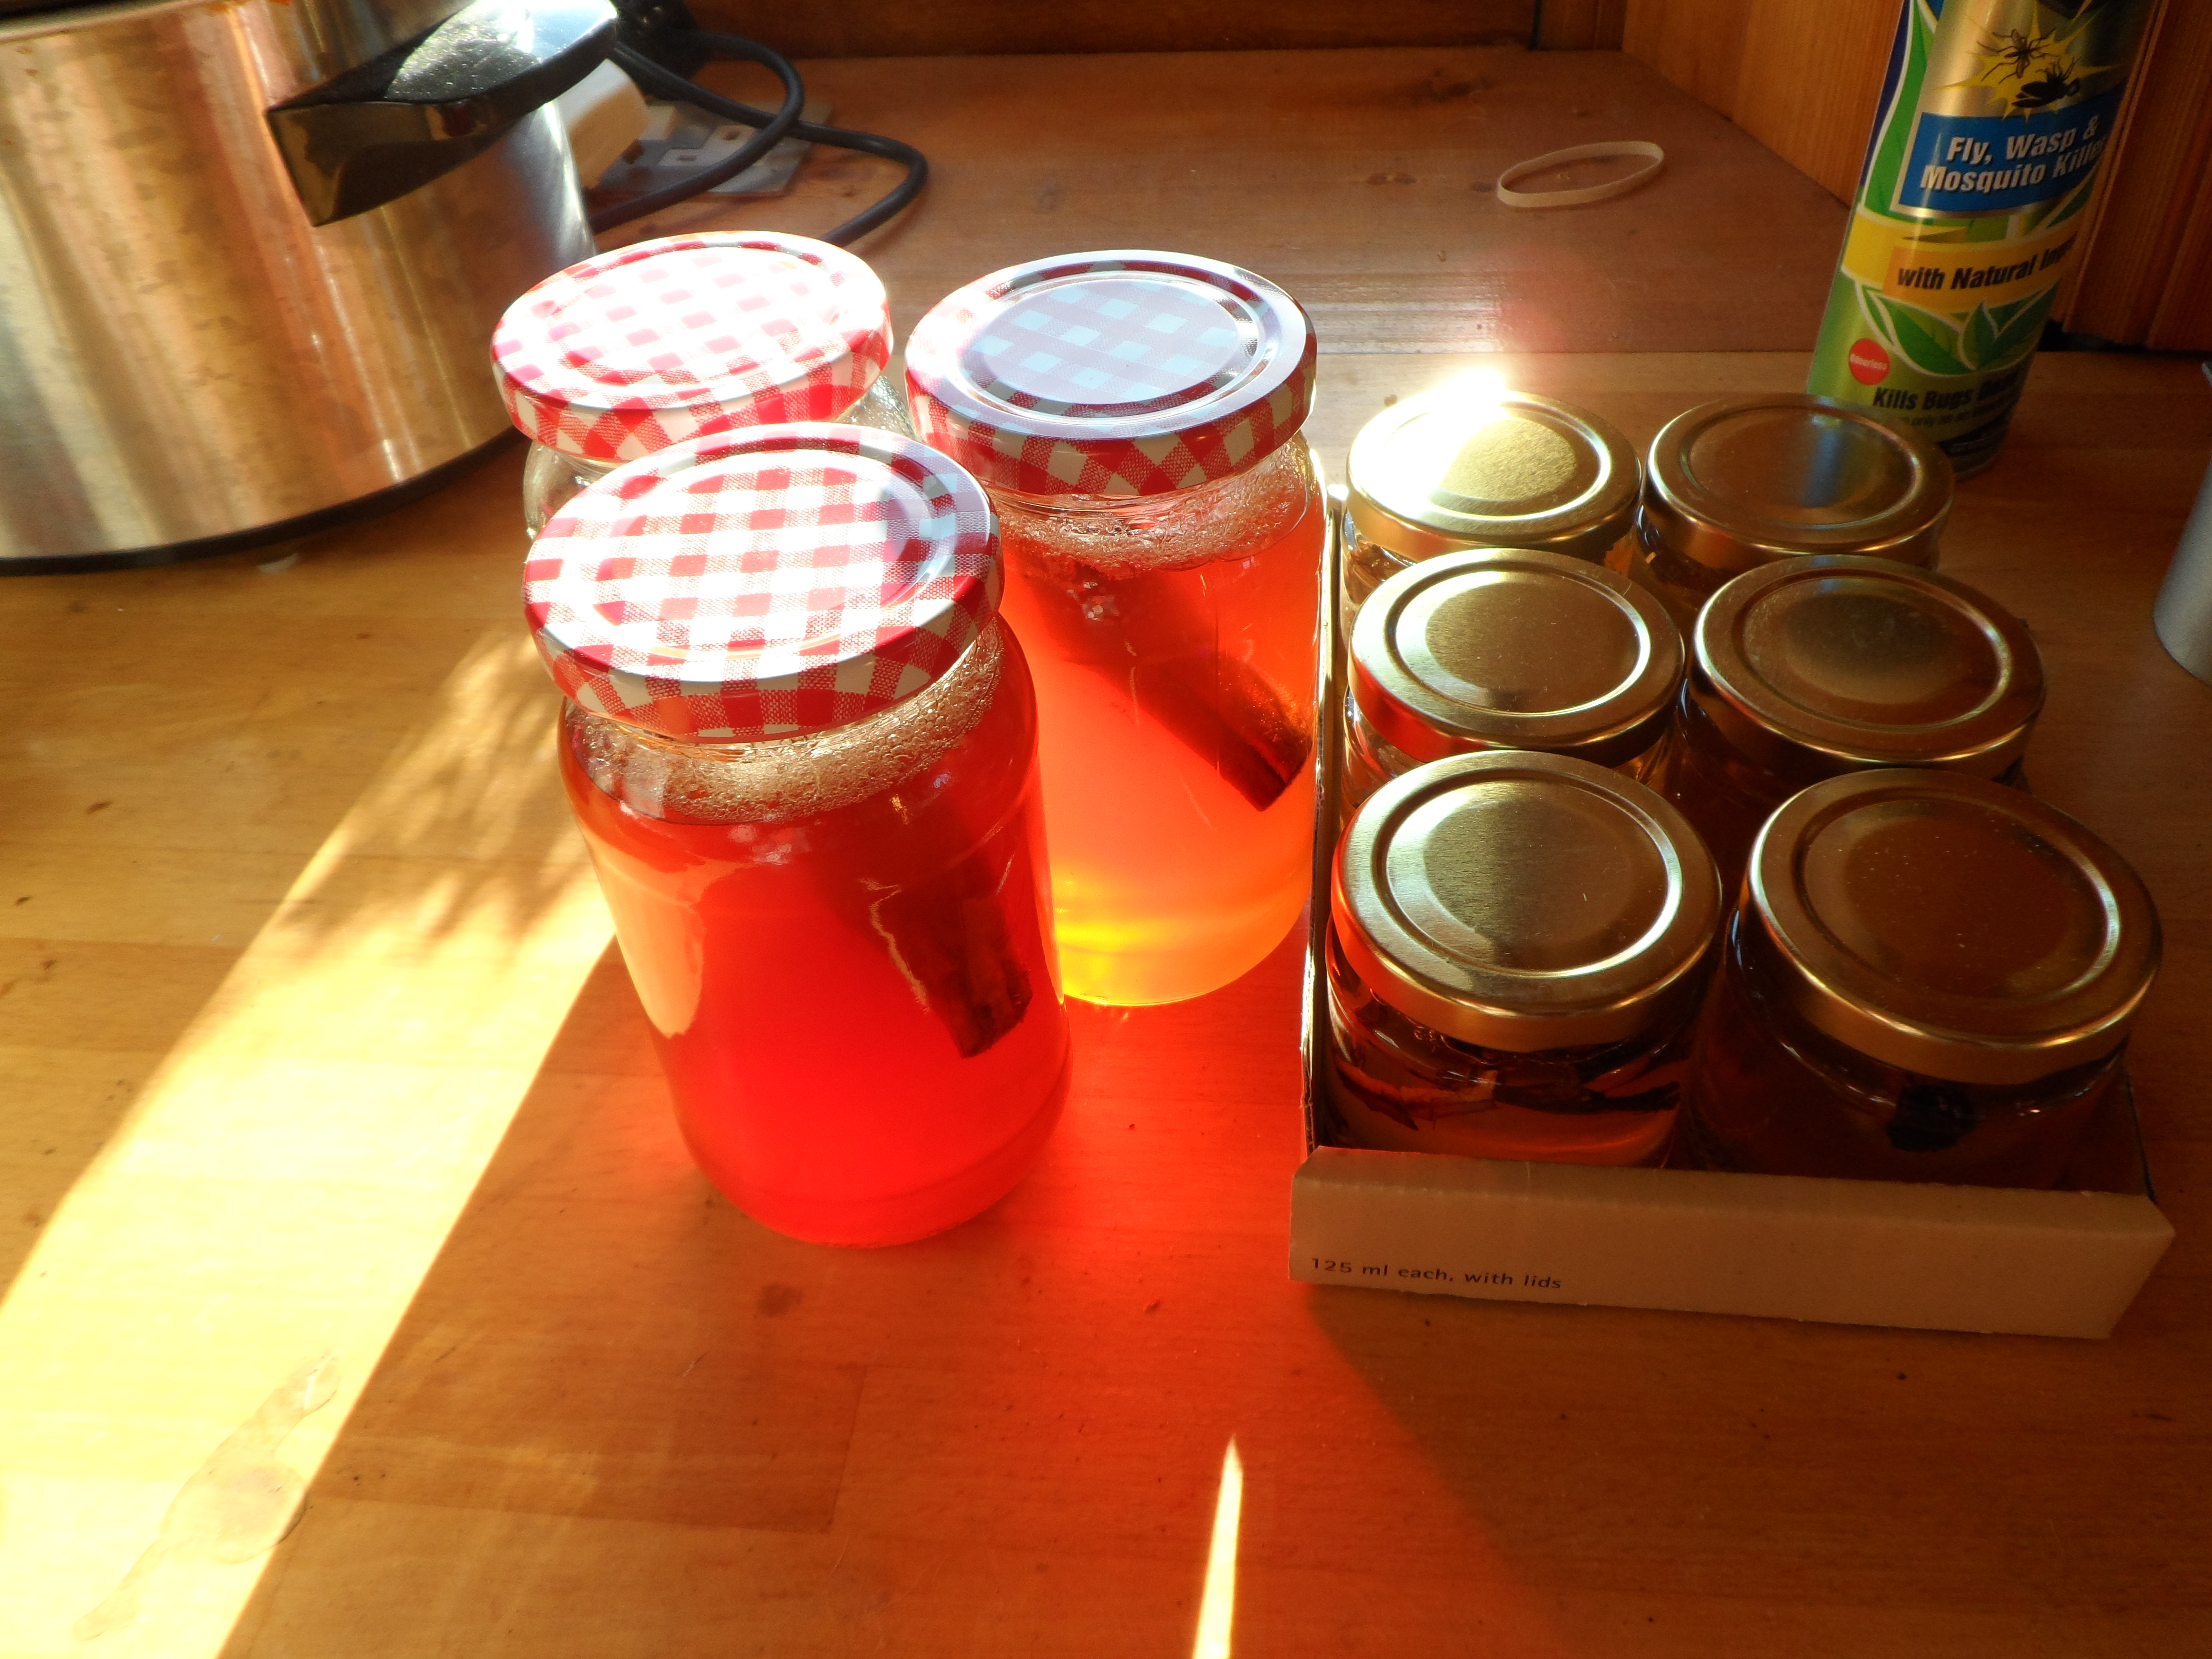
Allow the jelly to cool in the pot for an instant or two and then ladle it into hot sterilised jars. If you’re being fancy, pop a piece of cinnamon stick in each jar before you pour in the hot jelly – it’ll look artisanal, or at least as though you tried.
Seal your jars and label them up
If you make them look pretty they are particularly nice Christmas gifts. You know, for the sort of people who appreciate a jar of something sweet, and think that Christmas is too commercial. Anyone else doesn’t deserve it, not unless you really love them.
Only give as gifts to people you really love
Thanks to Thane Prince and her ‘Jellies, Jams and Chutneys’ book for this recipe.
Well, I love my sort of Christmas food – which is almost anything apart from traditional Christmas cake. I love warm and mellow Christmas spices; chestnuts thrown into all manner of leftover dishes just because you have them; turkey; glazed ham; mulled wine; spiced cider; and cranberries. I really love baking with fresh cranberries.
And I know it’s only just December, but I was in the wonderful Whole Foods Market in Giffnock again this weekend and they had ENORMOUS fresh juicy cranberries. I had to have them.
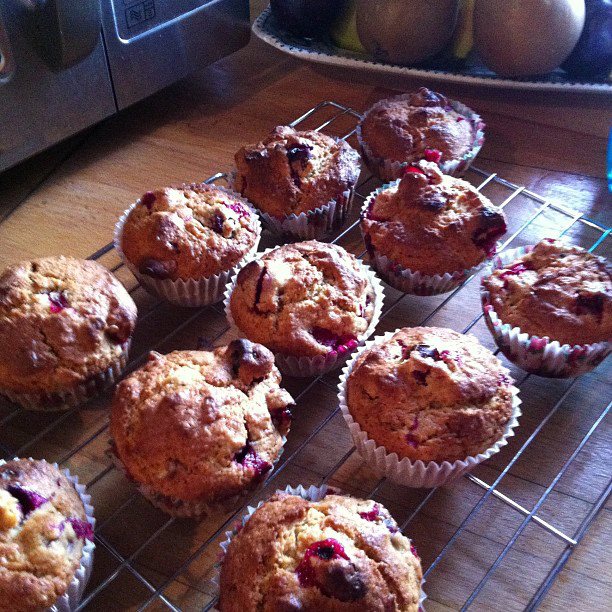
And I had to make muffins with them. I combined them with clementine zest and orange juice, for flavour. And a muffin batter which included extra bran and porridge oats to make them pretend they are somewhere further along that health spectrum than you might imagine. But then lots of melted butter to make sure they are still tastiness itself.
And now you can make them too. If you start now, they’ll be ready within an hour. Unless you have to go out and pick your own cranberries.
Cranberry & clementine muffins
Preheat oven to 375F / 200C / GM5-6. Prepare muffin tins, lining them with muffin cases. Makes about 12 regular muffins .
8oz plain flour
1oz bran
1oz porridge oats
3 tsp baking powder
a pinch of salt
3oz dark brown or muscovado sugar
1 large egg
6oz fresh cranberries (you could use blueberries, or other berries of your choice)
grated zest of 5 clementines
7fl oz clementine or orange juice
3oz melted butter (or 3fl oz veg oil)
Mix together in a large bowl: flour, bran, porridge oats, baking powder and salt
In a separate bowl beat together: sugar, egg, zest, juice and melted butter
Pour liquid ingredients into the dry ones and stir until just combined, adding the berries towards the end. The batter can have lumps but there should be no pockets of dry flour
Spoon into muffin cases (about 3/4 full should work, and produce nice full muffins)
Bake for 20-25 minutes until tops are golden brown and the muffins spring back when you poke them gently
I didn’t mean to. I prefer to wait till 20 December for my Christmas preparations, as is traditional in my family. But there are some things that need time to reach perfection. And anyway, I enjoy pottering about in the kitchen.
So yesterday I bought some fresh cranberries and a bottle of vodka. Last time I made cranberry vodka it was far too sweet, but was a perfect late night (after too much wine) shot. So I’m trying it again. And plum brandy (if only because I have brandy in the cupboard and our plum harvest in the freezer).
The cranberry vanilla vodka starts with layers of sugary syrup, and lighter alcohol
Cranberry Vanilla Vodka
250g cranberries
1/2 vanilla pod
160g caster sugar
1l vodka
You’ll need a kilner jar, larger than a 1l one. I think mine is probably 1.5l, but not entirely sure. Hey, it won’t really matter if your jar is too small, you just won’t be able to fit all the vodka in (so use slightly less fruit and sugar too).
Here’s the slightly laborious bit, although I find it meditatively soothing. Prick each of the cranberries with a fork, and pop them in the jar.
After you’ve added a cranberry layer, spoon in some of the sugar, then layer with more pricked cranberries and more sugar. Keep going till you’ve put in all the cranberries and sugar. And I know the pricking seems ridiculous, but really, if you don’t do it the flavour won’t leach out into the vodka so much, and you’ll end up with a disappointing drink, having saved yourself a mere 15 minutes sitting down listening to the radio.
Now using a sharp knife split the vanilla pod lengthwise, and scrape out the seeds into the jar. Throw the empty pods in too, they still have lots of seeds and flavour left in there.
Pour the vodka in on top of the fruit layers, seal the lid and give it a shoogle.
Leave somewhere out of the way, but easy to hand – so it’s not in your way, but you can give it a wee shoogle every day for the next 3 weeks.
Taste it. If you’d like it sweeter, then make up some basic sugar syrup, with caster sugar and water, and add it to the jar. If you like it as is, then bottle it up and put a pretty label on it.
Drink.
Plum brandy
Follow the basic method for Cranberry Vanilla Vodka. I only had a 1l jar, so I layered plums and soft brown sugar till the jar was about half full. Then I added a star anise and about 1″ cinnamon stick, followed by some brandy. We’ll see how it turns out… I suspect I’ll wish I’d put more star anise in it.
Jars of alcoholic tastiness
Next weekend I will probably turn my hand to a Stollen. I’ve never made one before, but much prefer stollen to heavy fruitcake. Mind you, I do have a recipe for a Christmas Cake which lasts like a normal cake, but is made of nice light fruit, like apricots instead of all that horrid stuff you usually find in a fruitcake.