Let me tell you, Aunt Lilo’s apple cake is delicious and super easy to make. Try it warm with a wee dollop of Greek yogurt.
Although this feels like an Autumnal recipe, perhaps it will be just perfect for using up a couple of apples which are most definitely past their best. They’ve been lurking in our fruit bowl for just too long.
I feel a bit like those apples, as though I’ve been sitting around doing not very much for far too long. Perhaps my time to shine is about to come?
I’ve not been well for a few months, and it’s fair to say that our house move was not as straightforward as we might have wished. However, perhaps it’s the Spring in the air, but I really do think that I’m beginning to feel a whole lot better. I still can’t drive, due to the big blindspot I have in my left eye. And I still have a permanent headache. But honestly, this feels like good health compared with how I’ve felt for months.
Anyway, let’s go see what we can do with those slightly soft apples. And after that, there will be lots more wild garlic pesto to make. Such a good harvest this year. Top tip if you’re making wild garlic pesto – play about with it, make it how you like it. We made a batch with Bonnet goats cheese the other day and it was stunning. And we regularly add a chilli pepper to give it a bit of zizz.
***
Thank you for reading this.
Mostly I blog about my relationship with Mum and her dementia, so if that might be your thing, then you could start here at Taking smock of the Situation. Or just dip in. After all, if I’ve learned anything this last few years it’s that chronology and time are less important than we might believe.
Do get in touch if you have any questions or comments – I love to hear from you my lovely readers.
It’s glorious weather here today. And I’m on holiday from work this week, so after a lazy start and a walk with the dogs I made some madeleines. Oh my good god they are delicious!
And this afternoon I pootled a bit, then had a coffee break on the Terrace and did a bit of stabbing.
I called Mum late afternoon and talked about flowers for a minute or two. That was fine.
Now might be the time to state that I have never read any Proust. And it seems likely that I probably never will if I’m honest (and I like being honest).
But I had a desire to understand about the whole madeleines Proust thing (which is no doubt impossible to fully understand if I resort to Wikipedia instead of actually going to the primary source). Anyway, I now know that in A la Recherche du Temps Perdu, or In Search of Lost Time if you want the English translation, the madeleines are used to demonstrate involuntary memory, and how it differs from the partial memory of voluntary memory.
Basically, when the character in the book tastes a madeleine dipped in tea it brings forth a forgotten memory of his aunt eating madeleines dipped in tea on a Sunday morning. And I guess a whole lot of other associated stuff with that memory.
I get this. I had this involuntary memory experience a couple of years when I saw Mum spooning the froth off the top of her cup of hot chocolate in a café. I realised I do this whenever I get a frothy drink. I also find myself sometimes involuntarily ordering a black coffee with a wee jug of cold milk on the side, because this is exactly what Dad used to order, and sometimes his words just come out before I have thought about the fact that I prefer a flat white. I wonder if Dad might have liked a flat white, if they had been more readily available in his lifetime?
Anyway, memories.
Memories of memories.
And shadows of memories, ghosts of memories.
I’m interested in what we remember, and what we lose. What we notice at the time, and what we hold in our memory banks so we can revisit them later. I hope I always remember the woodpecker that had breakfast at the birdfeeder just 2 feet from my desk this morning. Will it come back to me, unbidden, if I see a woodpecker again when I am old? Will I always remember that moment it first landed on the birdfeeder and I held my breath, lest I disturb it? And how when it had its fill, it flew back up to the telegraph pole and clung on, in classic woodpecker pose, but this time not so close, so I couldn’t see the detail of each and every feather.
Also, I do love the photograph (above) of the ghosts of madeleines, created by the dusting of icing sugar.
***
You might want to dip into other posts, or understand how we got to this point? This series of posts starts here, with Taking Smock of the Situation, an embroidery project I started after I realised Mum might have dementia. There I was, embroidering her old fisherman’s smock with symbols relating to her life; as her memories were being thrown around like so many pieces of jigsaw in a big box.
More clothes pegs on a line. They maybe don’t look much like clothes pegs but they are, and I kinda like them. They might make more sense once the swallows are there too.
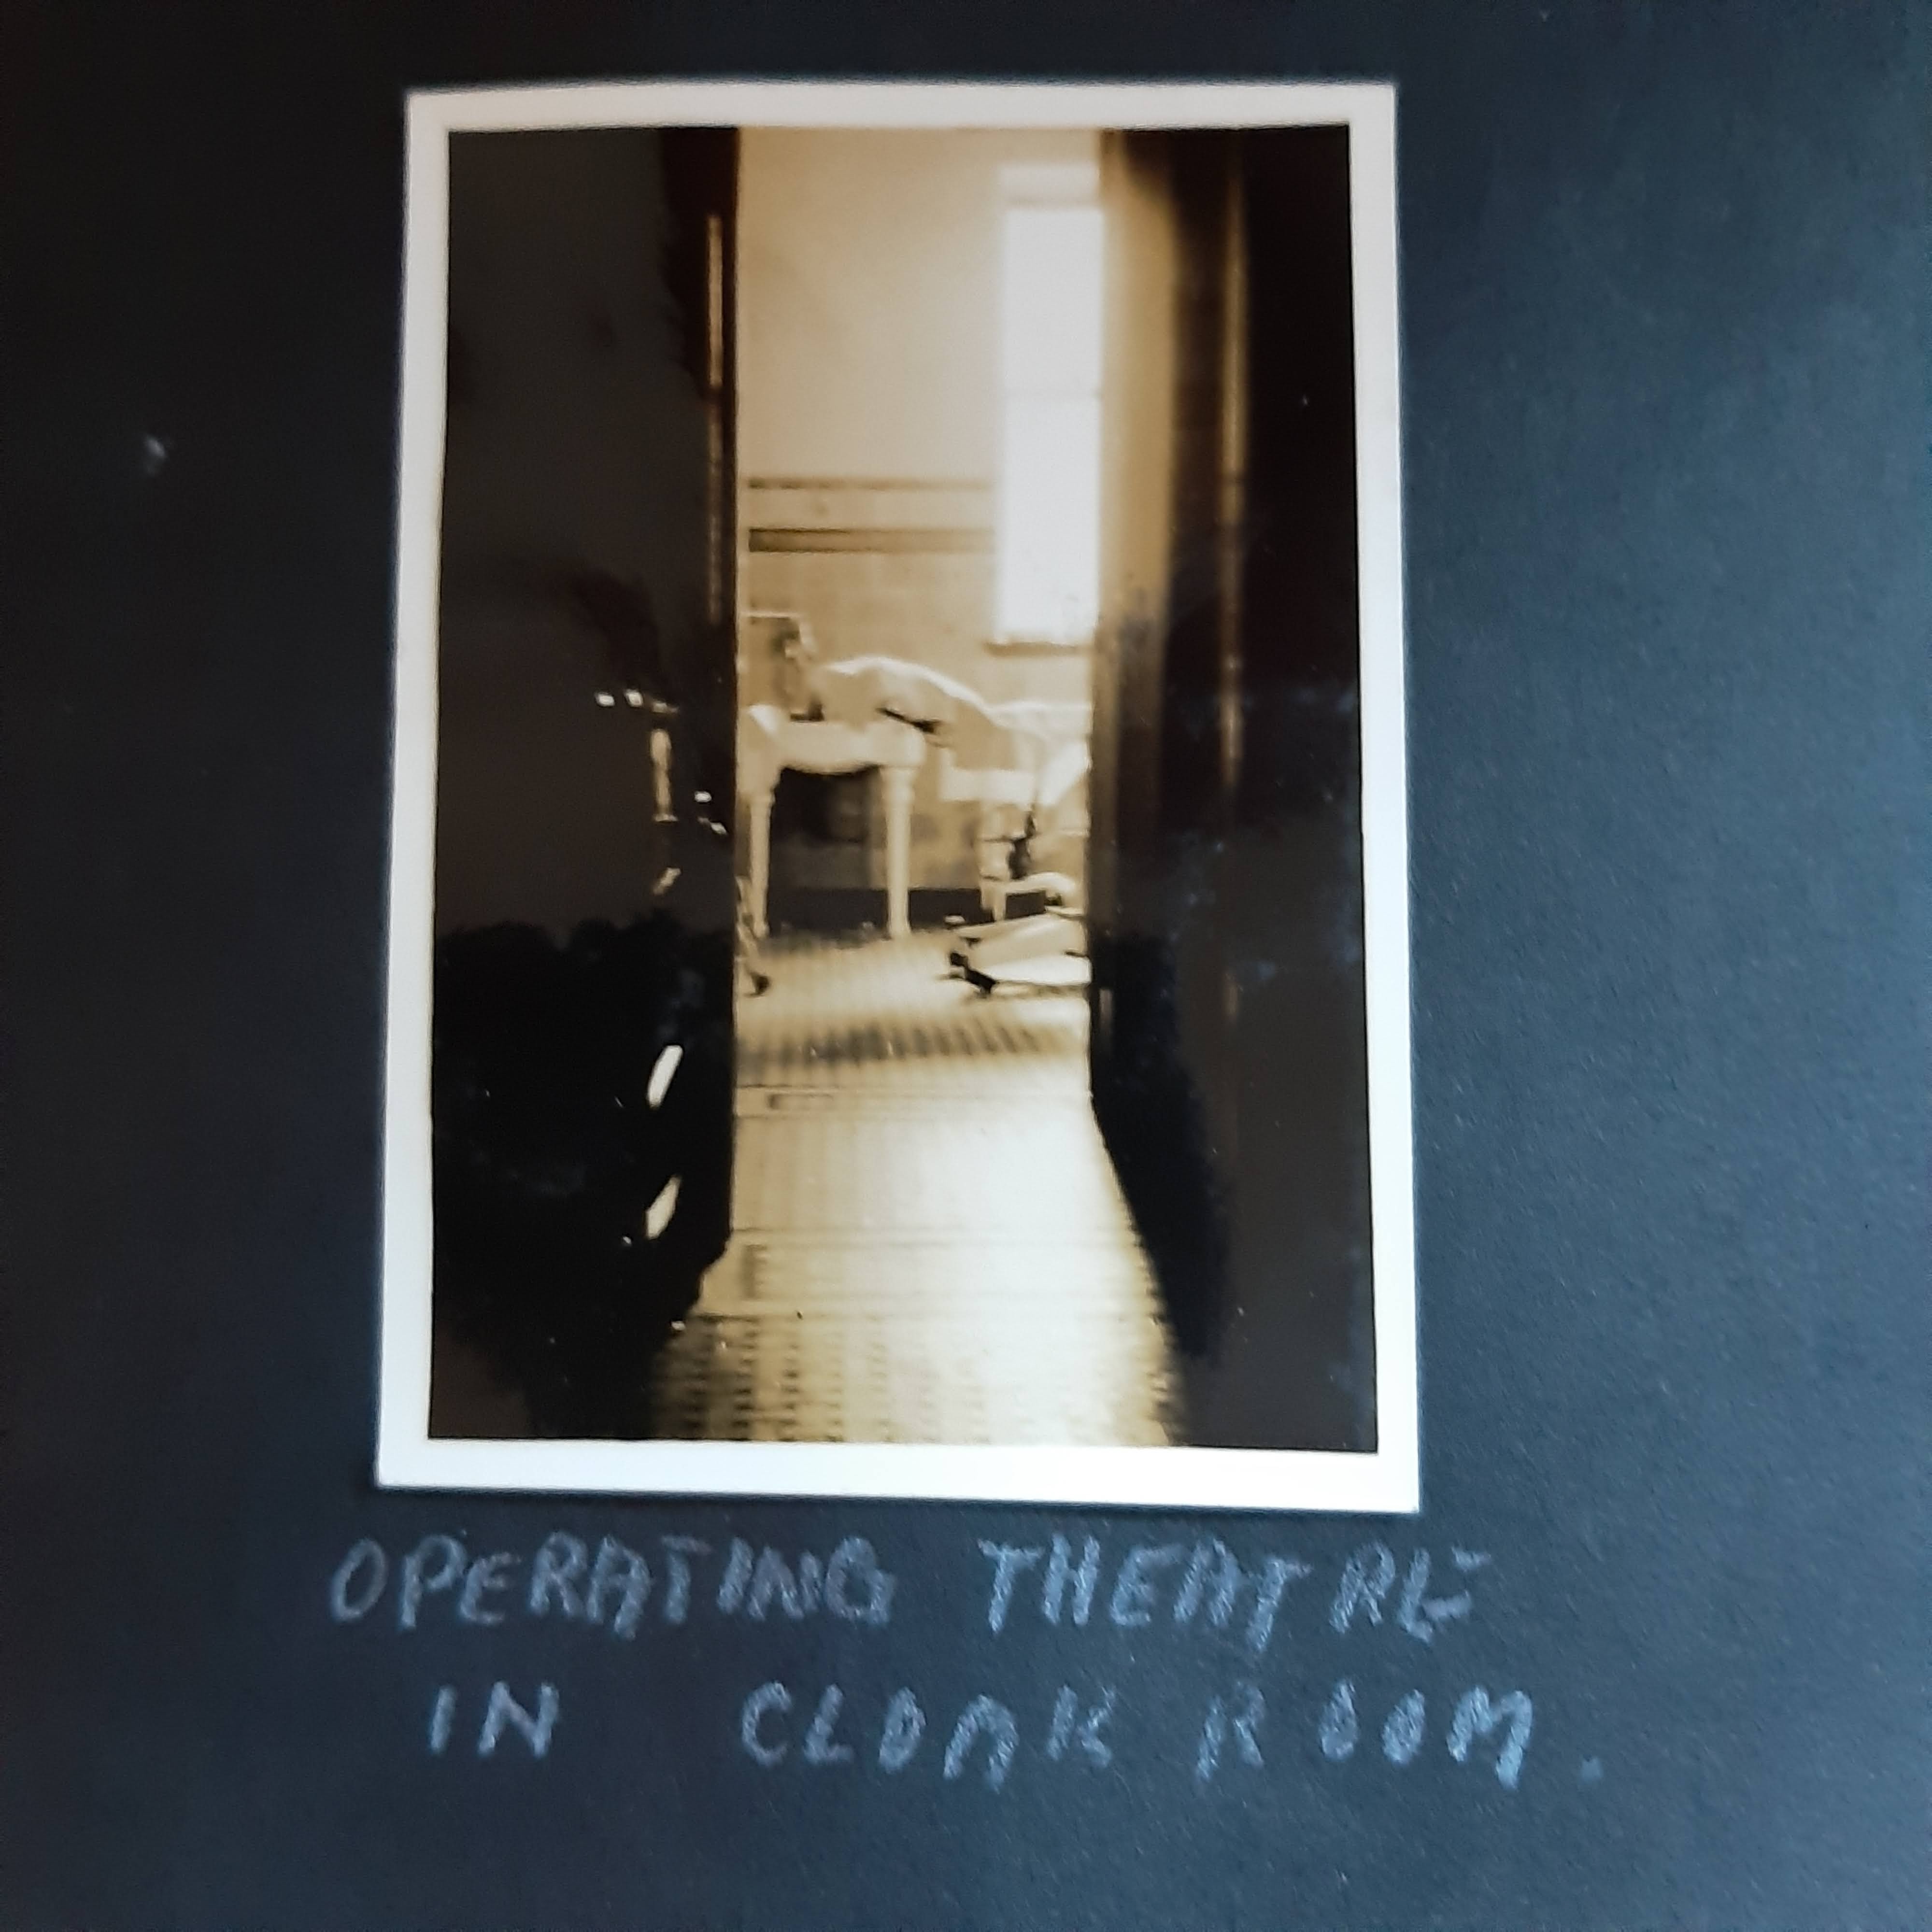
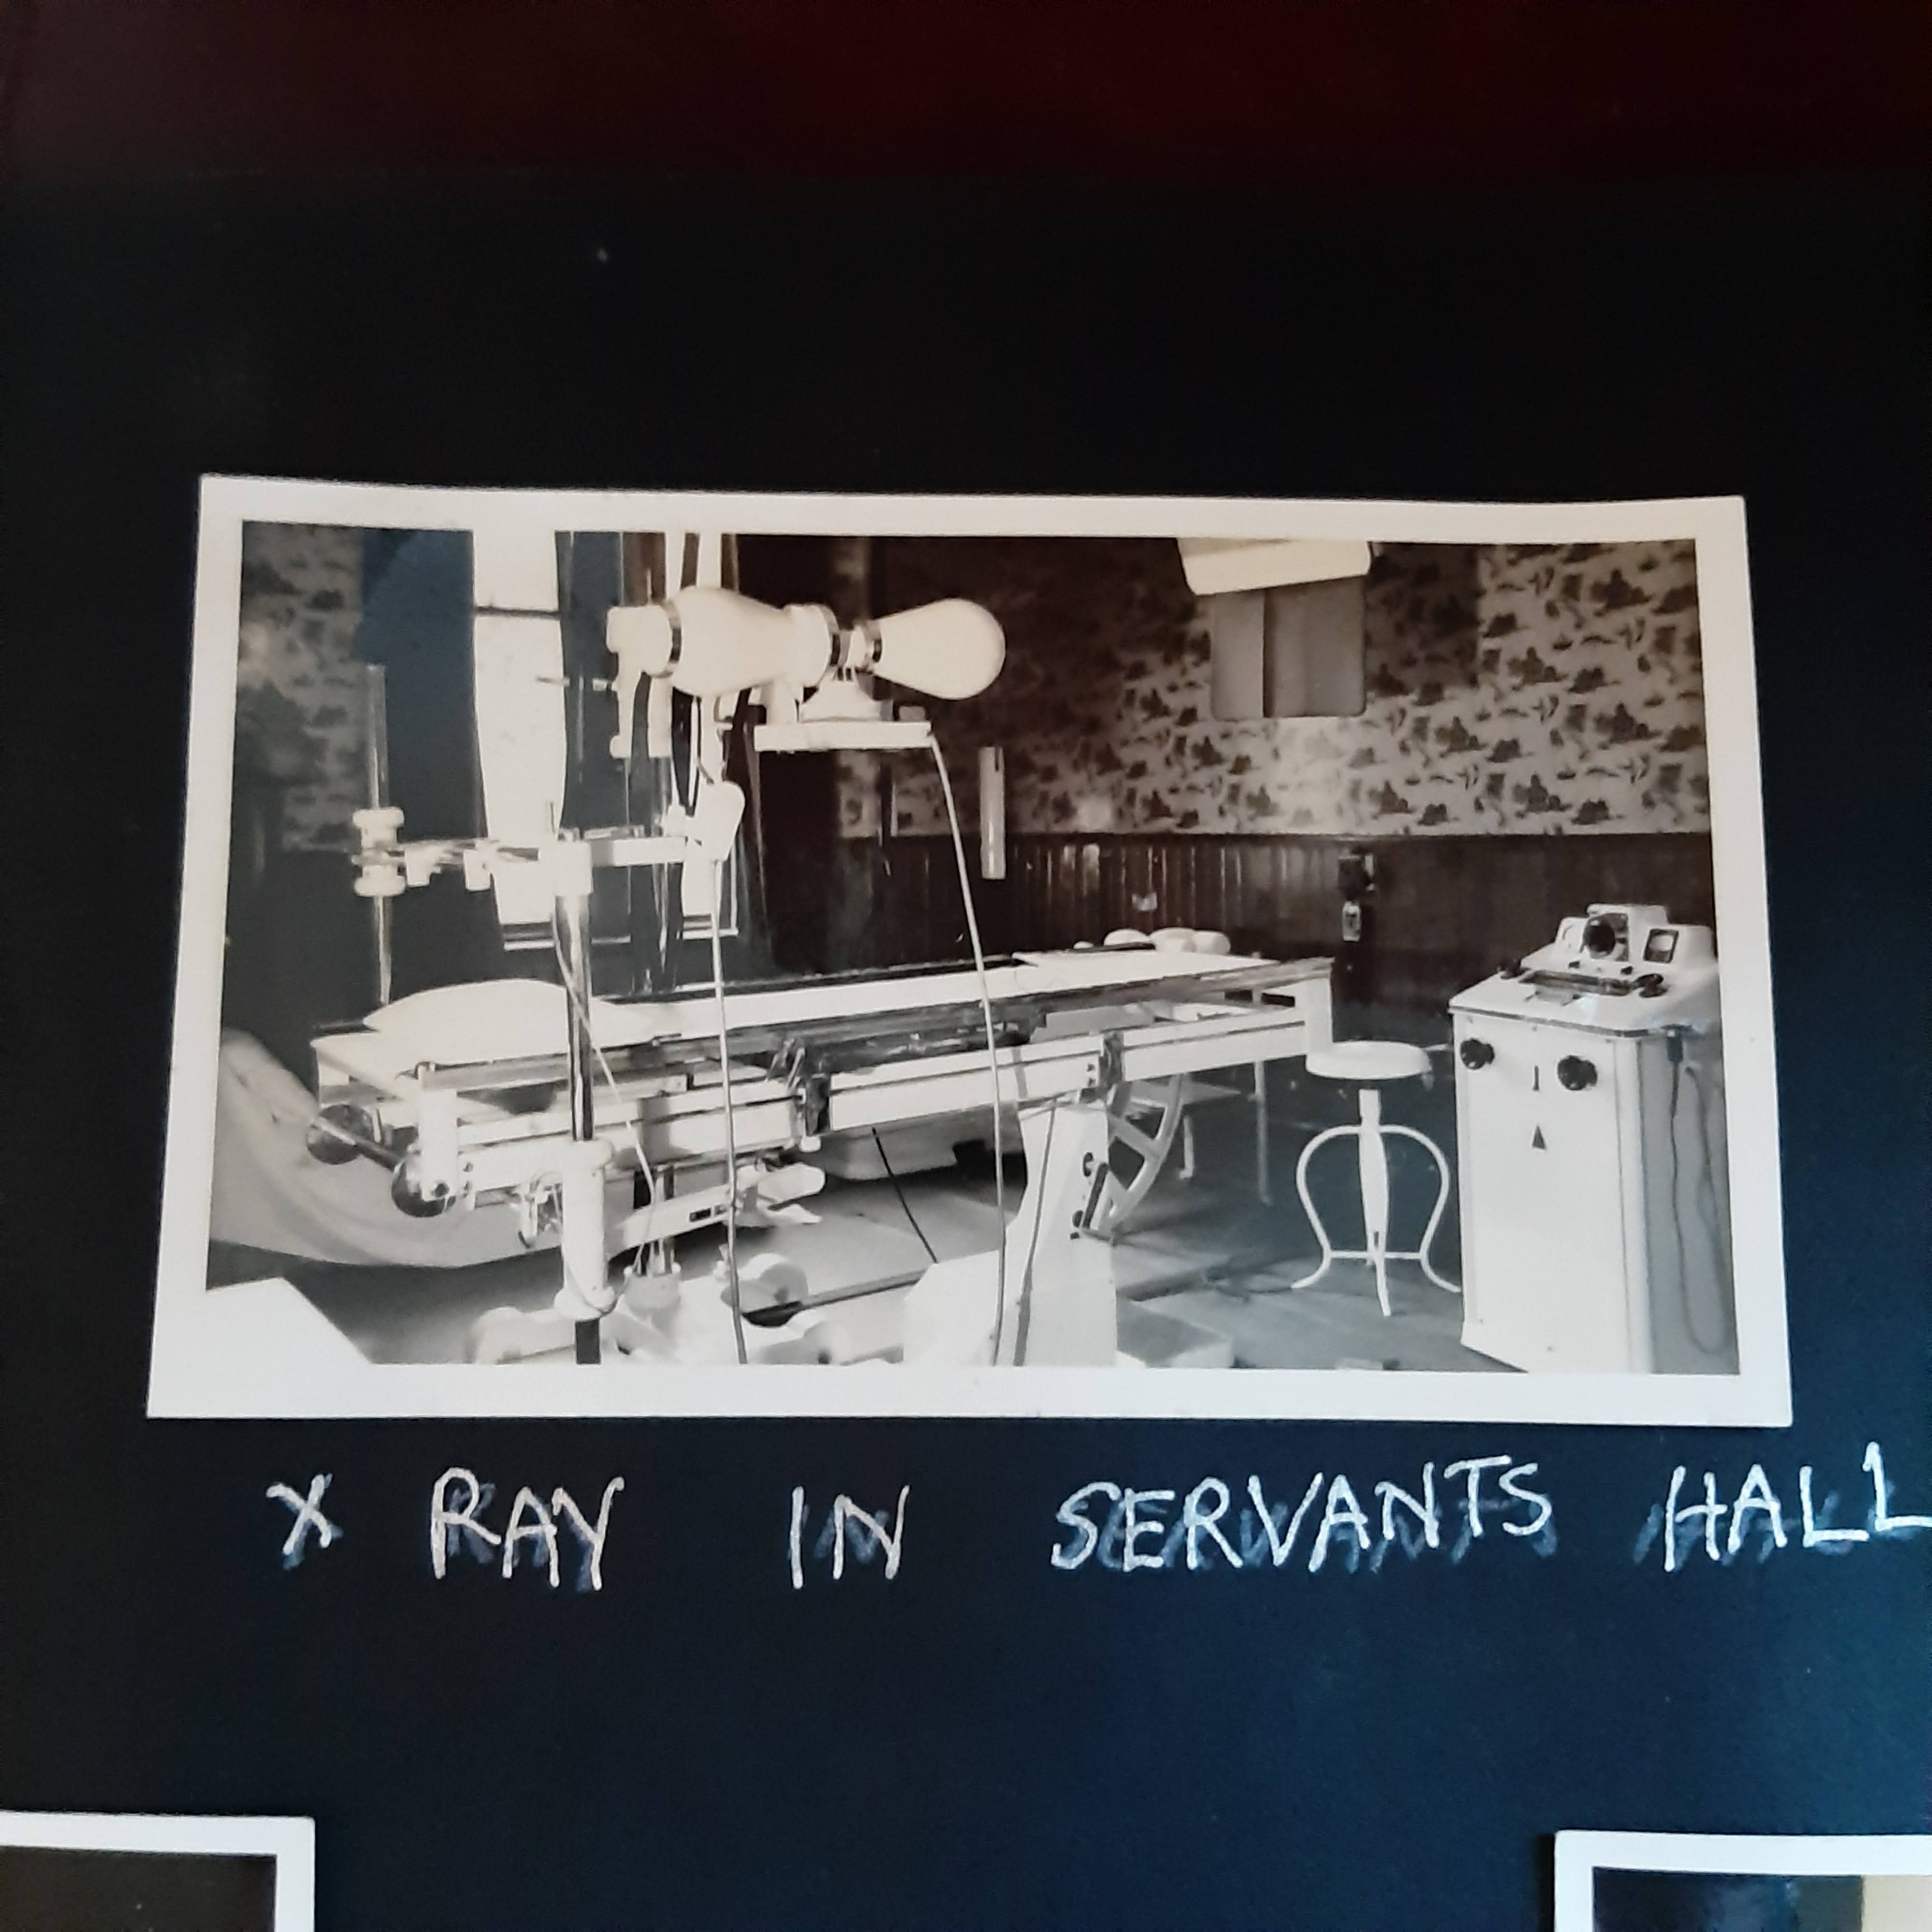
The bonus picture today is of the Duncan siblings, taken on the steps of Newlands during WW2. They all feature in Mum’s memoirs in different ways, but the biggest character is Newlands itself.. it was given to Norwegians during the war, to use as a hospital, while Gran lived in the Garden Cottage with her daughters, Jen and Mum. But more on that another day.
The Duncan siblings: Arthur, Loïs (my Grandmother), Walter, Lorna and JohnNewlands as a hospital, during the war
Mum was proud of her connections to Norway, first developed on her long journey back to Scotland at the start of WW11. On the ship were only a few passengers, and it seems that they were mostly Norwegian whalers, heading back to Europe to fight. Our Grandmother had a particular and long-lasting friendship with one, Kris Thoresen also known as Big Dog.
And Mum remembered with great fondness the young recuperating Norwegian soldiers who climbed trees with her on the Newlands Estate during the war. When she jumped into a large water tank and cut her foot (almost in half by all accounts!) on a broken jam jar at the bottom of the tank, she was carried up to the Big House which the Norwegians had turned into a hospital during the War, and there the kind Norwegian surgeons sewed her foot back together and the nurses bandaged it up.
In 2017 Mum contributed to a local project, gathering information about the connections between Dumfries and Norway from WW11 and beyond. The project is now all compiled here: Our Norwegian Story. There is oodles of information on the site about the many and varied ways that the Norwegians and the Doonhamers engaged with one another, including a section on Newlands (click through on the locations, and then on Newlands).
There were Royal visits to Newlands, by King Haakon in the 1940s and then King Olav in the 60s. As Mum’s mind started unravelling she became slightly obsessed with King Haakon, and with the plaque he unveiled at Newlands – she would suggest that we went for a visit to see the plaque, because no-one else would know about it any more, only her. There were days I would visit and she would tell me that he was coming to tea the next day, or that he had been there earlier, and now had thrown all his rubbish into that pile ‘there’ (pointing at the corner of the bed, where she regularly claimed there was a rubbish dump).
One of Mum’s other obsessions (for a while) was biscuits. She LOVED to have biscuits in her tin. And as fast as I could bake, and fill up that tin, they would all be eaten again.
And then I found a recipe for King Haakon biscuits! The joy! Of course I made a batch and took them to Mum, who declared that they had probably been made specially by the cook at Newlands, and that cook got the recipe from the King. I took that as praise indeed for my biscuits.
The biscuit recipe actually came from the WI Biscuit book, which is an absolute must for anyone who vaguely likes making biscuits.
And now I have a batch of the biscuit dough in the fridge, ready to be cut into slices and baked, so soon the kitchen will smell deliciously of sweet baking.
Do let me know if you make King Haakon biscuits. Or if you want the recipe for the Cardamom Cookies, which are sensationally good. One of these days I’ll get back to writing up more recipes again.
***
I started writing this series of posts here, with Taking Smock of the Situation, an embroidery project I started after I realised Mum might have dementia. There I was, embroidering her old fisherman’s smock with symbols relating to her life; while her memories were slipping away, like me at a party I don’t want to be at.
Before that I blogged about whatever I was cooking and you can find my recipes here.
Mum used to make us the thinnest of thin crepes, which we all (obviously) fought over. We only ever had them with a squeeze of lemon (which in the 60s and early 70s was always a squeeze from the plastic Jif Lemon, do you remember them? And what was the relationship between a Jif Lemon and Jif Cleaning products?)
Anyway, although I do love to share a recipe here, I’m not going to share the crepes recipe – there are plenty other places you can find them online, or in recipe books. But I’m going to share two other recipes for pancakes.
Mum’s sister Joyce made the best pancakes. I have such happy memories of sitting at the big farmhouse kitchen table at Marbrack, with my back to the Rayburn, where Aunt Joyce was turning out the most perfect fluffy pancakes. They were what you might call Drop Scones, or Scotch Pancakes, similar to American Pancakes. Once each pancake was cooked, she would pop it into a big bowl, lined with a clean tea towel, and then flip the tea towel over the top of them all to keep them warm. So good, warm with fresh butter.
We have Joyce’s pancake recipe in Mum’s recipe book.. the instructions aren’t today’s cookbook standard, but you can probably work it out, if you know what you’re looking for.
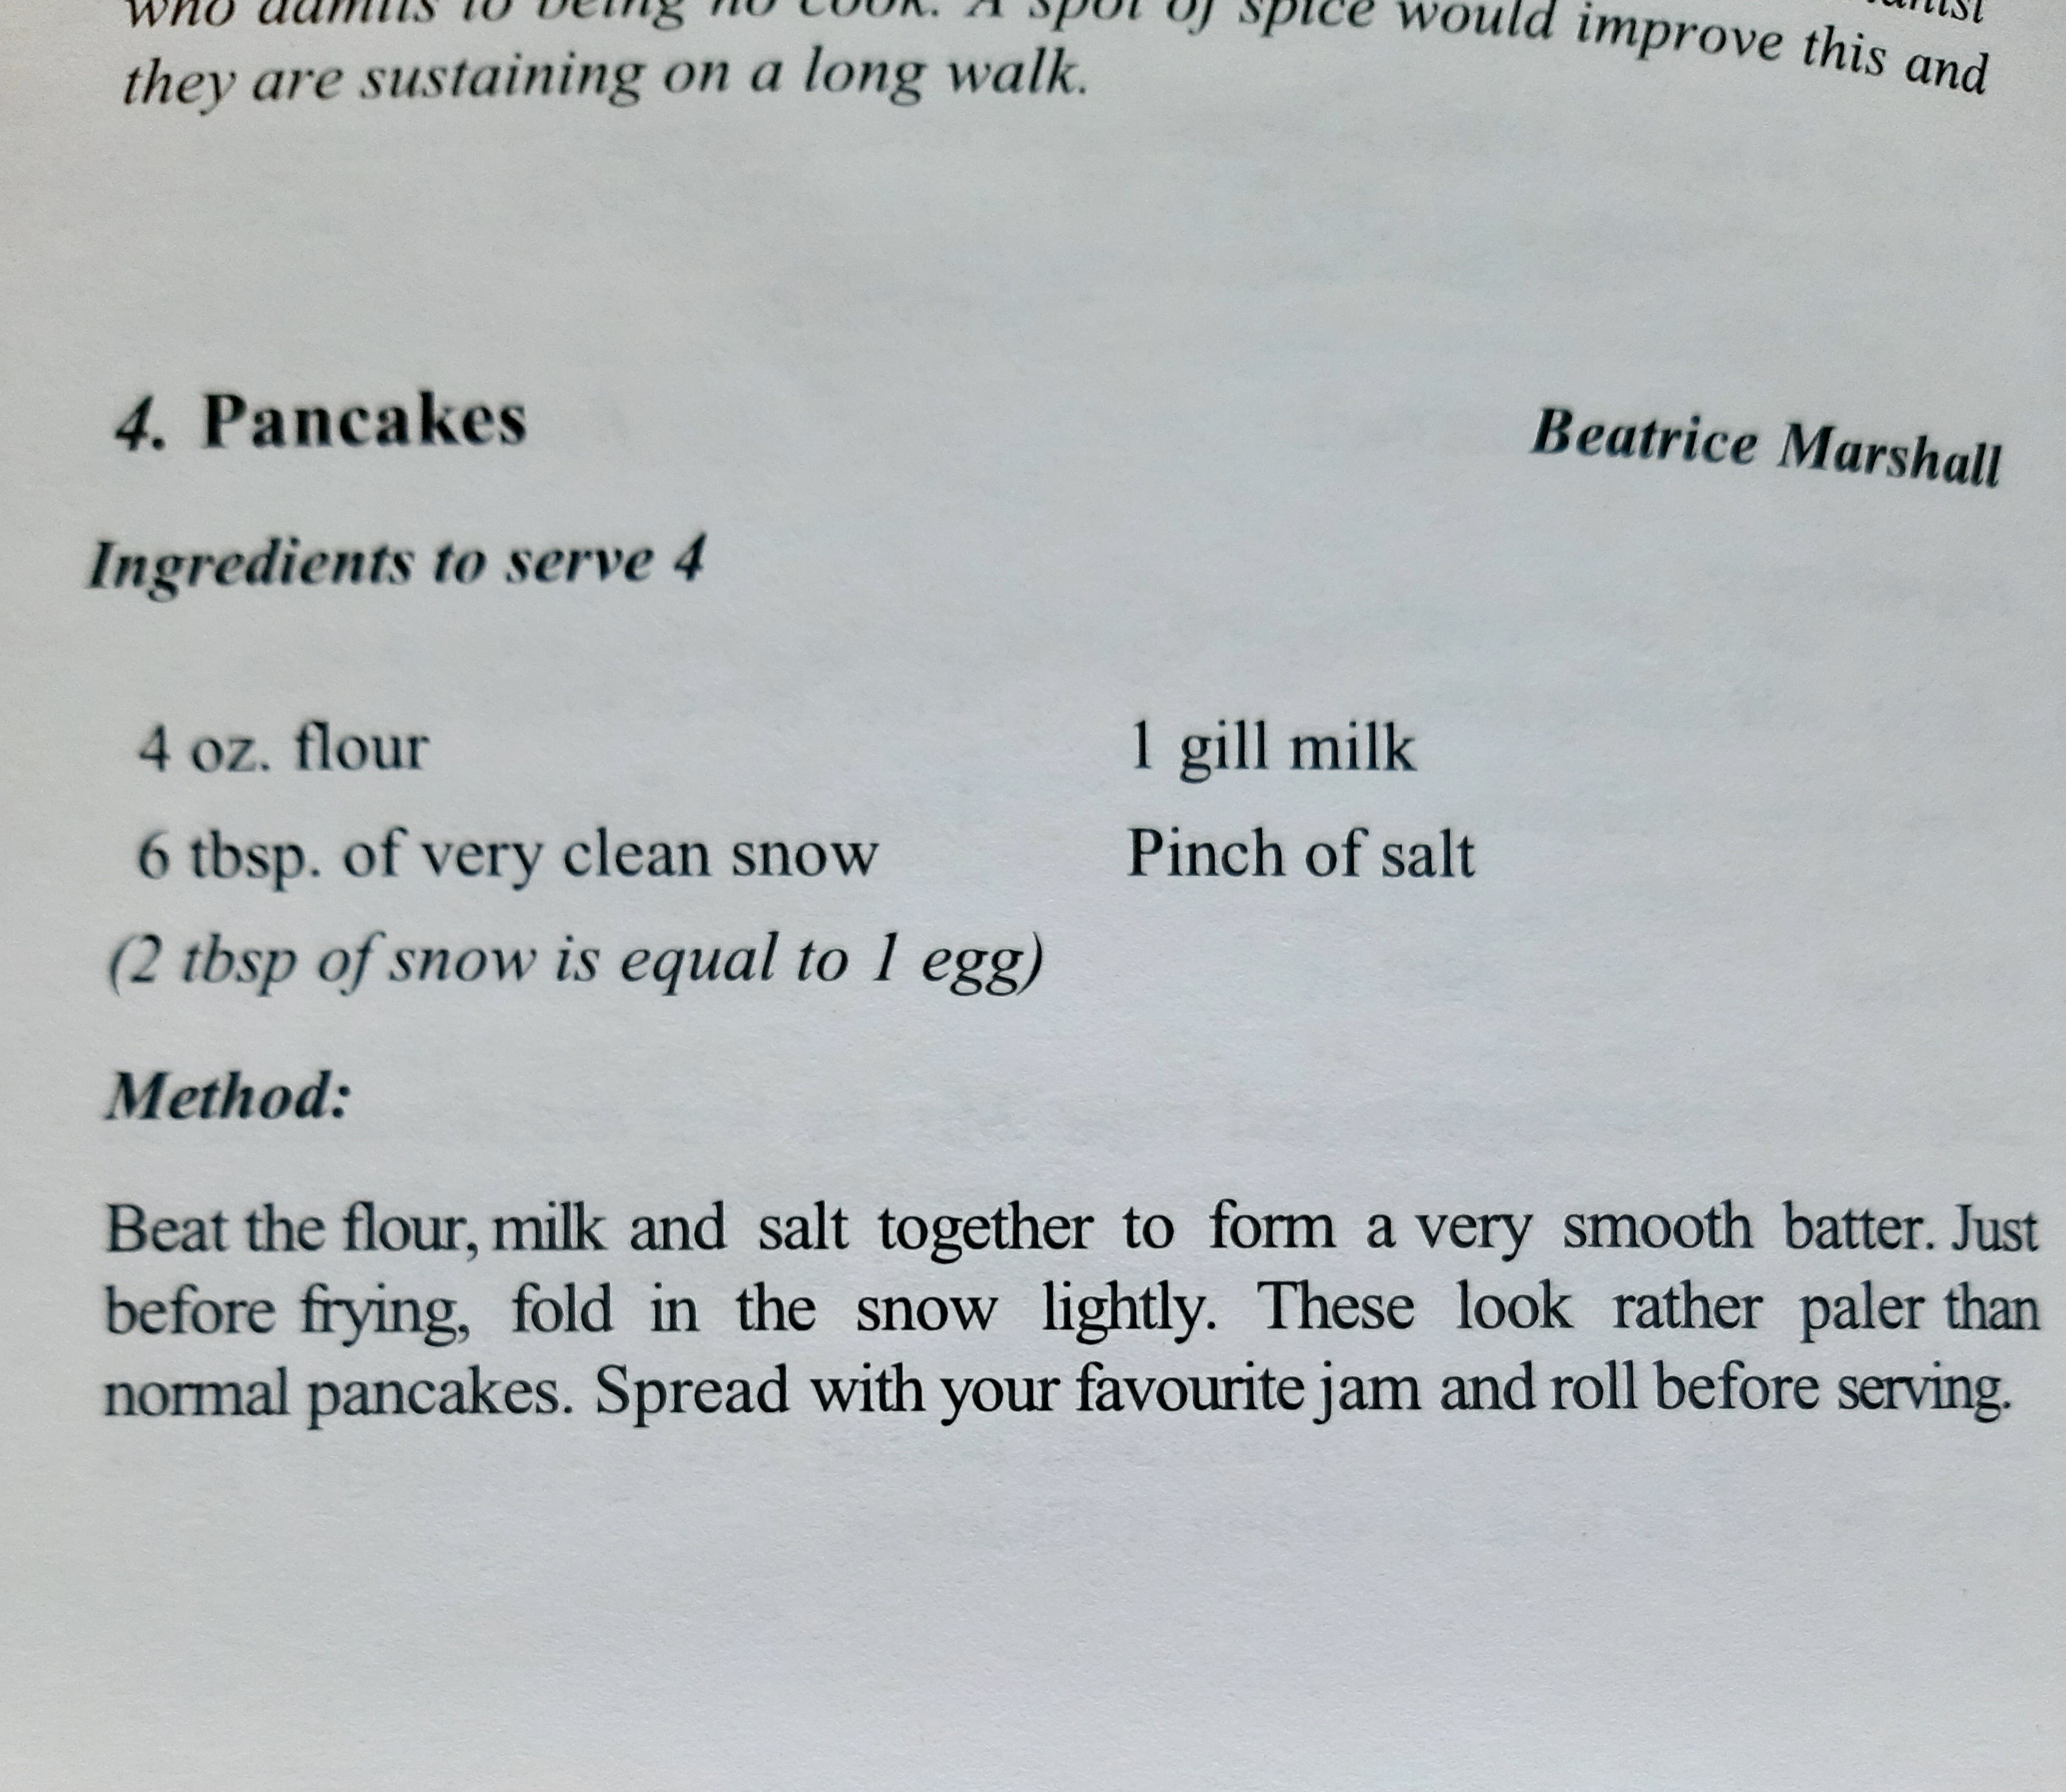
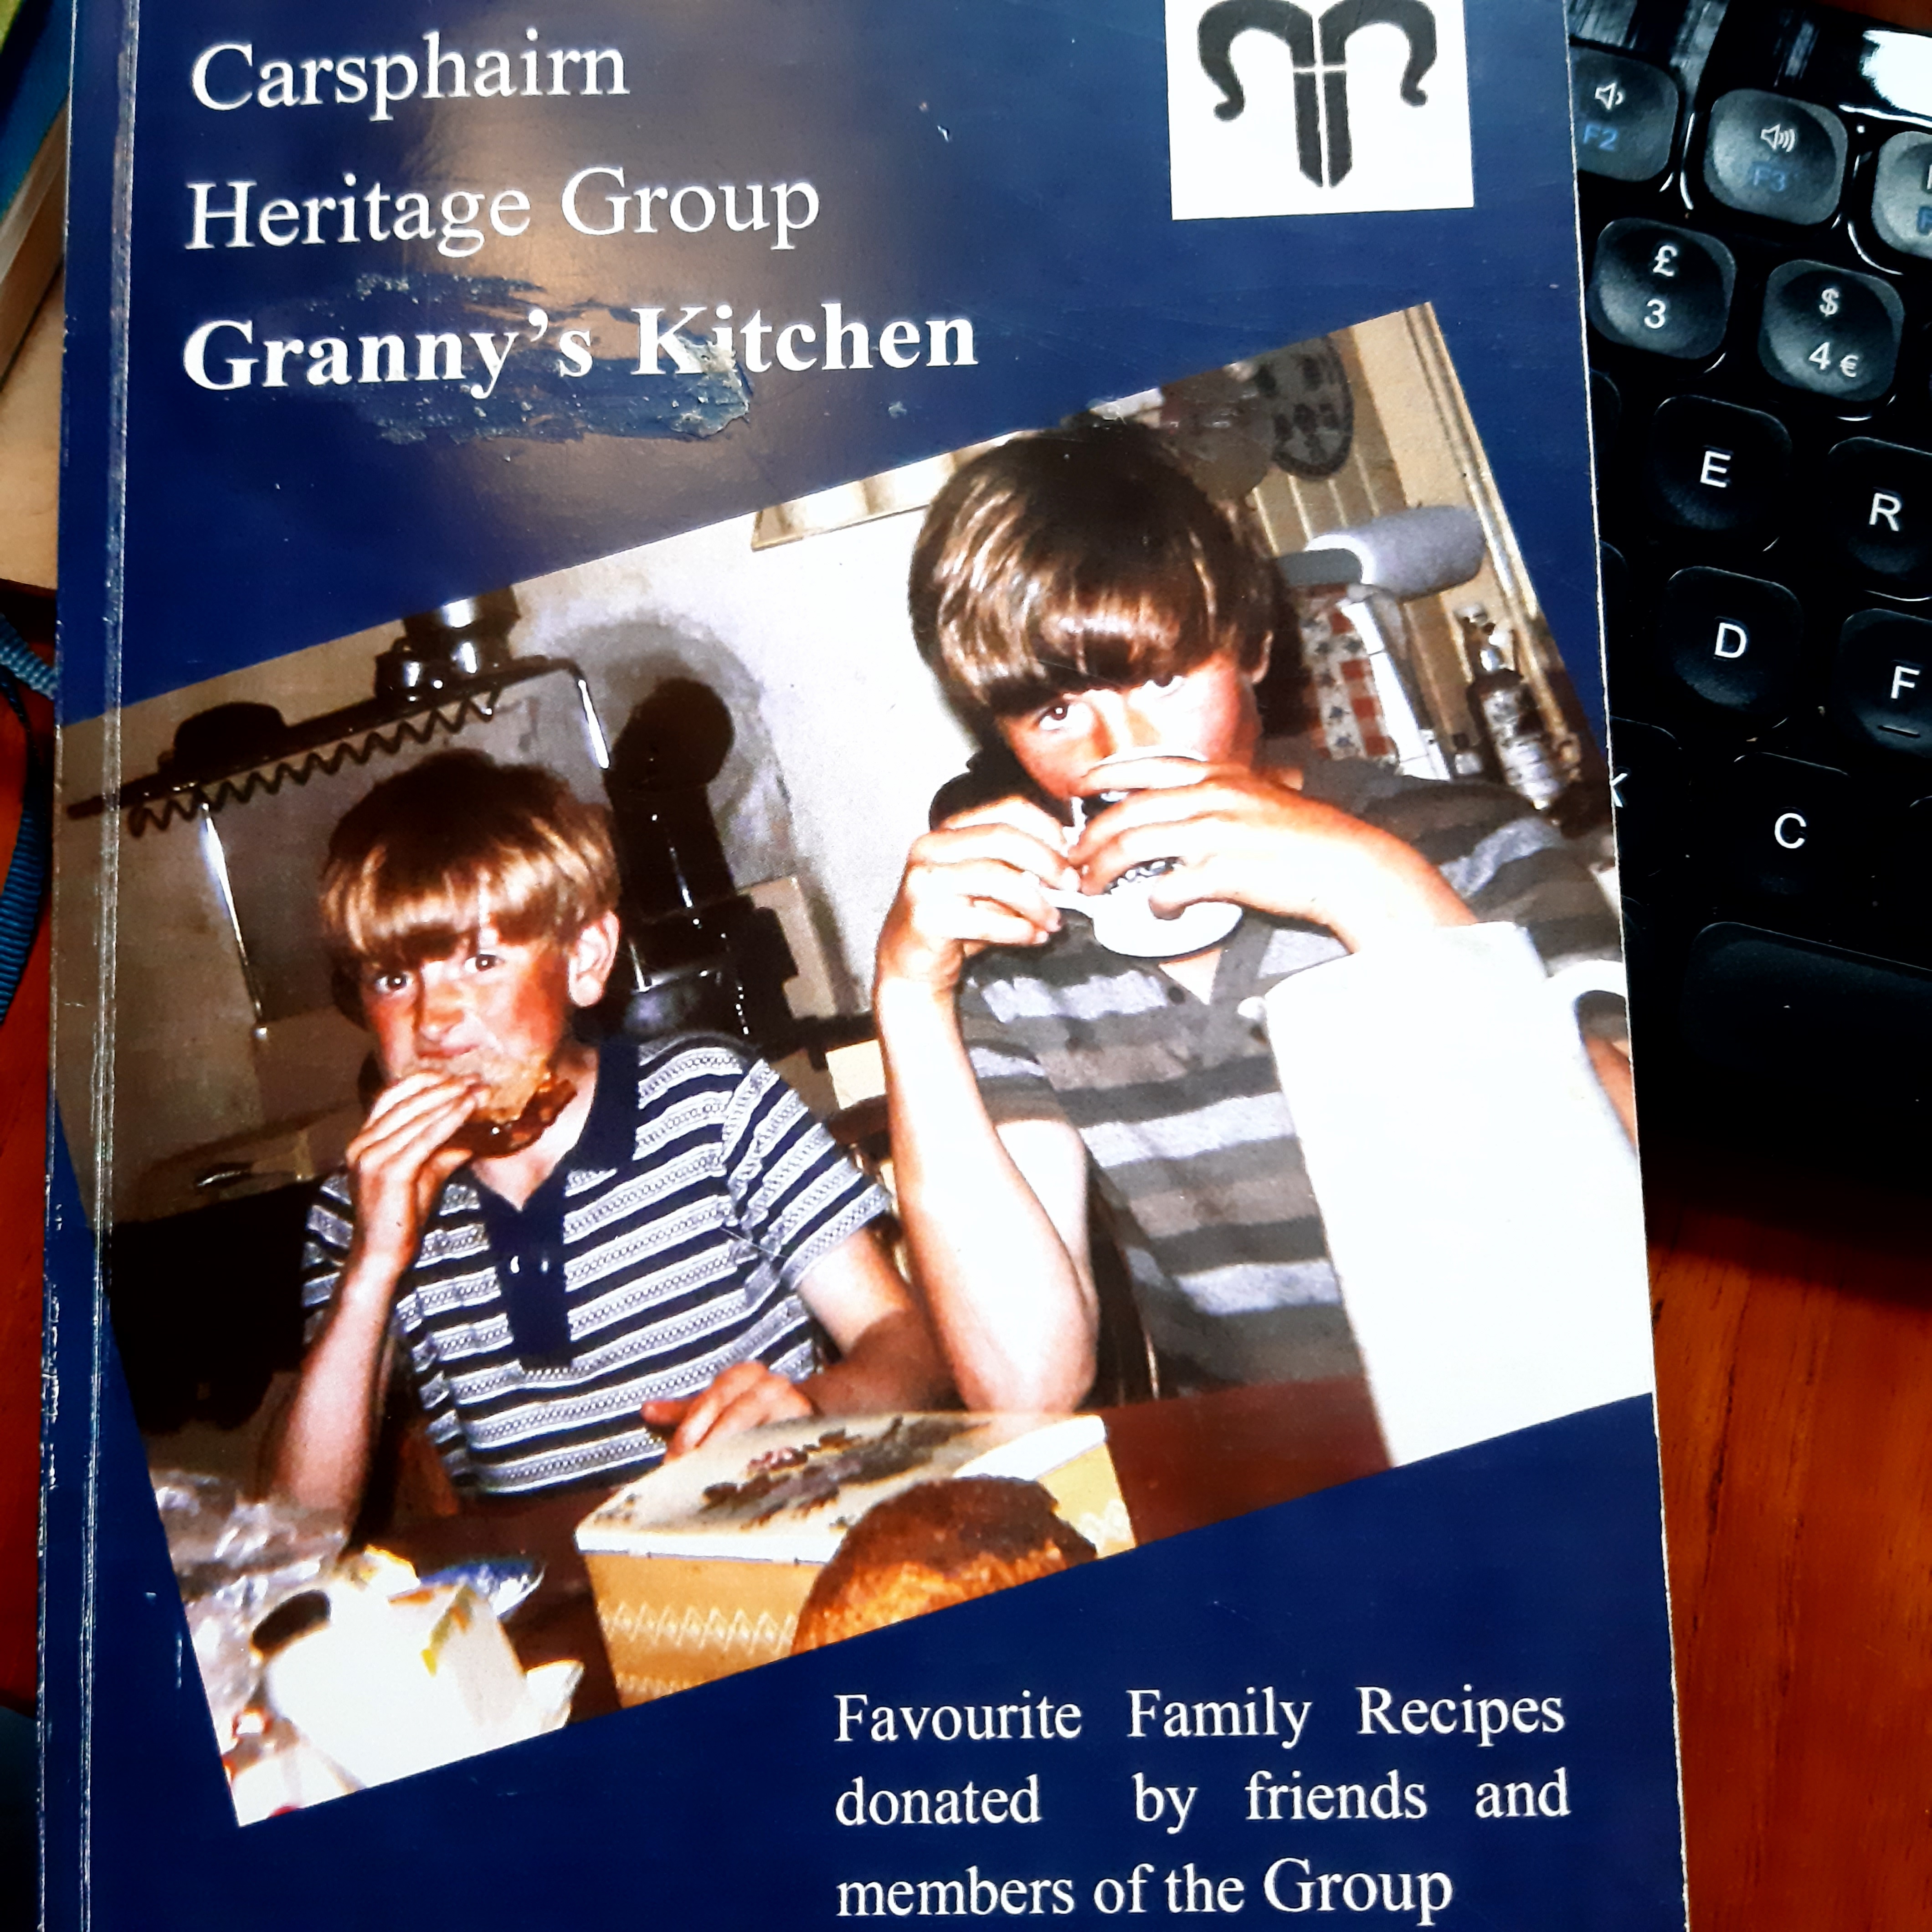
Aunt Joyce had compiled a collection of local recipes into a wee book to support Carsphairn Heritage Group in 1993; it was republished in 2017 after her death. It has a wonderful recipe for pancakes in it, though I doubt any of you will make it today. Do let me know if you do (click on the picture to see the whole recipe).
Whether you are sweet or savoury, crepes or fluffy, and whether or not you include very clean snow in your recipe, I hope you enjoy pancake day.
***
Most of my writing focuses on my relationship with Mum’s dementia since I first noticed there was something “not quite right” in January 2021. You can read about it here.
It’s been hard hasn’t it? This last year, being locked down, missing being with the people we love.
At the beginning of January this year, I went to stay with Mum, to mind her as she gets increasingly frail and somewhat confused. I knew I might be there for a while, and with the latest version of lockdown I didn’t know when I’d be allowed to see anyone else, nor how long I was likely to be there. It would be lonely, isolated. So I put a lot of thought into my own well-being and self-care, and tried to really think about what I could plan that would give me pleasure, that would nurture me, keep me on an even keel, when I knew I would feel cast adrift from the world I usually inhabit.
Most people who know me would assume that baking and cooking would be high on that list, and I thought so too initially. But it didn’t take me long to realise that the joy I gain from baking is mostly from sharing what I make. I got so little joy from baking for myself (partly because I have successfully lost over 2 stone and don’t intend to pile it all back on for the sake of some baking self-care). For a while I hardly baked at all.
Then I started making biscuits again, and posting them to people – biscuits, I discovered, are very post-able. And there was a surfeit of post-able boxes available after all that online shopping that had been going on!
But then the first pink forced rhubarb arrived in our fruit and veg box, And I knew exactly what I wanted to make – a sort of rhubarb frangipane tart. Well, the pastry was going to take too long (I only seemed to have short slivers of time available) so I made a cake without the pastry. It was amazing. But oh so ugly.
I made another. Just as tasty, just as ugly. It was christened the Ugly Duckling Cake.
Ugly Duckling Cake, in all its glorious ugliness
Then I discovered the muffin tins in the cupboard … at around the same time as I used up all the rhubarb. How could I replicate that sharp shock of rhubarb in a wee frangipane cake? My first thought was cranberries in balsamic vinegar (this may seem like a very random thought, but I had spied a bag of cranberries in the freezer, left over from the Christmas That Never Happened, and a couple of years ago I had made a delicious sharp and sweet cranberry and balsamic chutney, which was just the taste I was looking for). I’ve also used marmalade, and lemon curd. I reckon almost any kind of compote, made with whatever fruit is seasonal would work.
Oh, and the best thing about these wee cakes? If you pop them in a ziplock bag and put them in a suitable box, they post really well. You can send them in lieu of a hug to anyone and everyone you love. And you’ll feel so much happier having done it.
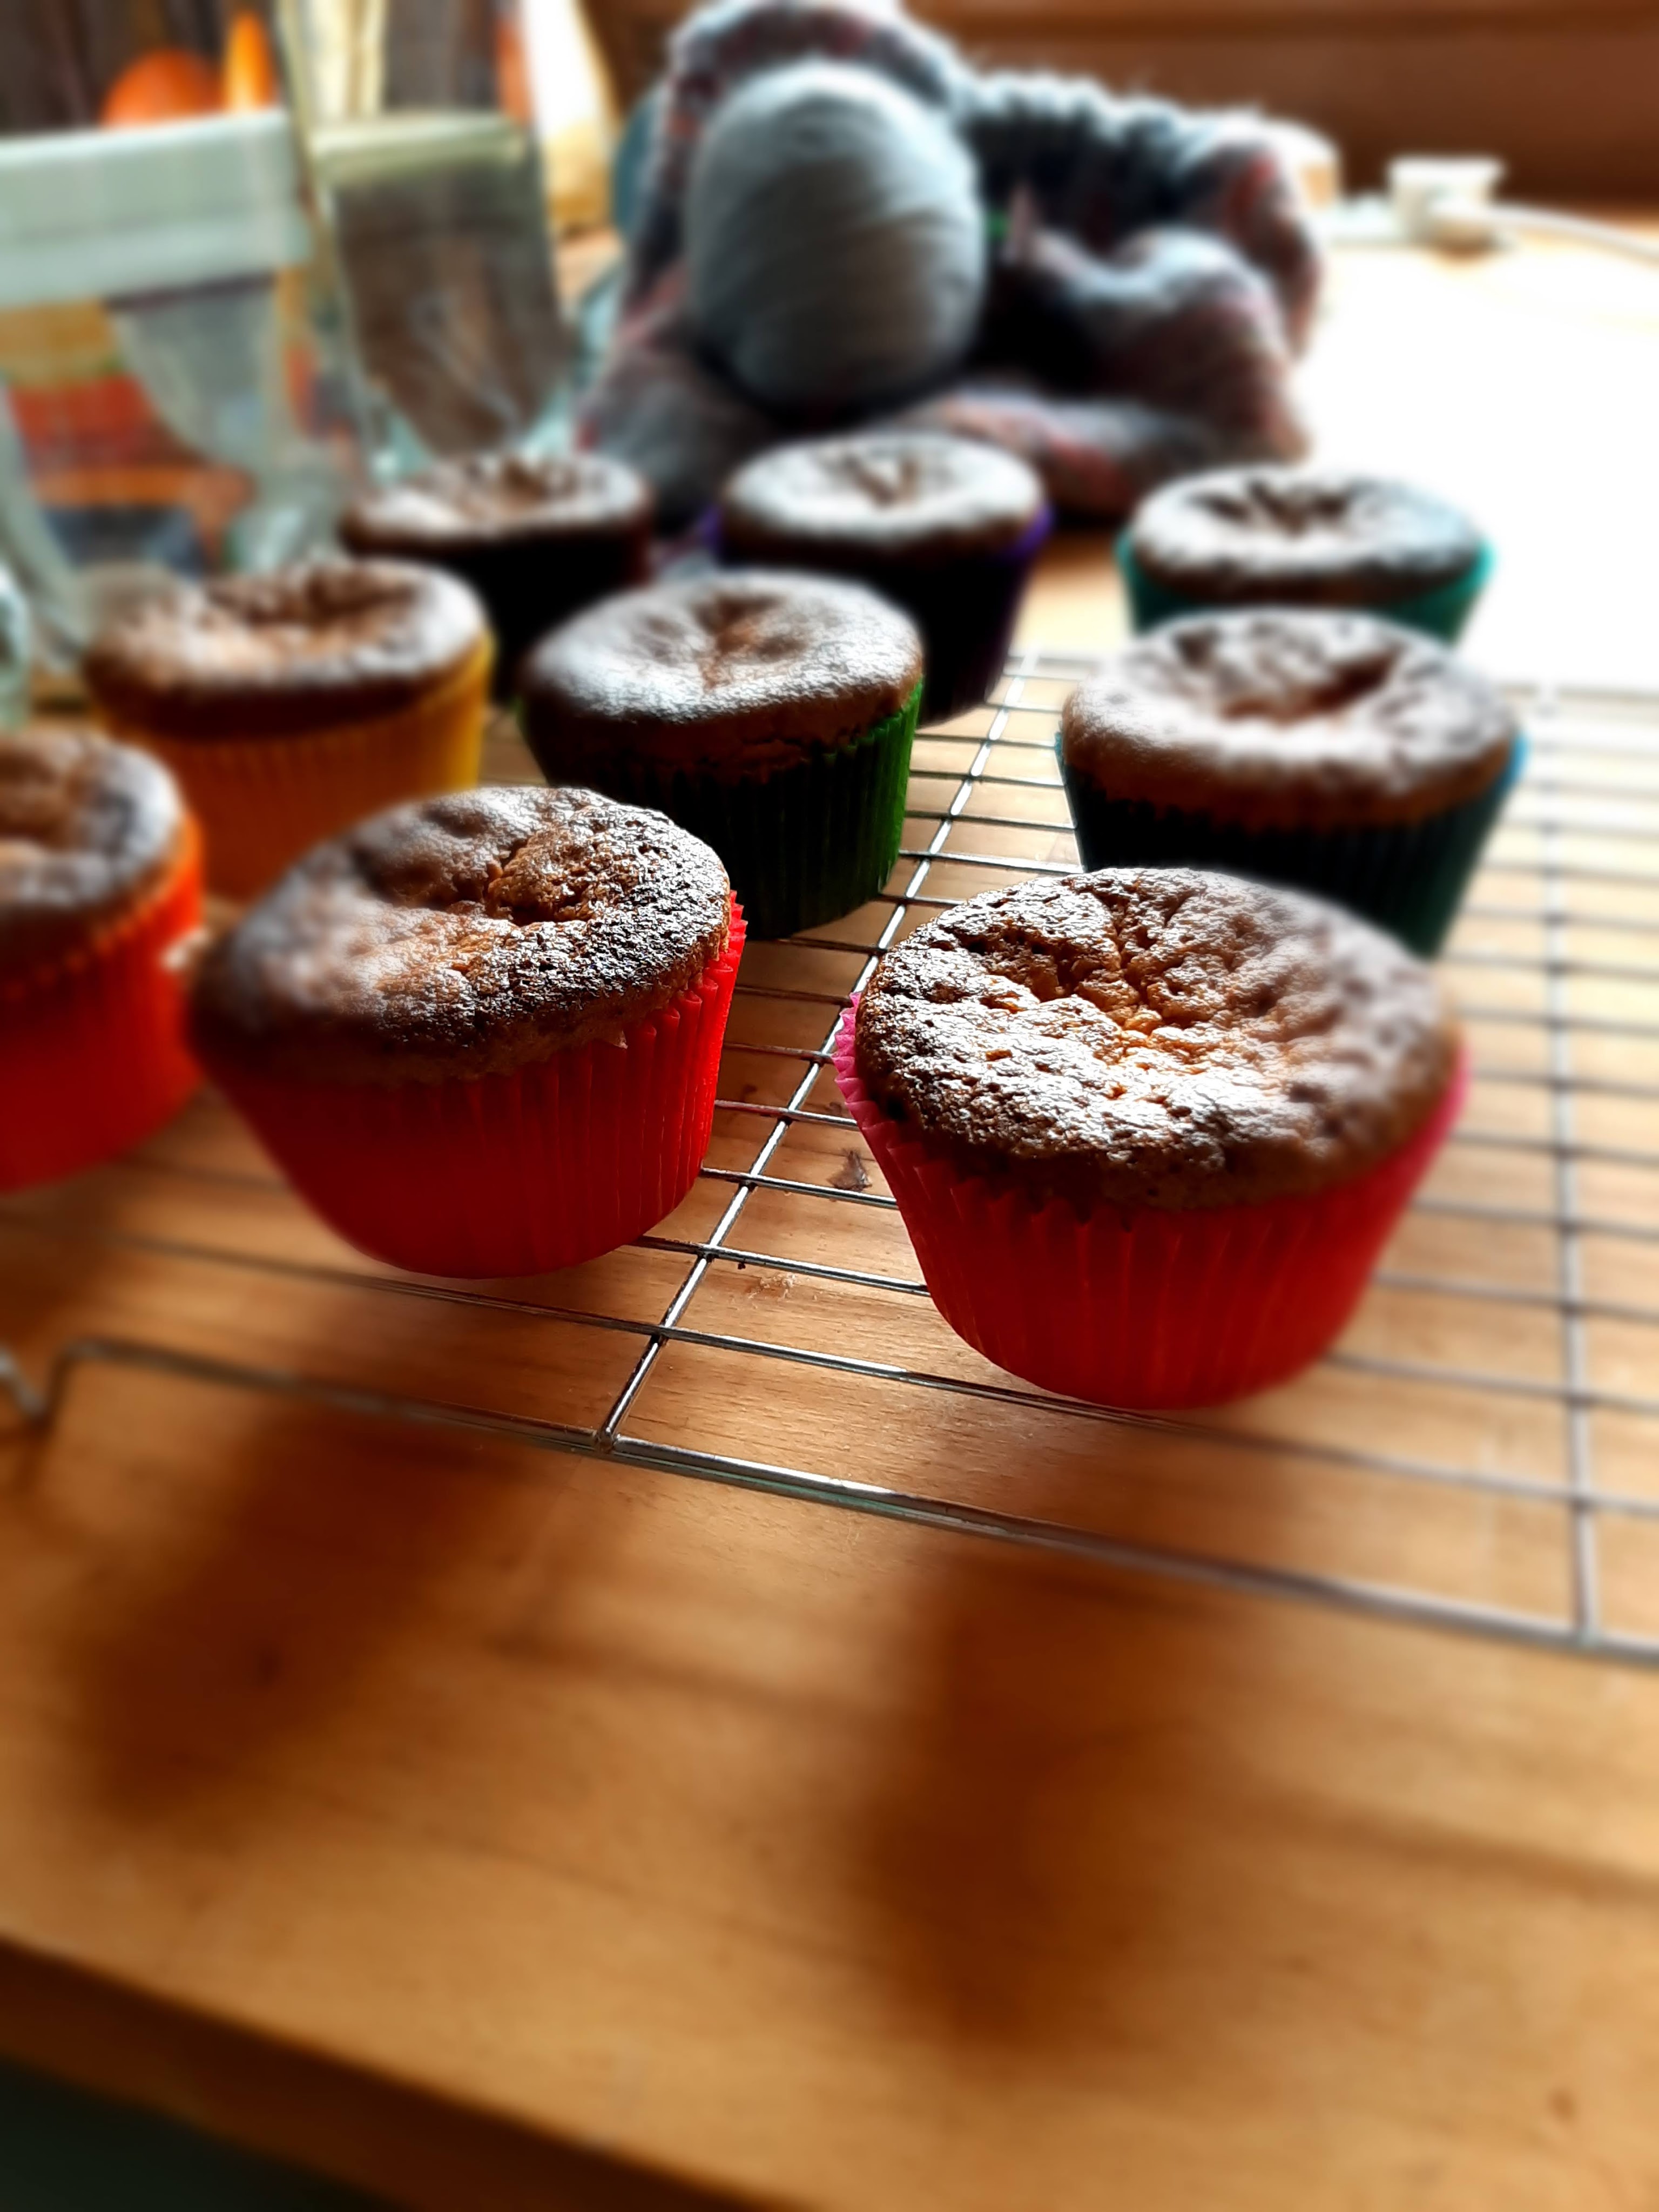
Well-fired frangipane cakes in rainbow muffin cases
Frangipane cakes
125g butter, softened
125 caster sugar
2 eggs
125g ground almonds
1 TBsp plain flour
Preheat oven to Gas Mark 5, or 170C.
Prepare your muffin tins. You know that this just means pop a paper muffin case into each of the muffin holes don’t you? I usually make 9 wee cakes out of one batch, but it depends on the size of your muffins, obviously.
Weigh out your almonds and add spoonful of flour. Set aside for a minute.
Using and electric beater, beat the butter and sugar together till really light and creamy. Then beat it some more. Seriously, the better you beat it at this stage, the lovelier and light your cakes will be.
Add the eggs one by one, beating well after each one. Add a wee bit of the flour/almonds if it is curdling to try to bring it back together. If your eggs are really fresh I think it is less likely to curdle or split, but perhaps I’m just imagining that?
Now, using a big metal spoon, fold the almonds and flour in to the mixture. Try to keep it light, don’t bash all the air out of it.
Spoon dollops of the mixture into muffin trays, using about 2/3 of the mixture.
Now put a spoonful of whatever fruitiness you are adding on top of the mixture in the muffin tins. And then cover with a final wee spoon of cake mixture. You really don’t need to be precise about all this, and in fact it works fine if you spoon all the cake mixture into the tins, and add the fruitiness on top at the end. You find this out by forgetting to leave some back one time.
Pop them in the oven. Check them after about 30 minutes to see how they are – I’ve had some ready at about 35 minutes, others needing another ten minutes. I guess it depends on your oven doesn’t it? I test by pressing lightly on a cake with two fingers, and seeing if it springs back nicely. If not, cook it a bit more.
Ready for baking
In the oven
Mini frangipane cakes, ready to be packed up and posted off as a proxy hug
You can pimp this basic frangipane mixture by adding other flavours, such as vanilla essence, almond essence or orange oil (I was gifted some of this elixir by a super-kind friend and it is amazing) – I mix it in with the butter and sugar.
If you want to make the lemon version, you can find my lemon curd recipe here. The balsamic cranberries can be found here. Or use a bought jam, or fresh berries, or slices of poached pear on top, or apples cooked in butter and sugar to caramelise them. Really, whatever you have to hand, just try it out. What’s the worst that can happen?
If you are interested in more recipes that I’ve scribbled down over the years, take a look at my Index of Recipes. And if you find any broken links, please let me know – over the years I have moved this site and some of the links I think are historic (and not in a good way).
Taking a holiday on lockdown is a strange old thing isn’t it?
I’m off all week this week, but staying at home (obviously). I feel as though I really need the ‘break’, I’m limping towards the end of the year. But what would a lockdown break look like? What would recharge me?
A series of personal challenges, that’s what. And no, not physical challenges – while that might be good for me, that is very much not my style. And not something I would look forward to.
I reveal my other challenges in a previous post, but this weekend’s was to make choux buns. I’ve made choux pastry once years ago, and all I recall is thinking that this was not something worth repeating – why have flabby, flat, soft pastry when you could have shortcrust instead?
Also, most of my memories of choux pastry aren’t that brilliant to be honest – back in the 70s they seemed like they’d be a terribly exotic dessert, but without fail they always disappointed: a bowl of slightly soggy, soft pastry shells, with questionable creamy stuff inside and a far too sweet chocolate sauce on top. No, I was a knickerbockerglory girl in the 70s.
In my quest to bake a decent choux bun I checked various recipes from my cookbook collection and they all seemed easy, and very similar, so I picked one and got going yesterday.
And it was all going so well, water and butter heated up, flour chucked in and beaten into the hot water to make a paste. Then eggs in, pre-beaten, so I could add just the right quantity of egg to get the right consistency.
But this is where it all went so badly wrong. I quickly ended up with a really liquid batter, and there was no way I could put dollops of batter on a baking tray to cook. I didn’t give up though, and dribbled some onto baking trays, on dampened baking parchment and put them in a very hot oven.
As expected, they came out as choux pancakes.
So I did what I do, and set to working out what had gone wrong and what I had to do differently to get something resembling more of a choux BUN.
(As an aside, the hens absolutely LOVED the choux pancakes, so if ever you have what appears to be a kitchen disaster, just remember that it may be the perfect snack, just not for you).
Anyway, today I made my second batch of choux pastry – and I’ll be honest, I didn’t really take much care over it, getting it half made and then stopping to enjoy a cup of coffee over the Sunday Papers before finishing it. And it appears that this is the best way to approach choux pastry, be off-hand with it, pretend you don’t really care. Ignore it for a while. It’ll come good.
Given that I’m not wild about a regular profiterole I filled my fluffy, light pastry shells with two different fillings: dark chocolate mousse for one lot and cinnamon apple cream for the second lot. I’m pretty happy with these choices, one being rich and decadent, the other tangy and fruity, but still with billowy creaminess.
My top tips for anyone attempting choux pastry for the first time:
Do it!
Use the 2:1:1:2 ratio, but add a wee bit extra flour (this will make sense soon)
Don’t use an enormous pan
Beat the flour, water, butter paste over the heat for a minute or so, till it’s glossy
Let this paste cool for a while before even thinking about beating in the eggs
Make them on the day you want to eat them, they become soggy and flabby if you keep them in an airtight container overnight
Just do it!
Choux Pastry
100ml water
50g butter
50g flour
100g eggs (2 eggs)
Before you start doing anything, look at the ratios of the different ingredients. This is the 2:1:1:2 ratio. Twice as much (by weight) of each of water and eggs as there is of butter and flour.
Now we’ve got that sorted, here’s how to make your perfect choux buns.
Put the water in a wee heavy based saucepan, and cut the chunks of butter into it, and place on a medium heat
Weigh the flour out, and then add just a wee bit more (I think the choux pastry works better with the 2112 ratio just slightly out of kilter, with a smidgin extra flour)
When the butter has melted and the water is just simmering, skoosh all the flour into the pan on top of the hot water-butter and BEAT with a wooden spoon (some people suggest you should place the flour on a folded piece of paper, to make a chute so the flour skooshes nice and fast into the water-butter, but I don’t think this is really necessary)
Now, keep beating for about a minute, still over the heat though turned down a wee bit, till the dough seems glossy and is all coming together in the pan.
Leave the pan to one side and make yourself a cup of tea or coffee now
Pootle about on social media, or pick up a project you’re half way through (for me it’s that amazing mustard coloured cardigan with ALL the cables), or just read a book, or the paper. Whatever distract yourself for 20 minutes or so. You probably want to turn your oven on sometime during this wee break, so it’s hot enough when you come to cook your buns.
Now go back to the kitchen and beat 2 eggs. Don’t bother weighing them, because you are going to do the rest of this by using your senses…
Pour a wee bit of the beaten egg into the dough, and BEAT with your wooden spoon till it’s nicely incorporated; then add another dollop of egg and BEAT again. You’re going to keep doing this till you’ve got the right consistency. You might need all the egg, or you might have a wee bit left over at the end.
You know you’ve got the right consistency when you pick your wooden spoon up, straight, out of the batter, and a sort of V-shaped bit of batter sticks to the bottom of the spoon, without dropping off. If it all drops off, ooopsie, you’ve added too much egg. Another way to check is to poke and stroke the batter – you want to see a wee trough where your finger made a trench in the batter. Basically it needs to hold its own, but kinda only just.
Prepare your baking sheet: line it with a piece of baking parchment, then put it under the tap to get all wet. Pour of the actual water, just leaving a few droplets and a sort of sense of wetness. This helps provide the steamy heat the choux pastry loves in the oven.
Now you can either spoon dollops of batter onto the baking sheet, or you can go all fancy and put it in a piping bag. Whichever you do, if you see wee sticky out pointy bits press them down with a wet finger (otherwise they will burn before the rest is cooked).
Pop them in the oven, for about 15-20 minutes. Some suggest you should take them out a couple of minutes before they are ready (but once they are firm) and use a skewer or a sharp knife to make a wee hole in each bun, to allow the steam out, and to ensure they cook nicely inside. I’d say this is optional, so don’t stress if you forget to do it.
Once they are out, move them to a wire rack to cool. If you haven’t poked a wee hole in them already, do it now so the steam can escape.
Fillings
You can fill these with anything soft and moussy really. The traditional (and possibly slightly old-fashioned) filling is plain whipped cream. And nice as that is, I think we can do better, don’t you. Some suggestions are:
Just before serving, pop a spoonful of your favourite ice cream inside each bun and sprinkle with something scrunchy, like chopped toasted nuts or sesame seeds
Lightly whip some cream with mascarpone and then fold through some stewed berries, or a fruit coulis
Make a quick chocolate mousse. OK, unlikely to be quick because you’ll have to melt the chocolate and then cool in the fridge (but you have time to make this while you’re taking that ‘break’ from the choux pastry-making). For an easy mousse: melt 6oz dark chocolate, cool slightly and then beat in 3 eggs yolks. Whip the 3 egg whites to soft peaks, and stir a big dollop of them into the choc mix. Now carefully fold the rest of the egg white in and leave to set in the fridge. Eat it by the spoonful, or spoon great big dollops of it into each bun. And if you want to go BIG, drizzle melted chocolate over the tops
Spread a wee bit of apple cinnamon jelly inside each bun, then fill with cream/mascarpone
Fold salted caramel sauce through whipped cream. I don’t have a recipe for salted caramel sauce to hand, but I’m sure you can find one.
Fold lemon curd through whipped cream, or a cream/mascarpone mix. That zingy zestiness will be so good. And I happen to have a recipe for lemon curd.
Or if you want to go decidedly grown up, check out what liqueurs you’ve got stashed at the back of your drinks cabinet… fold some through your whipped cream. And then think what would go with it… some fresh raspberries with chambord; with frangelico cream dip the tops in chocolate and sprinkle over chopped toasted hazelnuts… but over to you. Now you can make choux buns, you can fill them whatever takes your fancy.
Not in the mood for choux buns? That’s ok, there’s lots of other things you could try your had at here.
When I was wee we called them macaroons, but I’m going with the zeitgeist and will refer to them as macarons. Whatever you call them, they are the most scrumptious light almondy sweetie bonbons you will ever come across.
I always had this idea that macarons were tricky to make, that they wouldn’t rise properly, that they would just be too solid and not light and airy like they should be. Or that they’d be dry and crunchy instead of deliciously softly moist.
So, what changed my world view of macarons? Firstly it’s that I love them, and wanted to be able to make them. But mostly it was getting chickens. And then once we had so many eggs, I started making my own mayonnaise. And once you make your own mayonnaise you have a plentiful supply of egg whites. And I don’t like meringues much, so macarons were the obvious solution.
Don’t you love your life when macarons are the obvious solution!!
Basic macarons
175g icing sugar
125g ground almonds
3 large egg whites
75g caster sugar
To make these properly you need a few bits of kit. For starters, a food processor. You know, the kind that whizzes round and round and chops everything up really fine. You’ll also need a piping bag with a large plain nozzle. And your life will be a whole lot easier if you have either a food mixer too to whisk the egg whites.
Before you start, get your piping bag ready with the right nozzle in place, and prepare your baking tray (I line mine with non sticking baking parchment, but you could use rice paper, or a re-useable silicon mat).
Combine the icing sugar and ground almonds and pop them in the bowl of the food processor. Whizz it briefly. Well not too briefly, get it all a bit more powdery and mixed together
Put the egg whites into a scrupulously clean bowl (any hint of anything greasy and you will have a FAIL), and whisk them until you have soft peaks. Gradually whisk in the caster sugar, and get it all glossy and thick and gorgeous. At this stage I whisked in a few drops of orange essence.
Now get yourself a big metal spoon (or a spatula) and fold half of the sugar/almond mixture into the egg whites. Once they are combined, add the remaining sugar/almonds and fold them in to make a light smooth mixture. Don’t over mix or you’ll lose all the air, but try to get rid of all the lumps.
Spoon the mixture into the piping bag and pipe even sized circles of macarons mixture onto your baking tray.
Turn the oven on: 140C or GM3.
Now leave the tray of uncooked macarons at room temperature for about 15 minutes so the surface dries out ever so slightly.
Bake for 15 minutes, then leave to cool still on the tray.
Macarons out of the oven
Make the chocolate orange filling…
50g good quality dark chocolate
100g unsalted butter, softened
200g icing sugar, sifted
zest of an orange, and some orange juice
Melt the chocolate
Beat the butter, and add the icing sugar and orange zest. Keep beating
Fold in the melted chocolate and mix together
Mix in some orange juice or cointreau if you want an adult version – enough to make the mixture just squidgy enough
You know what to do now.. spoon (or pipe) some chocolate orange filling onto half of the macarons. And pop a second macaron on top of each, to make lovely macarons sandwich. YUMMY.
Bread. I love the stuff. But it’s the real stuff that I love, the sourdough, the slowly-risen loaf. It doesn’t seem right that commercially produced highly processed loaves, made by the intensive Chorleywood process can even be called by the same name. They just are not the same thing. So, the greatest thing sliced bread is…. unsliced bread. Naturally.
Rant over. Probably.
Bread. When I think of eating bread, I think of friends, of sharing it, of tearing off great chunks and dipping it into olive oil & balsamic vinegar, of making slices of toast and spreading them with butter and marmite. And sometimes peanut butter too. Of my father, sitting at the head of the table, and cutting the bread, then spearing the slice on the point of the bread knife to pass it to your plate.
And all this sharing with friends is appropriate: the word companion literally means ‘with bread’ from the Latin ‘com’ (with) and ‘panis’ (bread).
I’ve been a baker for years, but most of my baking was biscuits and cakes and scones and traybakes, basically things without yeast. And then we started using the bread machine. Unlike many bread machiners, we used it 3 or 4 times a week, and with a bit of trial and error, and the purchase of some super-tasty stoneground flour, we started making really amazing loaves. I occasionally made a loaf by hand, but not so often.
I bought lots of books, made sourdough starters, killed sourdough starters when I forgot to do anything with them. And replaced the bread machine, three times. (Yes, we used it so much we wore it out).
And then I bought the best bread baking book: James Morton’s Brilliant Bread. He writes easily. Or perhaps he doesn’t, but it reads easily. His explanations make sense, and help you understand why you are carrying out each process. And he starts you off with the easiest bread in the world – it needs no kneading. It takes up so little of your time to make it. And it tastes delicious.
I’ve adapted it slightly, to make use of my sourdough starter, which gives it a wee bit extra flavour and chewiness, which I like.
A few things before we start:
this recipe requires NO kneading. It is easy peasy. You have no excuses not to make it
buy a set of digital scales. They aren’t terribly expensive but they will repay you every time you use them, and quite possibly will change the way you bake (in that you can weight things directly into any bowl or pan, rather than into the bowl provided with the weighing scales)
use the biggest bowl you own; if you don’t have a really big bowl, consider buying one
procure a shower cap – the ones you get free from hotels are fine, in fact perfect. Using this, and re-using it over and over again, is much more sensible (and easy) than using cling film
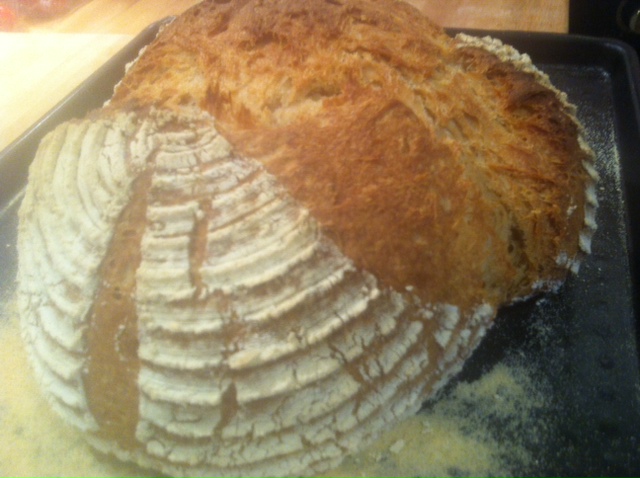
After proving, ready to bake
There are other things you might want to buy if you really get the bread-baking bug, but wait a while to see if you get it or not. Otherwise you’re going to end up with an unused proving basket in your cupboard, which will just annoy you (instead of giving you these lovely ‘flour rings’ on a loaf).
The best white bread (and it’seasy)
500g strong white flour (I use a stoneground from Bacheldre Mill, it’s lovely and comes in big 16kg bags if you get the bug!)
10g salt (see why you need digital scales)
7g dried yeast
330g tepid water
a good dollop of sourdough starter (about 50g)
Put the flour in a big bowl
Add the yeast on one side of the bowl
And the salt on the other
Keeping them on their own sides of the bowl, mix them in with your fingers and then make a slight well in the middle
Pour in the water, and add the big dollop of sourdough starter
Now, using your hand like a paddle, mix all the ingredients together, until they are all combined
Cover the bowl (with a shower cap if you have one, with cling film if you don’t) and leave it for about half an hour
Go off and do something for a while; I recommend watering your tomatoes in the greenhouse, if you have any. Or reading the magazine section of the Sunday paper
Now, take the shower cap off the bowl. Wet your hand under a tap, and keeping your hand a bit like a paddle, put your hand under one side of the dough and scoop it up, folding the dough over itself.
Twist the bowl a quarter of the way around and do this again. Repeat several times, going all around the bowl, and round again. You should notice that the dough feels much smoother, slightly silkier than it did half an hour ago.
OK, once you’ve got it back in a nice wee lump in the middle of the bowl, pop the shower cap on again and leave it for a couple of hours at room temperature.
Just get on with your life, and ignore the dough.. it’ll do its doughy thing quite happily without your interference or worry.
This time you’re going to need a wee bit of flour and either a proving basket (if you’ve got the bug) or your baking tray. Prepare the proving basket / baking tray by dusting it with flour. Dust your table or board with flour too.
Now scoop the dough out of the big bowl onto the floury surface. You’ll see that there are lots of bubbles within the dough and that it feels a bit like a balloon full of water, sort of squishy, but not really squishable.
Try to work relatively quickly with the dough… Make it into a sort of brick shape, and then pull it at each end and fold those ends over into the middle, and squish it down a bit. It might be a sort of round-ish shape now. Squish it in the middle and pull it at the ends to make an oblong brick again. And pull those ends out and over into the middle again to make a round. Do this another couple of times if you want, or not if you’re bored by now.
Place your dough on the baking tray (or into the proving basket) – either make it a nice round ball shape, or a sort of oblong.
And walk away and leave it, for an hour or two, depending how warm your room is (the warmer the room, the less time it should be left). The dough is now ‘proving’ which just means that it is rising again – the wee bubbles in the dough are expanding and the gluten in the flour is nice and elastic now, so it’s stretching, and holding those bubbles in place. You want the loaf to almost double in size, but don’t fret if it hasn’t
Heat your oven to GM7 / 425F / 220C. And when I say heat it, I mean switch your oven on a good 10 minutes before you pop the loaf in the oven, to make sure the bread goes into a properly hot oven. If you want a scrummy crust, put a dish of water in the bottom of the oven, to create some steam.
Before you put the bread in the oven, cut a slash in it, which will allow it to stretch as it rises again in the oven. For a round, you can just do a cross on the top, and for an oblong try a long cut down the middle and then diagonal cuts on each side, like a leaf, or a feather. The cut doesn’t need to be deep, just cut through the skin of the dough.
Bake for about 40 mins.
Place on a baking tray once it’s cooked, and try not to slice it and eat it till it’s cool.
Some loaves are unpredictable shapes
Top tips
Complete up to stage 11 in the evening, and then pop the dough in the fridge with its shower cap on. It will be quite happy overnight in the fridge instead of 2 hours at room temperature. The next morning, start from step 13.
If you have a proving basket, use a really liberal dusting of flour before you leave the dough to prove in it. Once it’s proved, turn it out onto the prepared baking tray, and slash its top and pop in the oven.
Use semolina or polenta instead of flour on the baking tray
Increase the volume of sourdough starter, and reduce the water slightly
Don’t worry about timings at all – if it’s left for 4 hours instead of 2 it will probably be fine
Want to see more recipes? What about making some lemon curd to spread on your home made bread? Or imagine how good it would be with home made chicken liver pate?
We get the Sunday Times every weekend. And occasionally the Times on a Saturday too. Last weekend the Times promoted that it had recipes for Bank Holiday baking. So, of course, I didn’t see much of the rest of the paper (apart from the utterly ace column by Caitlin Moran).
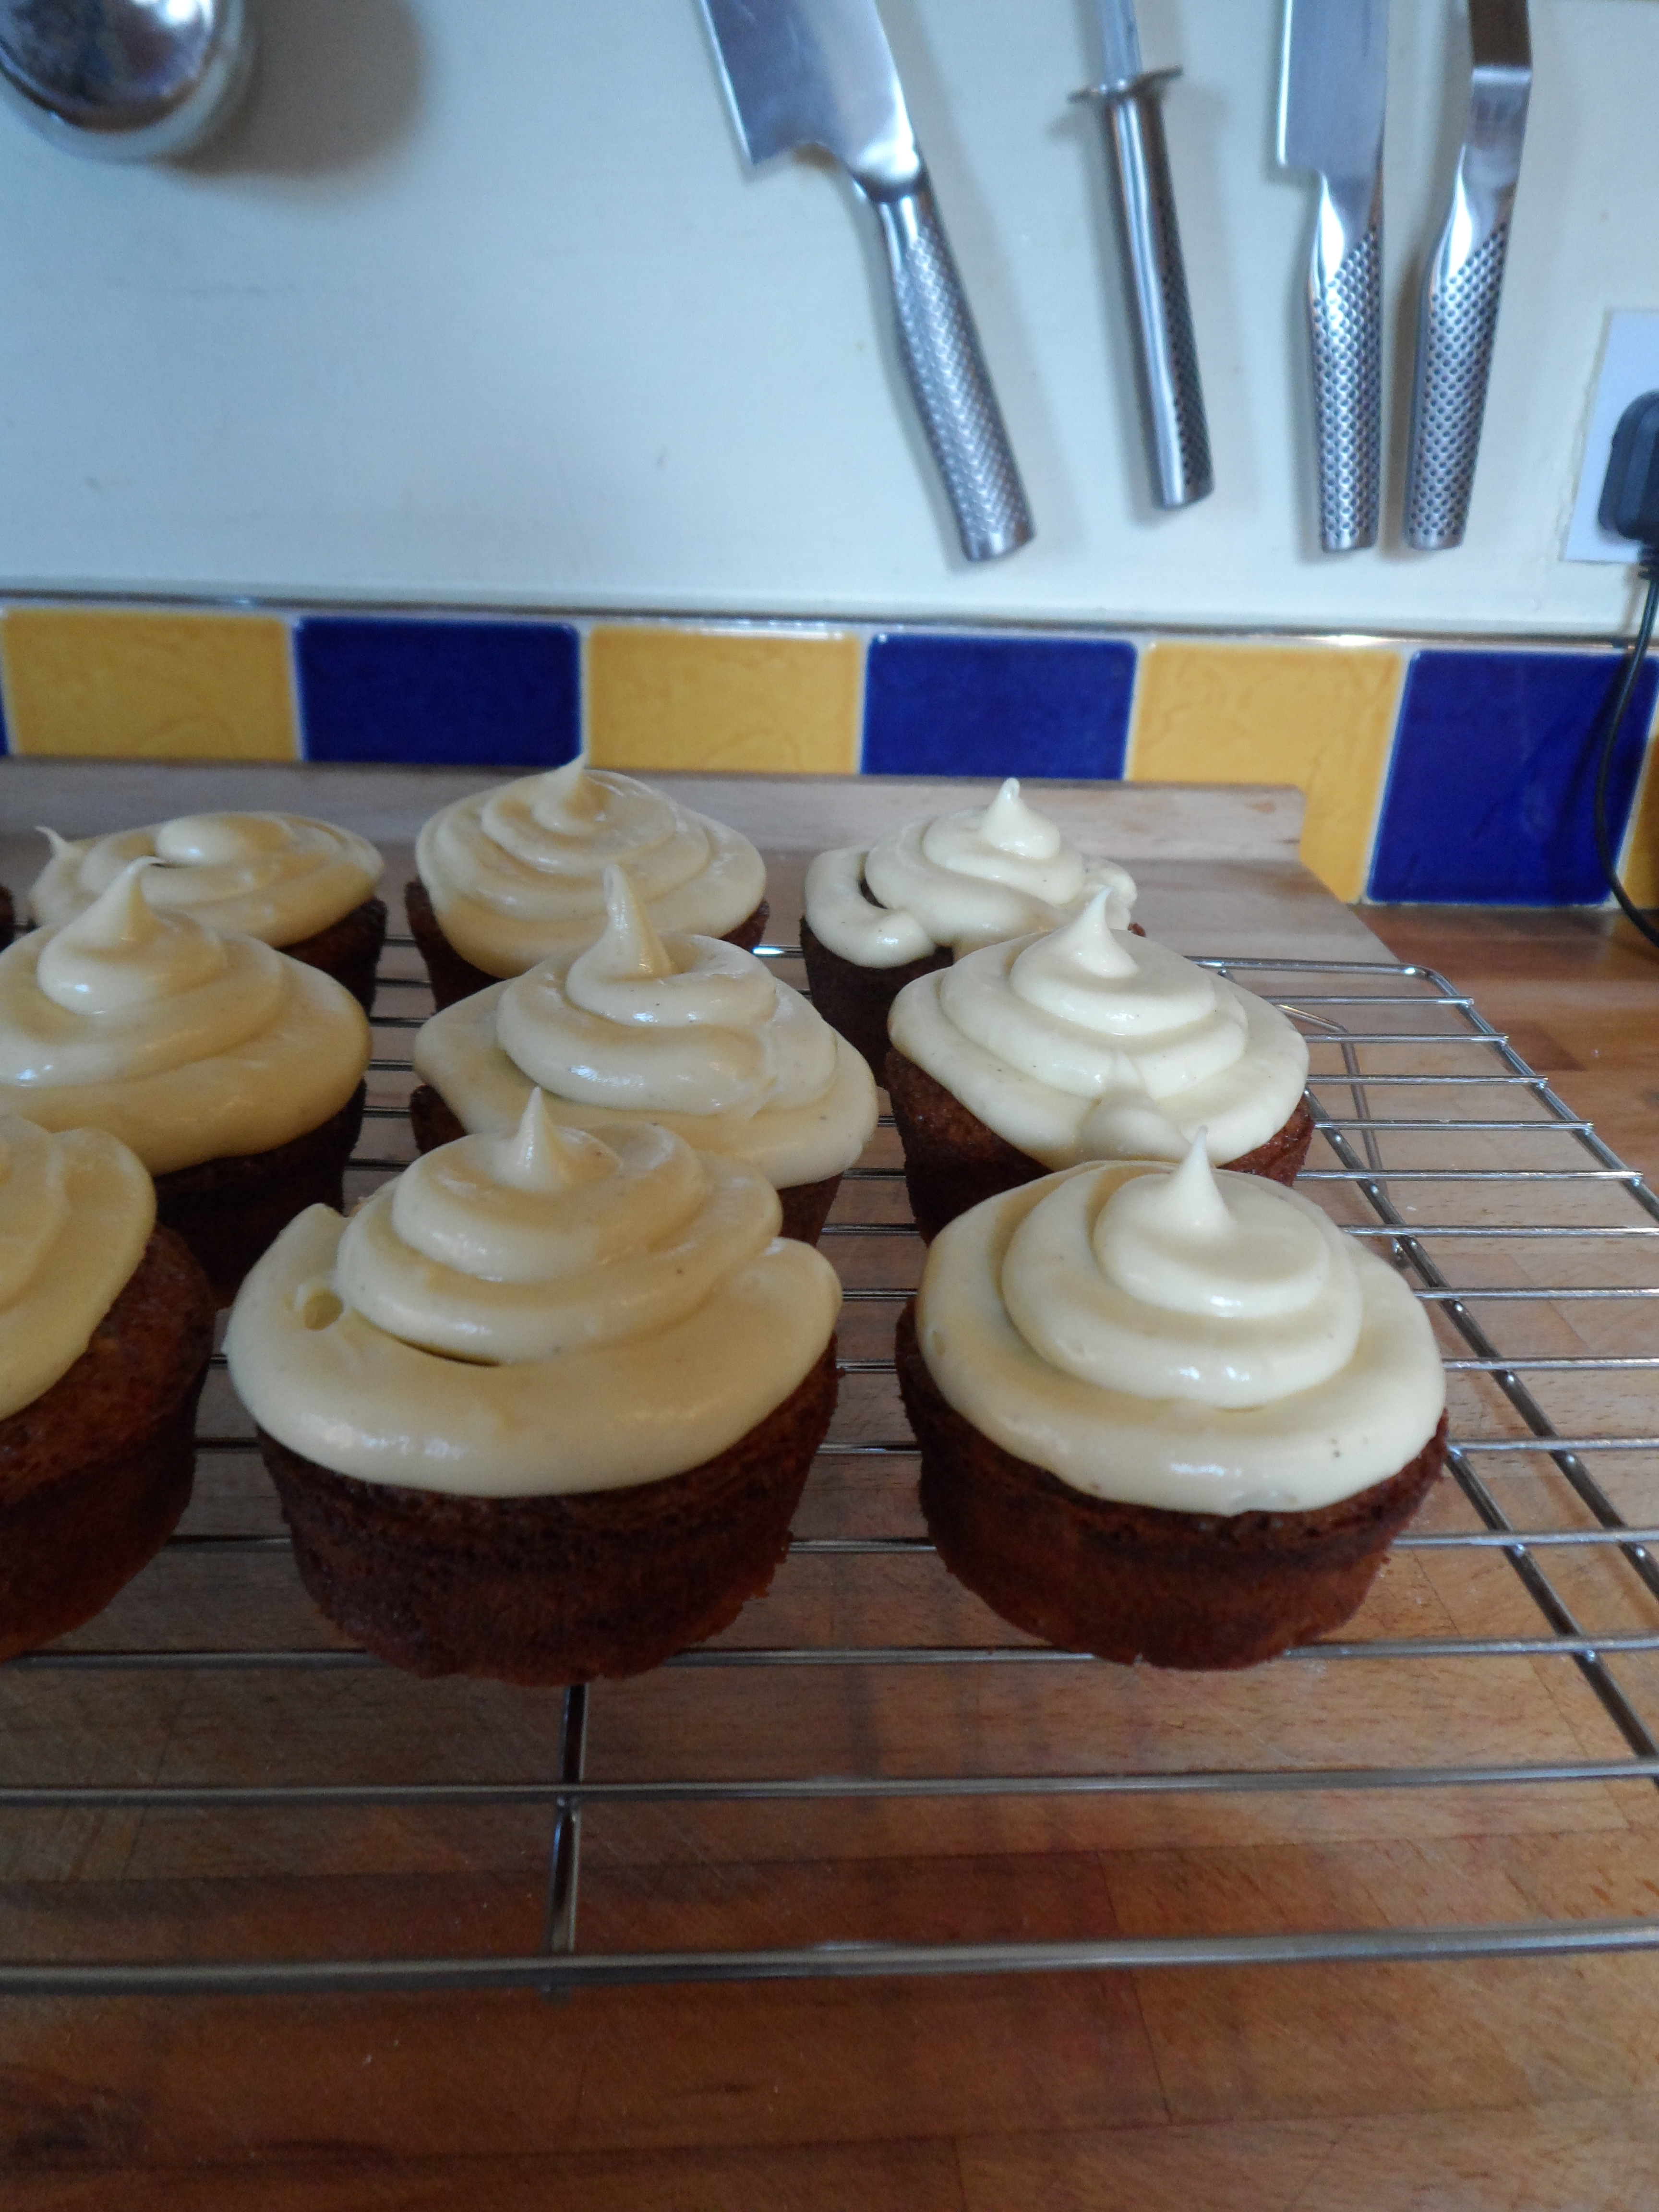
The artisanal approach, smooshing gin and white choc icing on top of mini pear cakes
I was kinda sniffy about the Bank Holiday Baking initially. I mean, it’s just the very beginning of May and the first thing I’m being encouraged to bake is Blackberry and Crumble Cake. Now, I’m sure the Blackberry and Crumble Cake is lovely, but brambles are seasonal fruit, and this really is NOT their season. Get real cookery writers! And please stop encouraging supermarkets to stock fruit and veg that is out of season – it is more expensive to produce and ship and probably doesn’t taste as good.
There, rant over.
Then I moved on and spied Pear Cakes with White Chocolate, and Lemon Curd. I had literally just made some lemon curd (in a bid to do something else with our glut of eggs – my girls laid seven in one day earlier this week). And I’d just bought some pears. Yup, I know, pears aren’t in season either. But there they were on the shelf at the farmshop, and they looked delicious. And they store better than brambles, so perhaps it’s not quite so mad to buy them out of season?
Anyway, given that I clearly don’t have a leg to stand on in the ‘seasonal rant stakes’ I’ll move on. The recipes are all from Andrew Dargue of Vanilla Black. I’d never heard of Vanilla Black before, but now I’ve looked at the website, they are ‘Michelin-recommended’ and they have a book coming out this week. So that’ll be why I’ve seen his recipes in various places.
I made the Mini Pear Cakes, complete with white chocolate frosting, but something made me add a slug or two of gin to the frosting. And it was ace.
Mini gin infused pear and white chocolate cakes aka the Boozy Bozzy Fest Cakes
This weekend I made the cakes again, adding some gin to the cake batter too, and took them along for the volunteers at the wonderful Boswell Book Festival. It wasn’t an entirely selfless act, supporting both the literary and volunteering community, for I wanted to see Capt Eric ‘Winkle’ Brown give a talk. He’s the most remarkable man – he has flown more different types of aircraft than any other person, living or dead. And it is unlikely (allegedly) that his record of 487 aircraft will ever be beaten. He also interrogated a number of Hitler’s henchman, including Goering, Messerschmitt and Himmler, and the Commandant of Bergen-Belsen concentration camp. His description of what he witnessed at the camp, in its last few days was incredibly moving – after almost exactly 70 years to the day he still can’t stop smelling the stench of the dying and near dying in that awful place.
But anyway, I digress. These cakes were just going to be called Mini Pear Cakes with Gin and White Chocolate Frosting. yes GIN! But they clearly need to be called the Boozy BozzyFest Cakes instead. They are utterly delish. I’ve adapted the original recipe, but only slightly, so thank you The Times and thank you Andrew Dargue. These rock.
And so long as you use GF baking powder, these are gluten free badboys.
Boozy BozzyFest Mini Cakes
Preheat the oven to 155C / GM3. Grease a large muffin tin – this quantity works well for 12 proper-sized mini cakes. Don’t bother with muffin or cake cases, you don’t need them if you prepare the tin well, with lots of butter to prevent the cakes from sticking.
3 eggs, lightly beaten
125ml sunflower oil
125g light brown sugar
100g buckwheat flour
1/2 tsp baking powder
Pinch of salt
2 small very ripe pears, cut in half and cored
1 TBsp gin
1/2 tsp almond essence (or vanilla, depending on what mood you are in
For the boozy icing
100g white chocolate
100g unsalted butter, softened
50g icing sugar, sifted
1 TBsp gin
Whisk the eggs, sugar and oil in a large bowl
Add the flour, baking powder and salt, and mix well together
Add the gin and essence
Using a large grater, grate the pears into the mixture. This should be possible if you hold onto the skin side, and just grate the flesh – you should be left holding the skin, with all the flesh grated into the cake batter
Mix again, but only lightly to combine everything
The batter is pretty runny, but don’t worry – it’ll work out. Spoon the mixture into the prepared muffin tin, filling each hole about two thirds of the way to the top.
Bake for around 20-25 minutes, or until firm to the touch.
Leave to cool for 10 minutes or so in the tin, then use a knife to run around the rim of each cake to loose them from the tin, and turn out onto a wire rack to finish cooling.
For the icing: melt the chocolate in a microwave on the lowest power setting, or in a bowl over a pan of hot water.
Beat the butter and icing sugar together. Add the gin.
Fold in the melted chocolate until well combined
Smoosh the icing on to each cake or if you want to be a bit posher, pipe it on (it’ll look smart but not too twee if you use a plain round piping nozzle).
I’m one of those people who likes their sweets to be slightly salty.
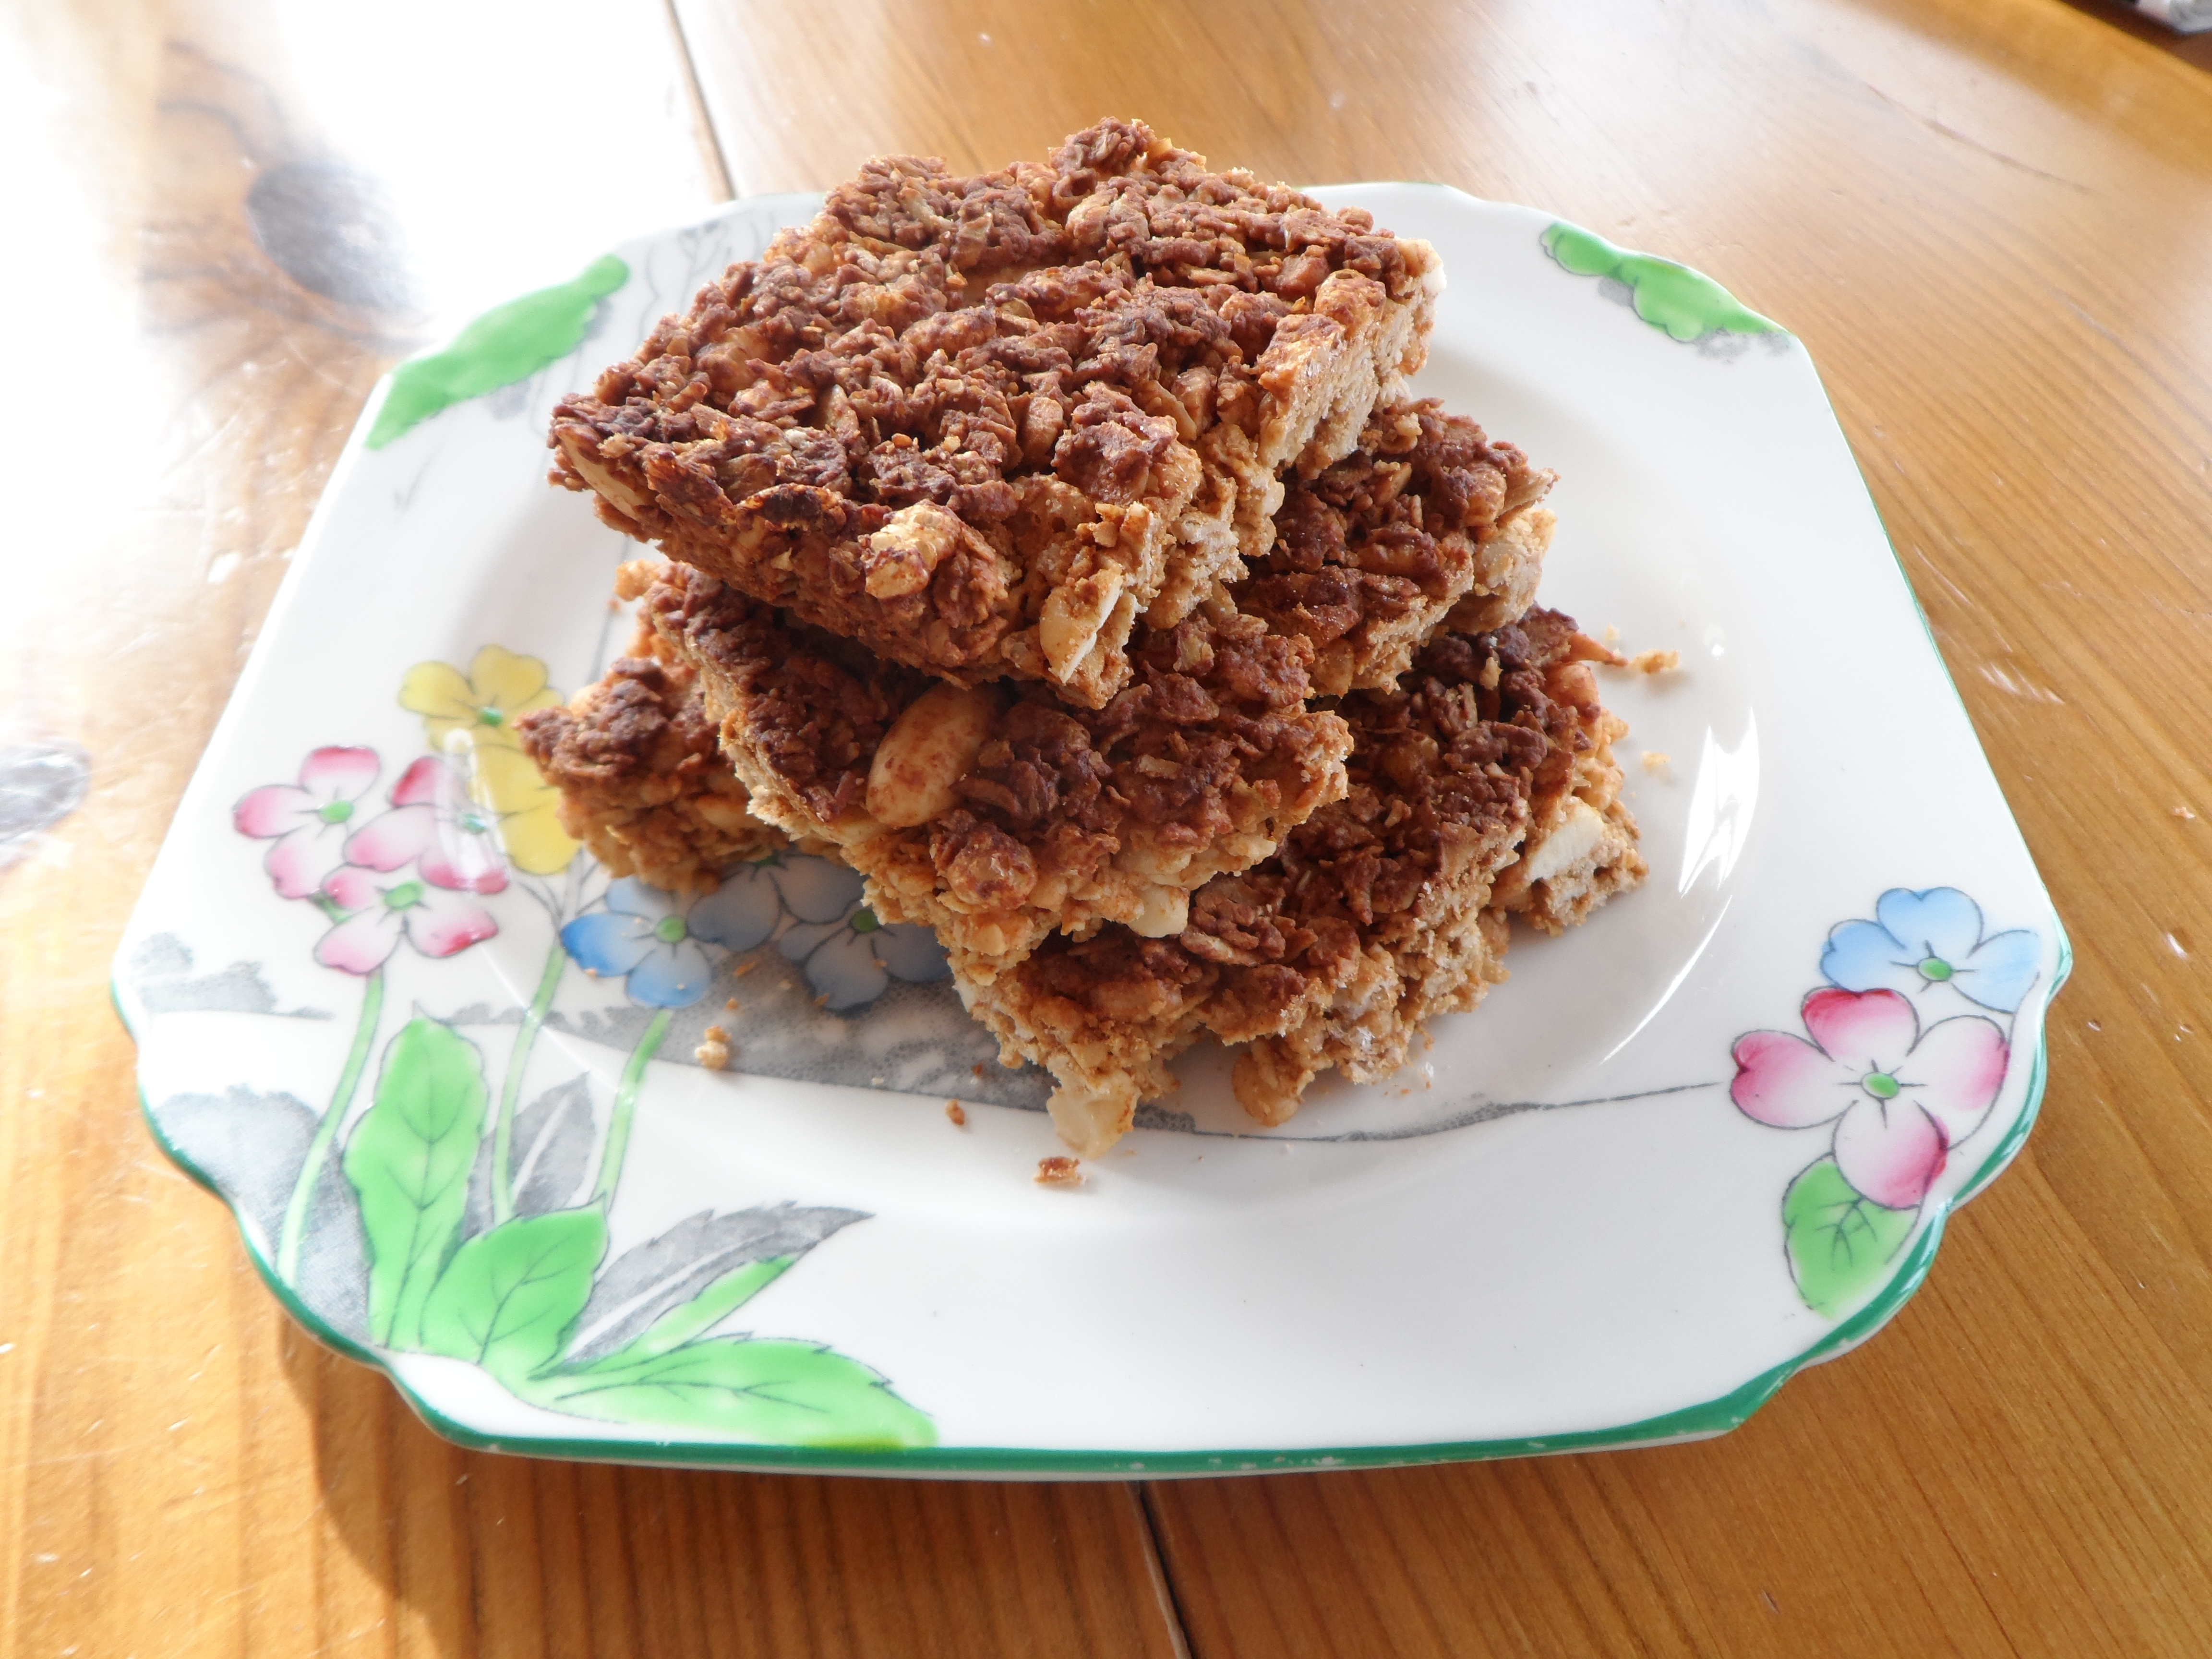
Tasty homemade snack bars
I don’t cook with a lot of salt, preferring to use herbs and spices. I’ve bought into the ‘fact’ that too much salt is bad for you. However, there was a credible article in the Sunday Times the other week, highlighting new evidence which showed that the low sodium diet was as damaging as the high sodium one. My father has always just tipped the salt pot upside down and sprinkled it liberally over his plate, often then creating a small salt mountain on the side of the plate to dip forkfuls of food into. He’ll be 95 in a couple of months, so his super-high salt diet hasn’t exactly limited his life too much.
Anyway, although I like my sweets salty, I’m less keen on my savoury dishes being too sweet. I’m not a big fan of putting fruit into a stew or casserole. My exception is good redcurrant or rowan jelly with a roast meat. Or a not-too-sweet apple sauce with roast pork.
But back to the salty sweetness. When I was in the US last year, with a work colleague, we discovered Nature Valley’s Sweet and Salty Nut Granola Bars. It was love at first bite for me. They aren’t available here in the UK, although there’s a huge variety of similar products. But I can’t be trusted in a sweet shop, so have to confess I haven’t tried terribly hard to find a suitable substitute.
I hadn’t thought of making my own. Why hadn’t I? I must be entirely mad.
Anyway, once the thought came to me, I flicked through all my recipe books and scoured the internet for the perfect sweet and salty crunchy nutty bars. And then I adapted. This isn’t entirely true. I can’t lie. What really happened is that I came across a recipe on Half Baked Harvest’s blog and decided it was time to get experimenting. This recipe is adapted from hers. It is the perfect crunchy, sweet, salty, nutty snack. But it’s not as healthy as eating an apple, so although they are addictive, try to ration them.
Crunchtastic sweet and salty nutty bars
250g / 3 cups porridge oats
35g / 1 cup rice krispies (or any puffed rice cereal)
40g / 1/4 cup roasted salted nuts (peanuts is fine, but mixed nuts would work just as well)
a pinch of salt
1/2 tsp bicarbonate of soda
125g honey
130g peanut butter
30g butter or coconut oil (I prefer to use coconut oil these days)
1 tsp vanilla extract
Preheat oven to 350F or GM4. Line a 9″ x 13″ baking tray with greaseproof paper. Leave an overhang of paper over one long side of the tin (to make it easier to remove the bars later)
Mix porridge oats, krispies, nuts, salt, and bicarb of soda in a large mixing bowl. Make a well in the centre
Put the honey, peanut butter and butter (or coconut oil) in a small pan and warm gently till all the ingredients are melted
Add the vanilla
Stir the melted ingredients till they are all combined into a sweet and goopy sauce
Pour all this melted mixture into the well in the centre of the dry ingreds.
Stir well to combine it all together. Try to make sure there are no dry bits left in the bowl
Pour this into the prepared tin. Get a big metal spoon (or a metal measuring cup) and lightly oil the back of it, then use this to press all the mixture down into the tin
Put in the oven and bake for about 20 mins, or until golden brown. Watch out, it can go from perfect to ‘slightly burnt’ quite quickly.
When you take it out of the oven, try to slide the whole lot out of the tray onto a heatproof surface, and then walk away from it for at least half an hour. (I’m only telling you to do this so that you don’t end up trying to cut the bars when they are still in your baking tray, and you end up ruining your tray, with knife scores across it)
Once it is cool, try to cut it into pieces. You’ll need a sharp knife, and some of it might crumble a bit. Any extra crumbs left, pour into an airtight pot and use for sprinkling over yoghurt, or ice cream or in a crumble.
Keep the bars in an airtight tin, for as long as possible. You may need to put them on a very high shelf, out of your reach. Or to give them to friends.
Suggested adaptations – you could add dark chocolate chips, or dried fruit (cranberries, chopped up apricots, raisins). Or desiccated coconut. Or, cinnamon would be nice, Or chopped dried apples, with some cinnamon, a pinch of cloves and some ginger. You could probably replace the honey with agave syrup, or golden syrup, although I’m not sure why you’d want to do that.
And apologies if you don’t have digital weighing scales. I was old-school for YEARS, but bought a digital set recently (so I could weigh out my 7g of yeast to make home made bread) and it has entirely changed how I bake. Just pop the bowl on the scales and add the next ingredient. Easy peasy. They’re not expensive and take up hardly any room in your cupboard. Isn’t it time to treat yourself?
Want to find more of my recipes? Take a look here: Shewolffe’s Recipes. If you like this, you’ll probably like my salty nut brittle, but go see what else is in there.