… you make Genoise sponge cake

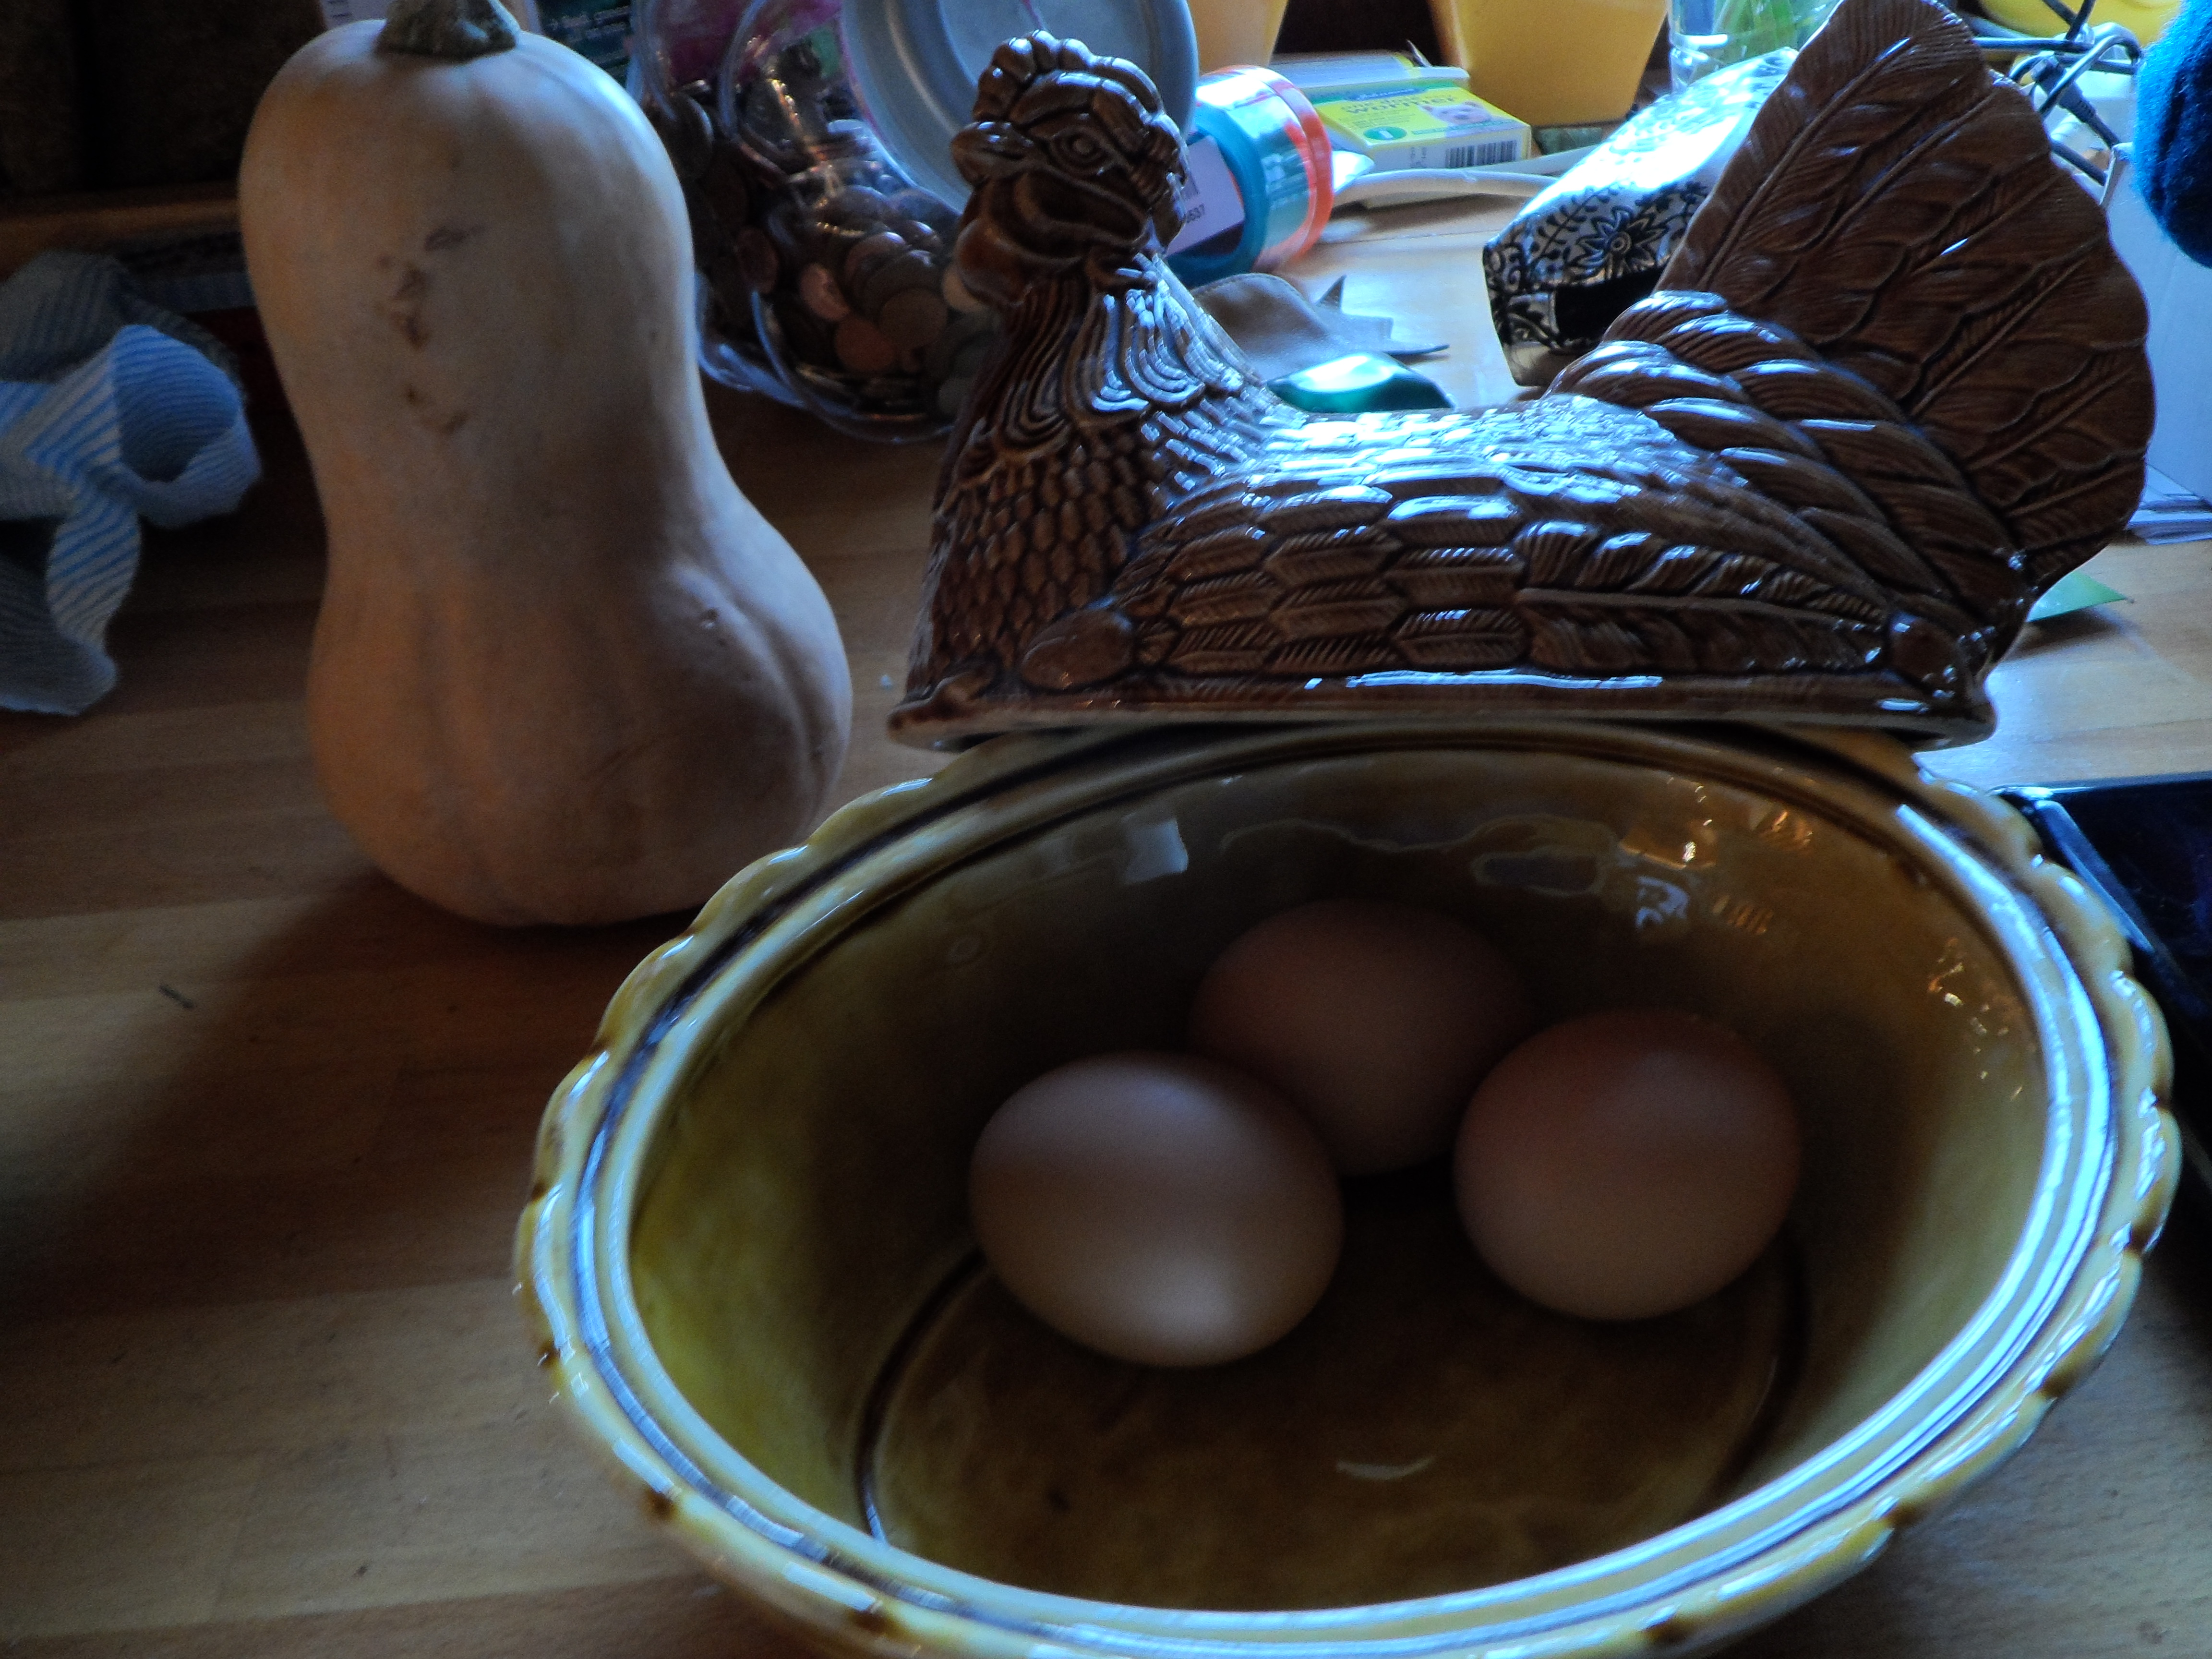
I keep hens, more hens than is entirely sensible, and some weeks they lay an average of 7 or 8 eggs a day. This means that I never need worry about not having something to eat for supper – poached egg on toast is a popular midweek standby, as is a frittata, tortilla or omelette of sorts. I now regularly throw an egg into a cheese sauce as I make it, to give it extra richness, or quickly make mayonnaise just because I have some spare eggs kicking about.
In the pre-Covid Era I took eggs in to work for colleagues to enjoy, but that’s not possible now we are all in lockdown. Last week we offered a delivery driver a half a dozen eggs and at first he looked quite affronted, and said no he was doing alright just now, just managing thank you very much, and they’d managed to do a shop that week. I had to tell him they were laid that morning, from our free range hens, and he would be doing us a favour. He took them, I hope he enjoyed them.


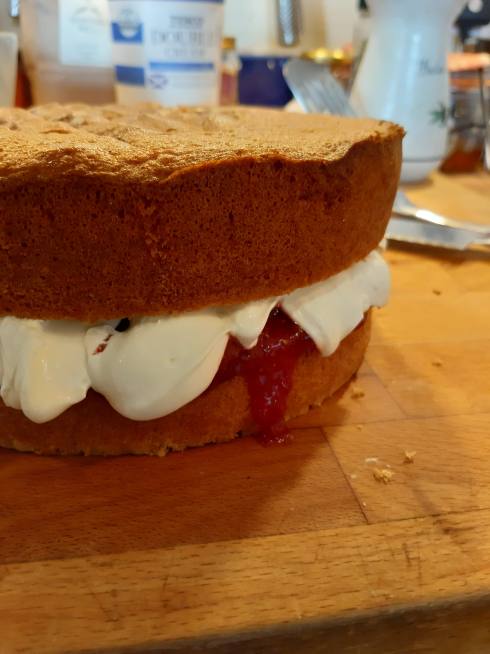
But there are lots of other things you can do with eggs, including the miraculous Genoise sponge cake. It really is a magical creation – just eggs, sugar, plain flour and a wee bit of butter, but combined in such a way that it creates a properly light as a feather sponge cake. And of course you can pimp it however you want, you could swap out some of the flour for cocoa, or add citrus zest to the batter, or brush over a flavoured sugar syrup once the cake is cool. But I’m jumping ahead of myself, let’s just make the basic perfect light Genoise sponge today, and fill it with clouds of whipped cream and some fresh strawberry jam.
Genoise Sponge Cake
Ingredients
I’ve kept the ingredients weights in Imperial because they are so deliciously simple to remember, and it’s how I make it. Sorry if you prefer cups or grams, but on this occasion I’m not doing equivalents.
- 4 eggs (obviously I would suggest using free range really fresh ones, but honestly use whatever suits you, probably medium/large in size)
- 4 oz caster sugar (use vanilla sugar if you have any)
- 4 oz plain flour
- 2 oz butter
Method
Prepare your tin or tins. Ideally you would lightly grease the tin and line it with baking paper, but you could probably get away with lightly greasing and then sprinkling with flour (then give it a shake to evenly spread the flour around the tin, creating a non-stick layer). You can use two sandwich tins, or a springform 8″/20cm tin. You know what, you can use whatever tin you’ve got, obviously! It makes life easier when you’re getting the cake in and out of the oven if you place your tin/s on top of a baking sheet.
Preheat your oven to Gas Mark 4 / 350F / 180C
- Melt your butter and then leave it to one side as you do everything else so it cools a bit.
- Crack the whole eggs into a big bowl, and add the caster sugar.
- Using electric beaters, whisk this until it becomes thick and luscious, you’re looking for what is technically called the thick ribbon stage. This means that when you lift the beaters out, and leave a trail of mixture in the bowl, the trail holds its shape. I use handheld electric beaters at their full power, and it usually takes about 8 minutes to reach this stage. Remember, if the trail doesn’t hold, then there’s no chance your cake will hold its sponge in the oven, and you’ll end up with a pancake.
- Now find yourself a large balloon whisk. Don’t have one? Use a large metal spoon instead.
- Sift the flour into the eggs in three batches. After each addition, fold it in really gently, you’re looking to incorporate it into the light egg mix without bashing out any of the airiness you’ve worked so hard to create.
- Once you’ve added all the flour, take your melted butter and very gently pour the yellow liquid round the edge of the bowl. Stop pouring before you pour in the white liquid milk protein – it doesn’t matter if some goes in, so don’t fret too much about it.
- Now gently fold the melted butter into the mixture before gently pouring the cake batter into the prepared tin or tins.
- Gently slide the tin/s into your oven and bake for 35 – 40 mins (because all ovens are not equal). The cake’s ready when a skewer inserted comes out clean as a whistle. Also note how it’s beginning to come away from the edges of the tin. And while you’re at it, turn off the radio or podcast or music, or loud children, when you take it out of the oven. Listen to it. I love that noise.
- Turn the cake/s out onto a wire rack to cool.
- Fill with your choice of tasty fillings – my favourite is the traditional combination of creaminess and fruitiness, but if you’re a fan of buttercream, go for it.
Want to make more cakey things? What about a Springtime Apple cake (no idea why it’s particularly suitable for springtime, but who is to question Past Shewolffe?) or if it’s biscuits you’re after, these Langues De Chat are amazing, and use up a spare egg white. Or just browse for yourself here.