Menu Plan 19 Jan

19 Jan

Do you make New Year resolutions? I sort of do. Well, I do, but they are usually just sort of slight changes to my behaviour rather than fully blown resolutions.

I’ve made some this year. They are written down on a full page of a lovely notebook. They are also on a word document, and there is a shortcut direct to it on my desktop. The notebook may be referred to again, but the list there won’t necessarily be updated, while the word document will be updated as I make progress. I’m already changing my language around the resolutions, see: I will ‘make progress’ instead of ‘crossing them off when I achieve them’. You see, most of my resolutions are things I want to do better at, rather than completely new directions. Even my weight loss goal is building on the stone and a half that I lost last year.

But anyway, one thing I am trying to do is decrease my reliance on my local supermarket. I’m not even going to mention its name, but I have got into the habit of going there pretty much every weekend, and spending between £50 and £100. This is soul destroying – the shopping experience isn’t much fun; I always buy more things than I intend to and which I don’t actually NEED, or not now at any rate; I’m not supporting my local economy; we have a good local farm shop. There are so many reasons I should change my shopping habits.

Towards the end of last year I started sporadically menu planning. For years I have day by day thought about what I’ll cook. At the weekend I will have bought a variety of fresh ingredients, which I instinctively know will work together and will make tasty, nutritious meals, but I haven’t actually planned what will go with what or precisely what meals they will make. So sometimes there were things leftover, sometimes they went off before they were used and were thrown out. Yes, I am feeding that shame-making mountain of food waste in the West.

But I found that if I planned the evening meals for the week over the weekend, then I was more likely to use all the food I had, before buying any more. And it was much easier getting home and knowing exactly what you were cooking as soon as you got in the door.

So, one of my Not-Exactly-Resolutions is to plan menus each week. And follow them. This will not only reduce waste, it will also probably save me money and time.

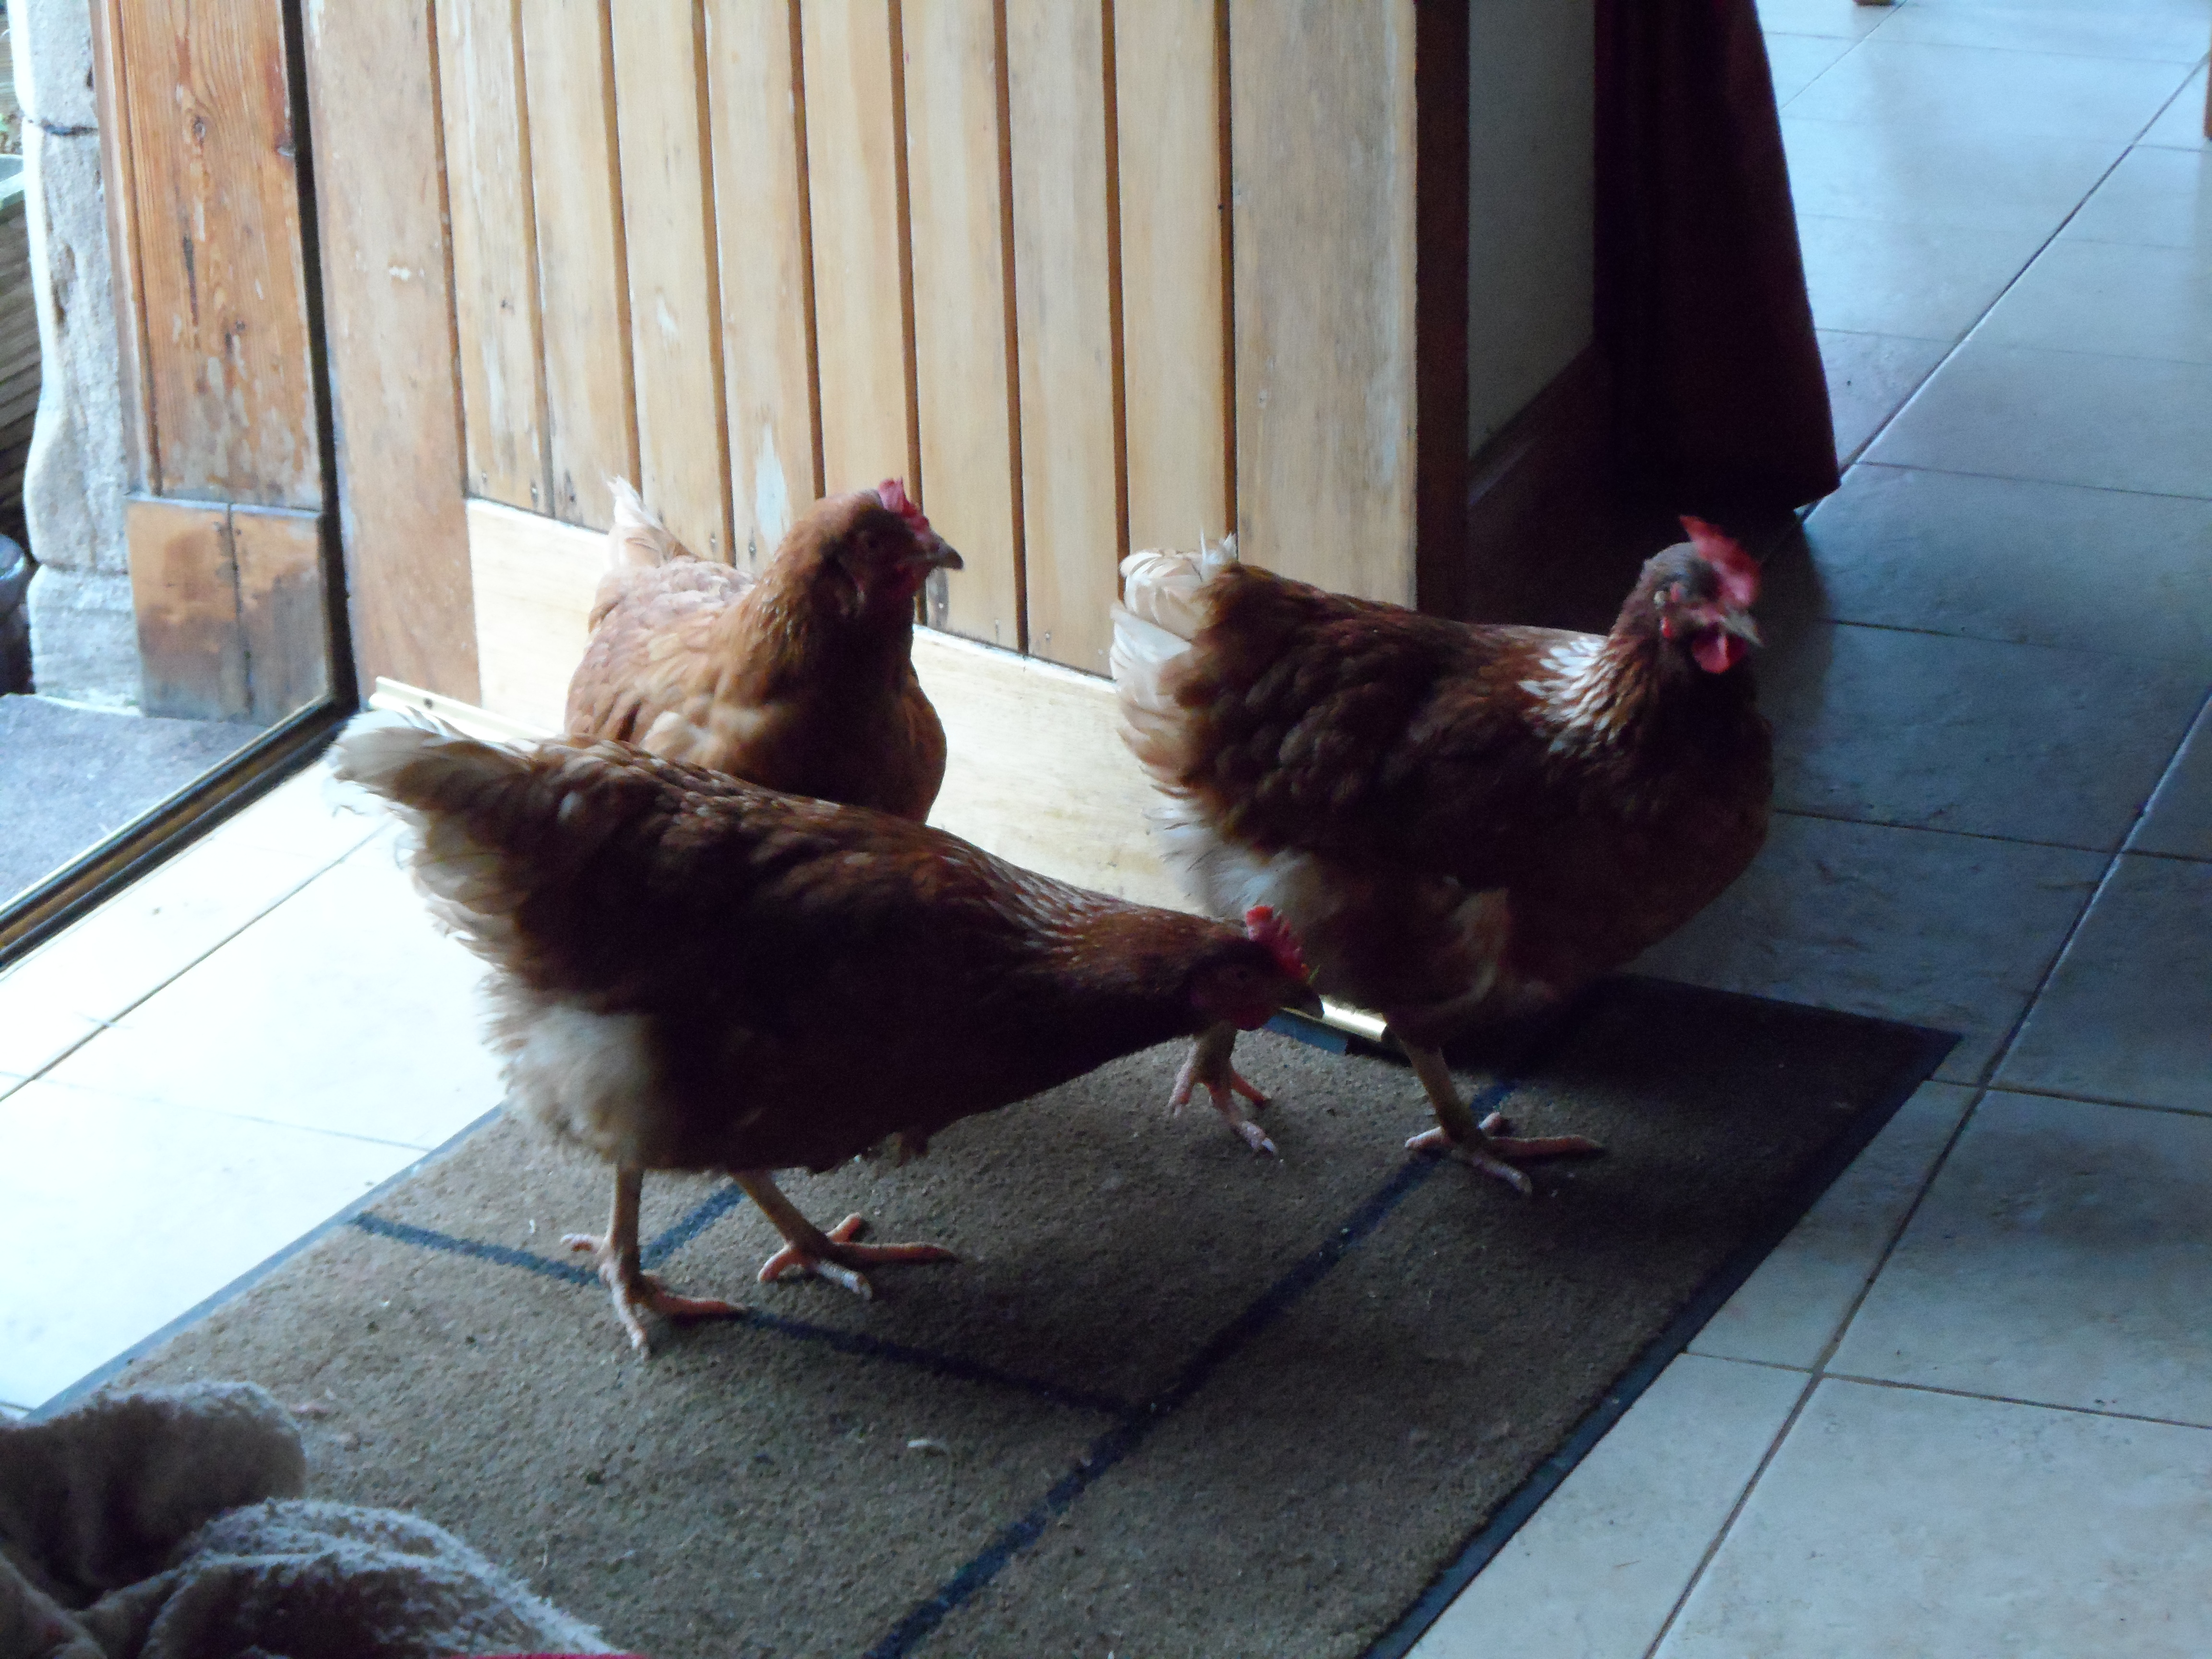
We have hens and get 2 or 3 eggs a day and i make our own bread. Breakfast for me is usually either toast or cold frittata (eaten on the train). The Captain generally has porridge in the office. I haven’t included lunches in the menu plan – most lunches will be leftovers, or soup, or bread and cheese or ham. Most days I don’t need lunch as I meet friends in a cafe in town.

Anyway, this is what I have bought this week:

Butchers

Cheddar, chicken breasts, sausages, black pudding, bacon, mince, ham hock, haggis, apple pie

Farm shop

Seville oranges, beetroot, cream, milk, red cabbage, potatoes, biscuits (already eaten), plums, pears, bananas, onions, carrots

Co-op

Parma ham, sliced ham, wine

Things I need to use up

A few mushrooms, those expensive silly mini peppers, brussels sprouts

And the meals, day by day:

Saturday: chilli con carne. Make EXTRAS: creme brulee

Sunday: chicken wrapped in parma ham, potatoes, brussels sprouts. Apple pie. Make EXTRAS: marmalade, lentil soup, winter slaw

Monday: Chicken stir fry

Tuesday: I’m out for the evening. The Captain will probably have what is known as a Kraft Dinner (cheesy pasta!)

Wednesday: Black pudding and poached egg on toast with winter slaw

Thursday: Toad in the hole and carrots

Friday: Haggis, carrots and tatties as it’s Burn’s Night, probably joined by some pear upside down cake, or pears with chocolate sauce

There. That has made me happy. Food for a week. And not much left over.

The ginger grater

13 Jan
My ginger grater

My ginger grater

My ginger grater might be one of my favourite gadgets. Is it even a gadget? It is such a simple piece of equipment, and one I don’t think I have seen anywhere else.

As a child I loved being in the kitchen with my mother, and I remember this item sitting on the bottom of one of the shelves, never used. I’ve always known it was the ginger grater, but don’t recall it ever being used to grate ginger until I took ownership of it and grated some for myself. In the 60s and 70s we did have a piece of root ginger in the cupboard, but it must have been several years old and it was dry and old and wizened, nothing which could be grated on a piece of moulded glass.

My mother is regularly de-cluttering these days, in a way that I can only dream of (I seem to be continuing to do the polar opposite of de-cluttering, can I call it nesting? or just hoarding?) and on a recent visit back home she was delighted when I expressed interest in taking this item off her hands.

I won’t pretend that I use it often, but when I need a ginger grater, nothing else will do. An ordinary grater just doesn’t work in the same way. This well designed item ensures that you keep every last bit of the essence of the ginger root, the juice, but that the rough fibrous bits are left behind. And there is little chance you’ll end up with blood from grated knuckles in your ginger, as the grating bit isn’t that sharp. It’s just perfect for extracting the most gingeriness out of a piece of ginger.

Image

Wordless Wednesday

9 Jan

SAM_0854

Spiced cake (with added parsnips!)

5 Jan

I got it into my head that I wanted to make a parsnip cake.

I could blame that cute James on the Great British Bake Off which is re-running daytimes this week, and I might just have caught some of it yesterday. And the day before.

Or I could blame the Captain for declaring it his favourite vegetable.

But actually, when I’m making something as tasty as a spicy parsnip cake, why am I looking to blame anyone at all? The combination of warming winter spices with the sweet moistness of the parsnip is an absolute winner. Or it would be if I hadn’t thrown in too many parsnips in a moment of madness, ensuring that the resulting cake would be on the heavy side, instead of light and moist. Ah well, I’ll know for next time. And I’ve done it, so you don’t have to.

Tea-time!

Tea-time!

Spiced parsnip cake

Preheat oven to 180C /350F / GM4

Grease and line 2 sandwich cake tins

  • 1 1/2 cups plain flour
  • 1 cup muscovado sugar
  • 1 TBsp ground ginger
  • 2 tsp baking powder
  • 2 tsp ground cinnamon
  • pinch of salt
  • 3/4 tsp ground nutmeg
  • 3/4 tsp ground allspice
  • 3/4 tsp ground cloves
  • 3 large eggs
  • 1/2 cup vegetable oil
  • 1/2 cup whole milk
  • 1 tsp vanilla extract
  • 2 balls of ginger from a jar of stem ginger in syrup – chopped up small
  • 2 cups grated parsnips (about 2 large)
  • 1/2 cup walnuts, toasted, chopped
  • 4 oz cream cheese
  • 2 TBsp butter, softened
  • 2 TBsp syrup from jar of stem ginger in syrup
  • 2 tsp grated fresh ginger
  • 3 cups icing sugar
  1. Mix together flour, sugar, spices, baking powder and salt in a large bowl – I use a whisk to combine them all instead of bothering to sift them in.  However – this means you may end up with pockets of sugariness in the finished cake, as it’s tricky to break down all the muscovado if you don’t sift it. And this bowl is going to have EVERYTHING in it soon, so make sure it’s big enough
  2. In a separate bowl, whisk together the eggs, oil, milk and vanilla extract
  3. Pour the eggy mixture into the dry ingredients and stir until combined
  4. Add the stem ginger, parsnips and chopped walnuts and mix together
  5. Transfer to cake tins
  6. Bake for about 30 minutes, until a skewer inserted into the centre comes out clean – but watch, it might be quicker in your oven
  7. Cook cakes on a wire rack
  8. For the icing, beat together the cheese and butter, with the syrup, till smooth. Add the grated ginger and the icing sugar  (you should sift the icing sugar on this occasion, or you’ll get lumpy icing, which is a beast to make smooth). Beat till smooth.
  9. Sandwich the cakes together and spread the goopy icing all over the top too
Cooling the cakes on a wire rack

Cooling the cakes on a wire rack

This cake is utterly perfect with a cup of Earl Grey tea. It also makes a pretty marvellous pudding, especially if you’ve had something quite light like soup for your main course. Because of the rich icing, it needs no ice cream or anything with it, but if it were made as a single large cake (perhaps in a loaf tin?) with no icing, it would be lovely with a vanilla ice cream, or a scoop of creme fraiche for pudding.

Christmas leftovers (but no turkey)

2 Jan

It’s that time of year when you’re probably still living out of the fridge and store cupboard, still eating up bits of food you bought thinking you’d need it over the festive period. Or perhaps you haven’t over-shopped this year and you are now eating delicious meals started from scratch, made with fresh vegetables and real meat (ie not leftover roast turkey, or cold ham). If so, well done.

But have you still got things lurking in the fridge which you’ve had enough of? Maybe you’ve had enough of Stilton? Or brussels sprouts? If so, I have a couple of recipes for you which might help: Stilton Nibbly Biscuits (gluten free!) and creamy sprouts.

Let me explain first of all about the sprouts. I never thought I would grow to enjoy a sprout, but they are the Captain’s second favourite vegetable! Yes, seriously, they are. His favourite is parsnips, and I think this afternoon I’m going to find a recipe for a parsnip cake just to use up the last of the bag of parsnips I have in the fridge. But, back to the sprouts. I’ve done all manner of things with sprouts to try to enjoy them: added juniper berries, lardons, chestnuts, lots of butter… but all to no avail. Until now. I used what I had in the fridge (as you do at this time of year) and found my perfect Brussels Sprouts recipe. It’s not for the faint hearted, and should be eaten BEFORE you start your diet. But it is delicious with roast pork, or a pork chop, or I can imagine it working really well with sausages and black pudding and some creamy mash.

And then I mentioned Stilton didn’t I? One of my favourite cookbooks over the last year or so is by Thane Prince: Ham, Pickles and Jam. It consistently gives me interesting and useful recipes. One that I keep returning to is for cheesy nibbly biscuits. All you need is about 30 minutes, and food processor and some leftover cheese. OK, and some butter and flour too (preferably gluten free).  I originally wrote about this recipe here, back in 2011.

Over the months I’ve modified the recipe – these days I generally make it with stilton and pretty much always omit the parmesan. Also, when the dough is made I roll it into a great big sausage, and then just slice off pieces to bake them, instead of all that faff with making cherry size pieces and then squishing them flat before rolling them in sesame seeds. The sesame seeds are important though – they add an extra nutty flavour to the biscuit. And I’ve only ever made them with gluten free flour – I love the light crispness you get with this mix.

So, that’s your stilton sorted. Now for the brussels sprouts.

Creamy Brussels Sprouts

Prepare your brussels sprouts by cutting off the wee end, and removing the outer leaf or two if necessary. Then slice the sprouts – you’ll get about 4 or 5 slices out of each sprout, depending on their size. You don’t need to be a perfectionist with this, all you’re doing is cutting down the size of each sprout so they cook through more quickly and evenly.

Put the sliced sprouts into a wide flat pan and throw in some stock (or if you’re me, some water and a stock cube). You don’t need much stock – the idea is that the sprouts will cook in it, but it will boil away. I use about 200ml when cooking enough sprouts for two people.

Now, put a lid on the pan and boil up the sprouts. Remove the lid and stir them around a bit, to make sure all the sprouts are in the water. Put the lid on again if you think you should, but if it’s a tight fitting lid, you might want to leave a slight gap to let some steam out.

Ideally, the sprouts should be just about cooked at the point when the water is just about boiled away.

Throw in about 1/2 tsp freshly ground nutmeg and a good turn or two of black pepper. Stir. Add a seriously big glug or two of double cream and stir again.

Leave quietly bubbling away while you serve the rest of your food up, and by the time you’ve plated everything else up the sprouts will be ready.

Delicious with roast pork and all the other trimmings, or as I’ve just discovered with Lucas Hollweg’s Beef Casserole with Cinnamon and Prunes. Exquisite!


Perfect and easy cheese scones

2 Dec

You know how it is, you’ve got some nubs of cheese left in the fridge and you think they’d be better cooked than eaten on a cracker.

But you want your cheesy snack NOW.

Mimolette cheese scones

Mimolette cheese scones

Well, this is the recipe for you – from start to finish it probably only takes about half an hour.

Ready?

Off we go.

Spicy cheese scones

Preheat oven to 200C / GM6. Prepare a baking sheet

  • 200g SR flour
  • 1/2 tsp baking powder
  • 1/2 tsp salt
  • 1/2 tsp sugar
  • a good shake of celery salt
  • a good shake of cayenne pepper
  • a good shake of smoked paprika
  • about 40g unsalted butter, straight from the fridge, grated on a coarse grater
  • 100g mature cheddar-type cheese (I used mimolette) either grated or cut into wee chunks
  • 3tsp crunchy mustard
  • 100ml milk
  1. Sift all dry ingredients into a large mixing bowl
  2. Stir in the butter and cheese
  3. Add milk and mustard and mix together with a fork
  4. Bring together with your hands and knead REALLY lightly on a floured board. If the dough is really solid, add more milk – it should come together, but feel quite light and spongey (not hard and solid)
  5. Pat down to about 2cm thickness
  6. Either use a cutter to make about 8-9 scones, or cut into rough scone shapes with a knife
  7. Bake for 12-15mins until golden brown

Grating the butter means you don’t need to do anything other than mix it in to the dry mixture – no working it till it turns into breadcrumbs. To be honest I didn’t weigh the butter, I just grated about 1/6 packet of butter (mark the pack of butter half way down, then divide the half into 3 .. don’t actually cut through it, just mark with a knife then grate to this point).

You could make these into wee baby scones and they’d be delish with a wee sherry at Christmas. Or Bonfire Night

Christmas muffins (The Cranberry Years)

2 Dec

I love Christmas food.

Cranberry clementine muffins

Cranberry clementine muffins

Well, I love my sort of Christmas food – which is almost anything apart from traditional Christmas cake. I love warm and mellow Christmas spices; chestnuts thrown into all manner of leftover dishes just because you have them; turkey; glazed ham; mulled wine; spiced cider; and cranberries. I really love baking with fresh cranberries.

And I know it’s only just December, but I was in the wonderful Whole Foods Market in Giffnock again this weekend and they had ENORMOUS fresh juicy cranberries. I had to have them.

And I had to make muffins with them. I combined them with clementine zest and orange juice, for flavour. And a muffin batter which included extra bran and porridge oats to make them pretend they are somewhere further along that health spectrum than you might imagine. But then lots of melted butter to make sure they are still tastiness itself.

And now you can make them too. If you start now, they’ll be ready within an hour. Unless you have to go out and pick your own cranberries.

Cranberry & clementine muffins

Preheat oven to 375F / 200C / GM5-6. Prepare muffin tins, lining them with muffin cases. Makes about 12 regular muffins . 

  • 8oz plain flour
  • 1oz bran
  • 1oz porridge oats
  • 3 tsp baking powder
  • a pinch of salt
  • 3oz dark brown or muscovado sugar
  • 1 large egg
  • 6oz fresh cranberries (you could use blueberries, or other berries of your choice)
  • grated zest of 5 clementines
  • 7fl oz clementine or orange juice
  • 3oz melted butter (or 3fl oz veg oil)
  1. Mix together in a large bowl: flour, bran, porridge oats, baking powder and salt
  2. In a separate bowl beat together: sugar, egg, zest, juice and melted butter
  3. Pour liquid ingredients into the dry ones and stir until just combined, adding the berries towards the end. The batter can have lumps but there should be no pockets of dry flour
  4. Spoon into muffin cases (about 3/4 full should work, and produce nice full muffins)
  5. Bake for 20-25 minutes until tops are golden brown and the muffins spring back when you poke them gently


I need to talk about chickens

2 Dec

So, a few things have changed in my life recently.

I left my flat in the city and moved in with my boyfriend, The Captain. We live in the country, a mile or two away from the nearest town and surrounded by fields. The bottom of the garden leads to a lovely wooded hillside, and if you walk down through the trees you reach the River Clyde. It’s a beautiful part of the world.

That was number one change.

Then I got a new job. I had the interview and was offered the job a few days before I moved house, so it was a pretty hectic few days. And for the first time in my life I decided to do the grown up thing and take a week off between jobs. I’m so glad I did it.

I’d sort of thought I might get some unpacking done that week, but it appears that if it’s not essential, it stays in an unmarked box in the cupboard under the stairs, behind many other unmarked boxes. We’re now nearly three months on and I’ve still got a big pile of boxes to deal with – but of course nowhere to put all the things inside the boxes, so perhaps it’s easier if they all just stay where they are. I’d really like to find my circular knitting needles though, and be able to reach my vases again, but these things can probably wait.

So, the week off. Instead of unpacking boxes we built a chicken run. And then got chickens. Three gorgeous wee broon hens. They are Lohmann Browns, a hybrid breed, bred especially to give high egg-laying yield (around 300 eggs a year is possible from one chicken). What I didn’t know when I got the wee girls is that they are the easiest creatures to keep, and that these three ladies would have such friendly personalities.

What I’ve discovered about keeping chickens in the last 6 weeks:

  1. They each have their own unique personalities
  2. I feel a bit squirk when I get an egg straight out of the chicken, still warm and then cook it and eat it
  3. I’m no longer sure that I could eat my chickens once they’ve stopped laying
  4. Chicken will come running to you when they are called
  5. Chickens LOVE sweetcorn
  6. Dogs and cats and chickens can live in harmony after a few days of anxiety
  7. Moby our jack russel wants to be a chicken
  8. The chickens don’t want Moby to be a chicken
  9. A free range chicken is a happy chicken
  10. Eggs from your own happy chickens really do taste better
  11. Poaching a REALLY fresh egg is so much easier than one even a week old (and I suspect most shop bought eggs are at least a week old)

So, now for some pictures of my girls. Next time I’ll give you my quick no fail method of poaching an egg.

Chickens on a mission

Chickens on a mission

Hector thinks someone might have a treat for her

Hector thinks someone might have a treat for her

Tommy doesn't lay eggs. She just chooks about and annoys Hector and Achilles

Tommy doesn’t lay eggs. She just chooks about and annoys Hector and Achilles

4 ordinary eggs and the FrankenEgg (it was a lovely double yolker)

4 ordinary eggs and the FrankenEgg (it was a lovely double yolker)

My girls, chooking about like chickens do

My girls, chooking about like chickens do


Autumn days

22 Oct

Yesterday was a beautiful autumnal day today. The sun shone all day long, and my wee chickens scrubbled about out in their yard chuntering away to one another. I discovered that my few remaining plants in the greenhouse were all beginning to get covered and smothered in greenfly, so I took a couple of pots of greenfly-ridden chilli plants out to the chooks for them to nibble at. Minutes later the leaves were stripped off and gobbled up by my happy girls.

So, with chooks happy in the garden, it seemed like a good day to spend in the kitchen, preparing this and that to make the meals easier through the week when I get home from work each night.

So meatballs are cooked and in the freezer, with a tomatoey sauce in a separate pot.

making meatballs

shaping meatballs

There’s a big old pot of lentil soup for lunches, made with a smoked ham hock and a wee smidgin of curry spices.

There is of course a lovely sourdough loaf (wholemeal) and the bread machine also made a half and half (granary/white) loaf. The meat from the ham hock has been cut up into wee cubes to be added to a frittata or omelette later in the week.

I made a big tub of granola with nuts and oats and fruit – mixed with apple juice, a wee bit of syrup and some ginger and cinnamon.

In between times I made some delicious cinnamon squirlies. I blame delicious magazine – they featured them on their facebook page and I just caved and had to make them. They were totally worth it, really easy to make and absolutely scrumptious, especially warm with icecream.

cinnamon squirlie dough

cinnamon squirlies – just pull apart and eat

And as if that wasn’t enough, I had already decided that for supper we were having roast pork with all the trimmings. The trimmings on this occasion included roasted apples, curly kale, a beetroot and potato gratin and roasted beetroots and caramelised onions, all brought together with a jus made with juices from the roast pork dish and apple juice reduced down till it was concentrated flavoursome perfection.

Autumnal roast pork

I don’t cook roasts too often, but after this success I may do it more often. And there were delicious leftovers for through the week: we’ll have sliced pork and chutney sandwiches for lunch and this evening we had the rest of the beetroot and potato gratin, served with spicy roast butternut squash and chicken wrapped in smoky bacon.

I think my focus in the next few weeks will be on how to make really good meals quickly on weekday evenings – some will be from scratch, others will involve some prep the weekend before. Watch this space.

The first sourdough loaf from my own starter

13 Oct

I did it!

I made a starter out of nothing but flour and water.

And I added some more flour and water and a wee sprinkling of salt.

Flour, water and salt

And I threw it about a bit (‘air-kneading’) for about 5 minutes.

And I left it a while.

sourdough resting

And I folded it.

And I left it a while (see pic above)

And I shaped it into two loaves.

sourdough loaves – one freeform, one in a tin

And I left it a while.

And then I popped it in a really hot oven.

And then we had bread!

sourdough loaf just out of the oven

No bought yeast, no bread machine, no sugar, no oil, no dried milk powder, just flour and water and a wee sprink of Maldon sea salt. Amazing!

freshly baked sourdough loaves – perfect with unsalted butter