I got it into my head that I wanted to make a parsnip cake.
I could blame that cute James on the Great British Bake Off which is re-running daytimes this week, and I might just have caught some of it yesterday. And the day before.
Or I could blame the Captain for declaring it his favourite vegetable.
But actually, when I’m making something as tasty as a spicy parsnip cake, why am I looking to blame anyone at all? The combination of warming winter spices with the sweet moistness of the parsnip is an absolute winner. Or it would be if I hadn’t thrown in too many parsnips in a moment of madness, ensuring that the resulting cake would be on the heavy side, instead of light and moist. Ah well, I’ll know for next time. And I’ve done it, so you don’t have to.
Tea-time!
Spiced parsnip cake
Preheat oven to 180C /350F / GM4
Grease and line 2 sandwich cake tins
- 1 1/2 cups plain flour
- 1 cup muscovado sugar
- 1 TBsp ground ginger
- 2 tsp baking powder
- 2 tsp ground cinnamon
- pinch of salt
- 3/4 tsp ground nutmeg
- 3/4 tsp ground allspice
- 3/4 tsp ground cloves
- 3 large eggs
- 1/2 cup vegetable oil
- 1/2 cup whole milk
- 1 tsp vanilla extract
- 2 balls of ginger from a jar of stem ginger in syrup – chopped up small
- 2 cups grated parsnips (about 2 large)
- 1/2 cup walnuts, toasted, chopped
- 4 oz cream cheese
- 2 TBsp butter, softened
- 2 TBsp syrup from jar of stem ginger in syrup
- 2 tsp grated fresh ginger
- 3 cups icing sugar
- Mix together flour, sugar, spices, baking powder and salt in a large bowl – I use a whisk to combine them all instead of bothering to sift them in. However – this means you may end up with pockets of sugariness in the finished cake, as it’s tricky to break down all the muscovado if you don’t sift it. And this bowl is going to have EVERYTHING in it soon, so make sure it’s big enough
- In a separate bowl, whisk together the eggs, oil, milk and vanilla extract
- Pour the eggy mixture into the dry ingredients and stir until combined
- Add the stem ginger, parsnips and chopped walnuts and mix together
- Transfer to cake tins
- Bake for about 30 minutes, until a skewer inserted into the centre comes out clean – but watch, it might be quicker in your oven
- Cook cakes on a wire rack
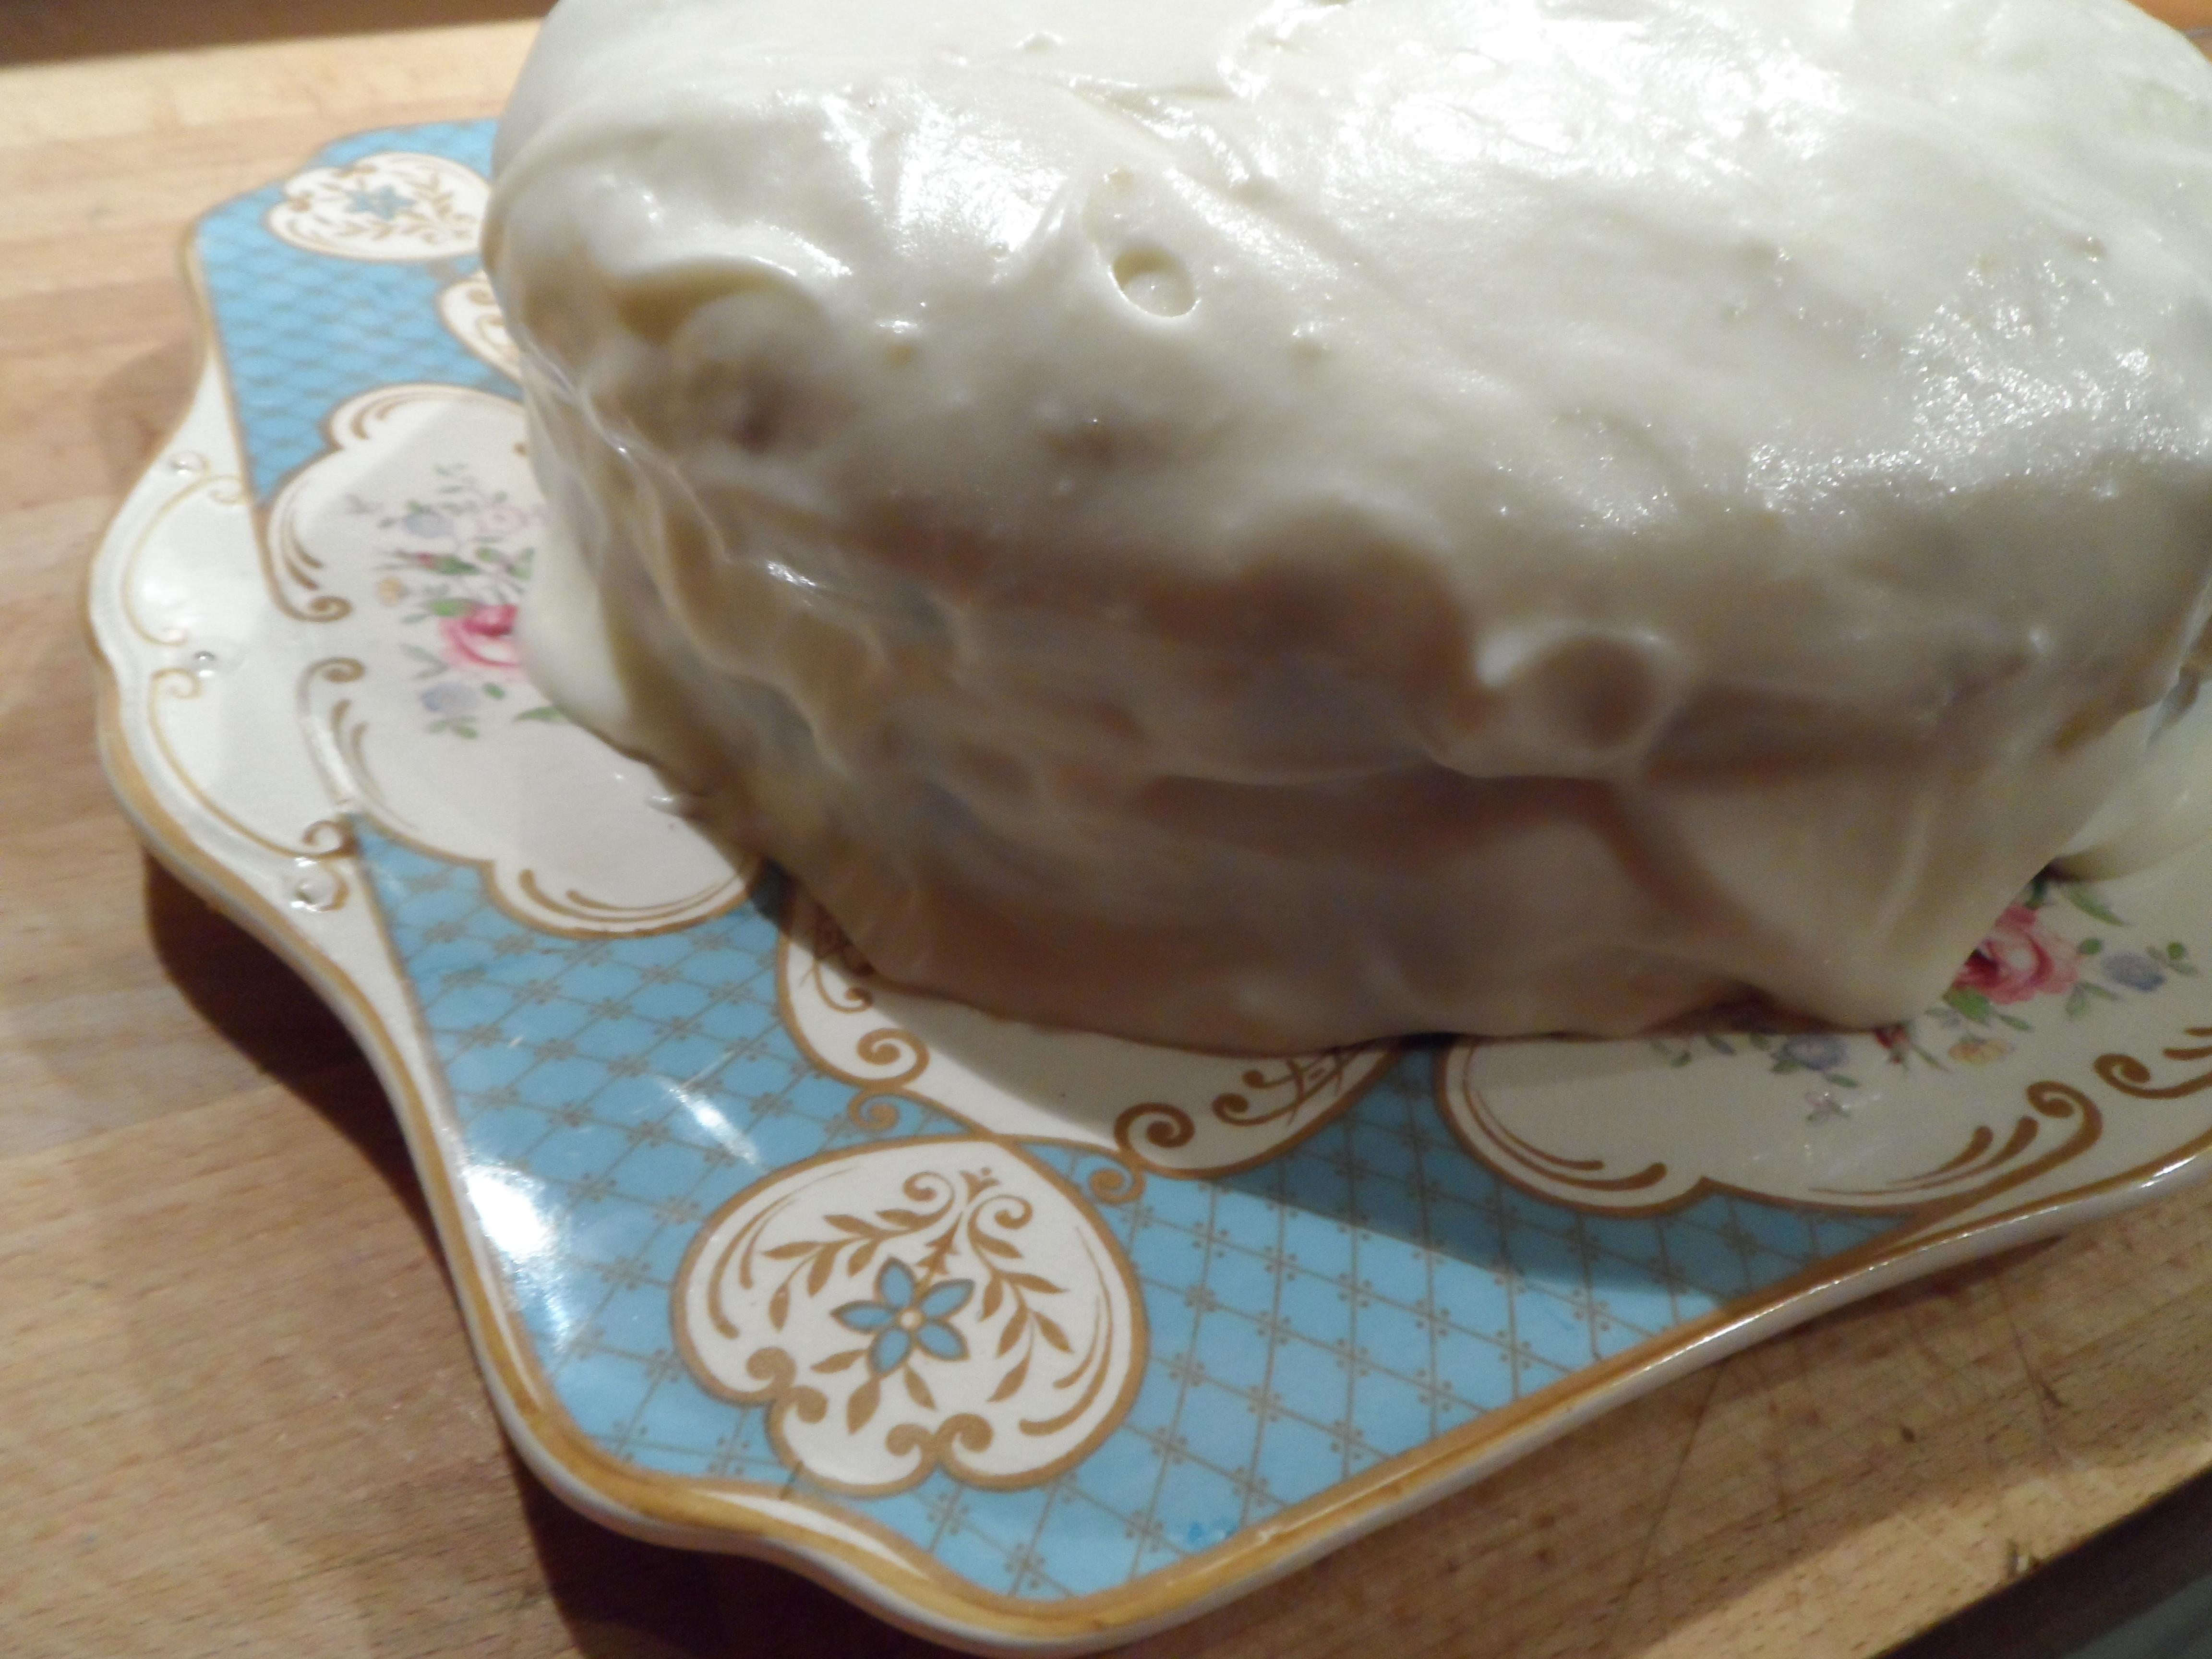
- For the icing, beat together the cheese and butter, with the syrup, till smooth. Add the grated ginger and the icing sugar (you should sift the icing sugar on this occasion, or you’ll get lumpy icing, which is a beast to make smooth). Beat till smooth.
- Sandwich the cakes together and spread the goopy icing all over the top too
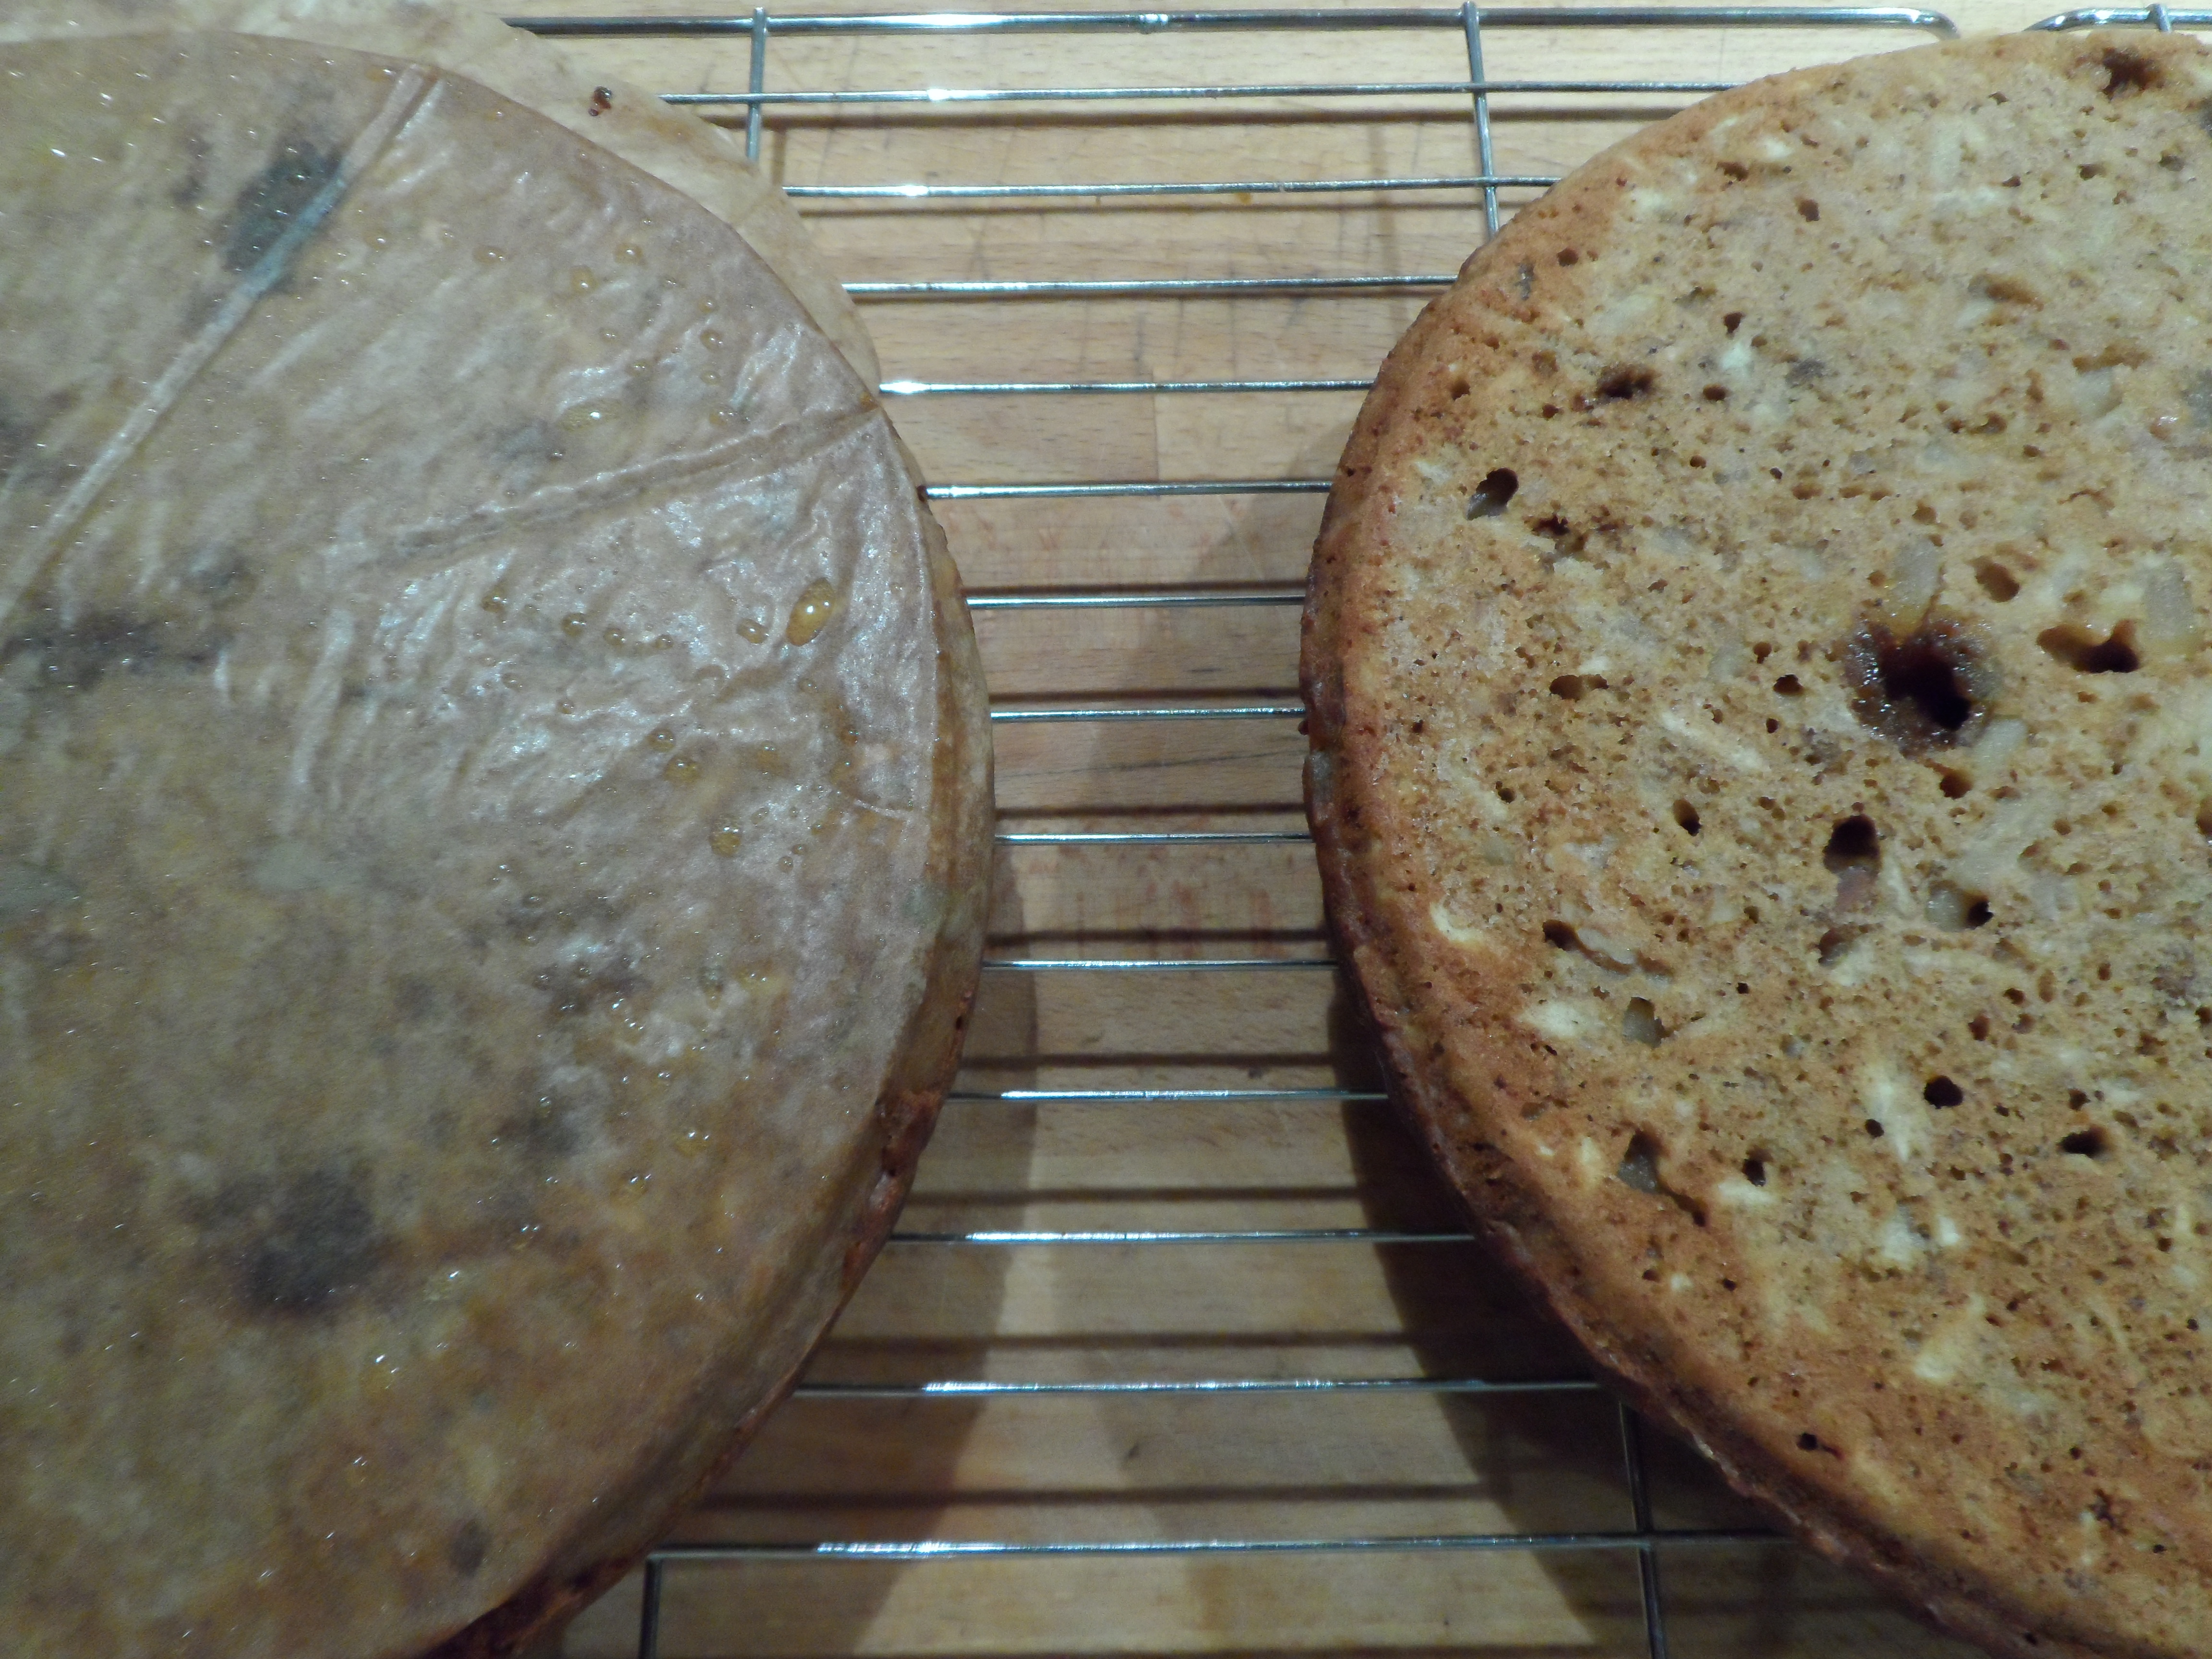
Cooling the cakes on a wire rack
This cake is utterly perfect with a cup of Earl Grey tea. It also makes a pretty marvellous pudding, especially if you’ve had something quite light like soup for your main course. Because of the rich icing, it needs no ice cream or anything with it, but if it were made as a single large cake (perhaps in a loaf tin?) with no icing, it would be lovely with a vanilla ice cream, or a scoop of creme fraiche for pudding.
Related articles
- The new vegetarian: parsnip, cumin and cardamom tatin with beetroot chutney (telegraph.co.uk)
- Shopping Lists, Parsnip Cake and Our first meal from Derek (ayearwithoutsupermarkets.com)
- The British Larder is long-winded but if you’ve got the time, you’ll reap the rewards (metro.co.uk)